
After years of managing lighting projects, I've seen countless installations fail due to one critical mistake with silicone LED strips. The issue isn't getting them to light up - it's achieving consistent, stable, and controllable illumination.
The key to successful silicone LED strip installation lies in proper diffusion validation1. You need to verify even light distribution across long distances and corners, ensure consistent brightness between batches, and test actual installation scenarios before deployment.

Let me share the most overlooked pitfall I've encountered repeatedly, and more importantly, how you can completely avoid it in your projects.
Why Do Many Silicone LED Strip Projects Fail After Installation?
I recently consulted on a retail chain project where they had to completely remove and replace their LED strips because what looked "perfectly diffused" in samples turned into a wavy, uneven mess when installed. This costly mistake could have been prevented.
The main reason for project failures is inadequate diffusion testing2. Many suppliers show short sample videos or close-up lighting effects that look uniform, but problems emerge with longer installations, around corners, or between different batches.

There are three critical factors that contribute to poor diffusion performance:
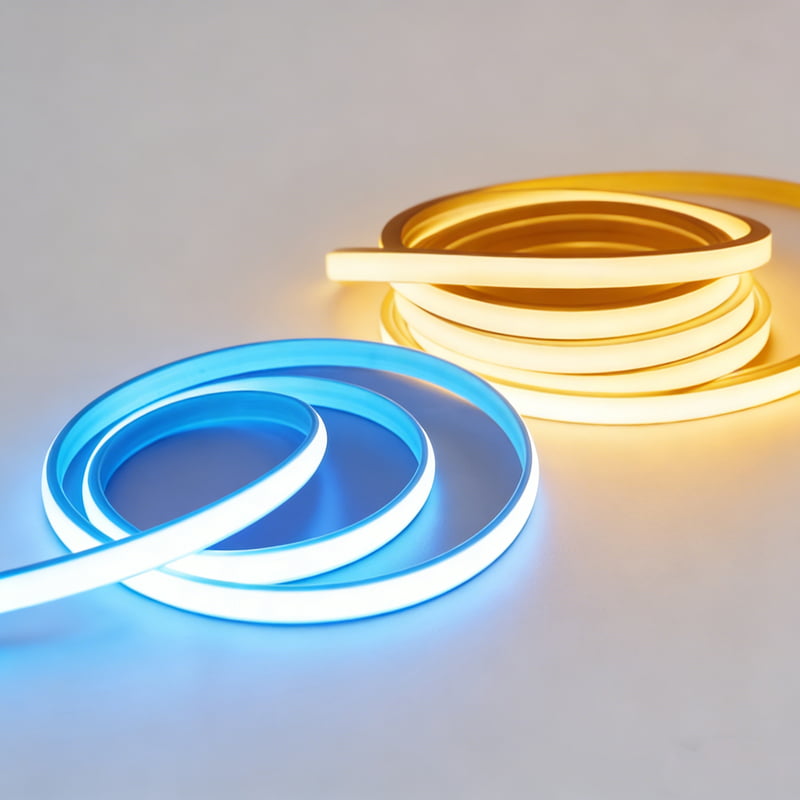
1. Improper Silicone Diffusion Structure
The diffusion quality depends on multiple factors working together:
- Thickness of the diffusion layer
- Optical formula composition
- LED spacing optimization
Many manufacturers get one or more of these elements wrong, resulting in:
- Visible dark spots at longer distances
- Uneven brightness around corners
- Inconsistent light output between sections
2. Insufficient LED Density
Some key considerations around LED density3 include:
- Minimum LED count per meter for even diffusion
- Power distribution requirements
- Heat management needs
- Cost optimization without compromising quality
| A proper balance must be struck between: | Factor | Impact |
|---|---|---|
| LED Spacing | Affects uniformity | |
| Power Usage | Influences heat generation | |
| Cost | Determines project viability |
3. Poor Batch Consistency
The most dangerous issues often arise from:
- Brightness variations between production runs
- Color temperature drift over time
- Different diffusion characteristics between batches
This requires implementing:
- Strict quality control procedures4
- Regular calibration checks
- Comprehensive testing protocols
How Can You Validate LED Strip Quality Before Purchase?
Many lighting designers learn these lessons the hard way. But there's a systematic approach to avoiding these issues.
Request long-distance installation videos (>5 meters), examine corner and cut-point light consistency, and ask detailed questions about batch-to-batch color temperature control. If suppliers can't provide clear answers and evidence, consider it a red flag.

Our validation process includes:
- High-transparency silicone formula testing
- LED density3 and power matching verification
- Brightness and color temperature calibration
- Installation scenario simulation
Conclusion
Successful LED strip projects require thorough validation of diffusion quality, density optimization, and batch consistency5. Don't risk project failure by skipping these critical checks.
Understanding proper diffusion validation is crucial for ensuring even light distribution and avoiding costly installation mistakes. ↩
Learn about the risks of inadequate diffusion testing to prevent project failures and ensure successful installations. ↩
Discover how LED density impacts light quality and uniformity, which is essential for effective lighting design. ↩
Implementing robust quality control procedures can help avoid common pitfalls in LED strip installations. ↩
Explore the significance of batch consistency to maintain uniform brightness and color in your lighting projects. ↩