
Improper bending direction1 is one of the most costly mistakes I see with LED neon flex2 installations. It can lead to uneven lighting3 and even permanent damage to the product.
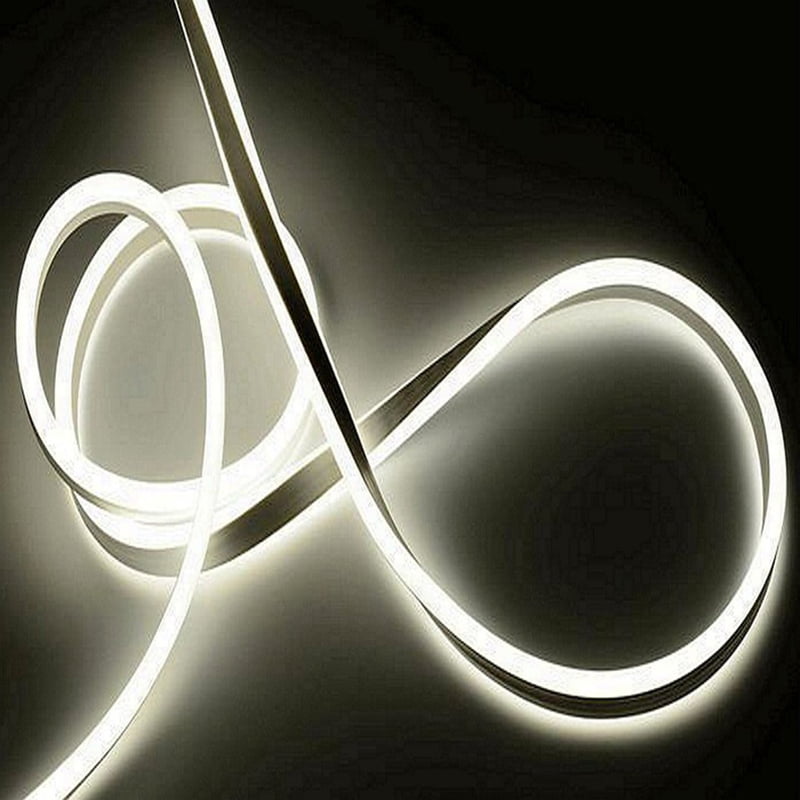
LED neon flex2 lights with side bend capability must be bent horizontally along the side, not vertically. Following the correct bending direction1 ensures uniform illumination and prevents structural damage while achieving smooth curves in your lighting design.

Let me share my experience helping clients avoid these costly mistakes, and provide clear guidelines on proper installation techniques4 that will save you time and money.
What's the Difference Between Side Bend and Top Bend LED Neon Flex?
I've seen many projects fail simply because installers didn't understand this crucial distinction. The wrong bending direction1 can ruin an entire lighting design.
Side bend neon flex is engineered to curve horizontally along its side, while top bend flexes vertically up and down. This fundamental difference determines how the product should be installed to maintain even light distribution5 and structural integrity6.

Key Differences in Design and Application
The structural design of side bend and top bend LED neon flex2 differs significantly in several ways:
1. Internal Component Layout
- Side Bend:
- LEDs arranged horizontally
- Flexible PCB oriented for lateral movement
- Support structure designed for side pressure
- Top Bend:
- LEDs positioned vertically
- PCB designed for up/down flexibility
- Reinforcement for vertical bending stress
2. Bending Characteristics
| Feature | Side Bend | Top Bend |
|---|---|---|
| Bending Direction | Horizontal | Vertical |
| Minimum Bend Radius | 50mm typically | 100mm typically |
| Light Distribution | Maintains evenness in curves | May show spots in tight bends |
| Installation Flexibility | Better for logo designs | Ideal for contour lighting |
What Are the Common Installation Mistakes with Side Bend LED Neon Flex?
After overseeing hundreds of installations, I've identified patterns where even experienced contractors make critical errors that compromise the final result.
The most frequent mistakes include forcing vertical bends on side bend products, exceeding minimum bend radius7 specifications, and twisting the light strip instead of properly curving it. These errors can cause immediate light inconsistency or lead to premature product failure.

Impact of Incorrect Installation
Poor installation practices can lead to several immediate and long-term issues:
Immediate Effects:
-
Uneven Light Distribution
- Dark spots at bend points
- Inconsistent brightness along curves
- Visible shadows and light gaps
-
Physical Damage
- Stressed LED connections
- Compromised waterproofing
- Silicone housing deformation
Long-term Consequences:
| Problem | Cause | Prevention |
|---|---|---|
| LED Failure | Excessive stress on components | Follow bend direction |
| Color Shift | Damaged phosphor coating | Maintain minimum radius |
| Water Ingress | Seal damage from twisting | Use proper mounting clips |
| Shortened Lifespan | Accumulated stress damage | Plan installation path carefully |
How to Ensure Proper Installation of Side Bend LED Neon Flex?
Drawing from my experience with successful installations, proper planning and technique are essential for optimal results.
Start by marking your installation path and verifying all curves meet minimum bend radius7 requirements. Use mounting clips at recommended intervals, and always bend the strip along its designed axis without twisting or forcing unnatural curves.

Best Practices for Professional Installation
Following these detailed steps ensures a successful installation:
Pre-Installation Planning:
-
Design Verification
- Review architectural drawings
- Identify all bend points
- Calculate required lengths
- Verify power supply locations
-
Material Preparation Step Action Purpose Test Run Verify functionality Catch defects early Layout Planning Mark mounting points Ensure proper spacing Tool Check Gather required tools Smooth installation Surface Prep Clean mounting surface Better adhesion
Conclusion
Proper installation of side bend LED neon flex2 requires understanding its unique design and following correct bending procedures. Success comes from careful planning and respecting the product's physical limitations.
Understanding bending direction is crucial for achieving optimal lighting effects and preventing damage. ↩
Explore the advantages of LED neon flex lights for your projects, including energy efficiency and design flexibility. ↩
Learn about the common causes of uneven lighting and how to avoid them in your projects. ↩
Learn best practices for installation to enhance performance and aesthetics of your lighting. ↩
Explore how bending techniques impact light distribution and overall visual appeal. ↩
Understand the relationship between bending direction and structural integrity to prevent failures. ↩
Discover the importance of minimum bend radius in ensuring the longevity and performance of your lighting. ↩