
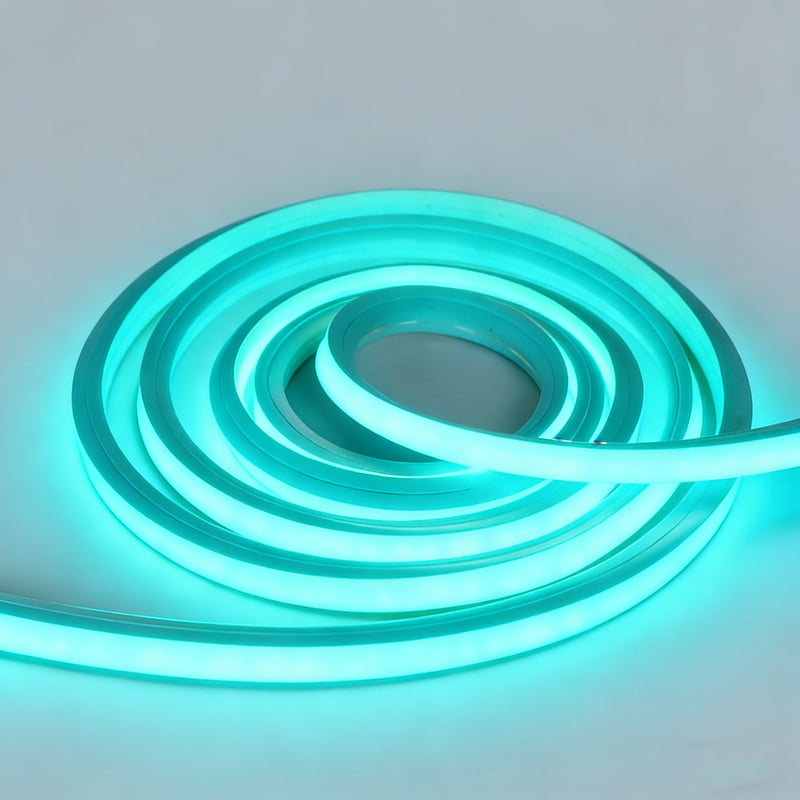
Many lighting projects start beautifully but end in frustration when the tape lights begin peeling off walls and surfaces. This seemingly minor issue can ruin entire installations and waste significant time and money.
The key to successful neon flex tape light installation1 is not just about the adhesive quality, but proper surface preparation2 and installation methods3. You need thorough cleaning, compatible mounting surfaces, and often additional mounting supports beyond just adhesive backing4.

I've seen countless projects fail due to improper installation methods3. Let me share the most critical factors to consider and proven solutions based on my extensive experience in the lighting industry.
Why Do Neon Flex Tape Lights Keep Falling Off?
Every week I get calls from frustrated customers dealing with peeling tape lights. Their beautiful installations are ruined because they relied solely on the adhesive backing4 without proper preparation or support.
Neon flex tape light failures typically happen because of poor surface preparation2, incompatible mounting surfaces, environmental factors5 like heat and humidity, or lack of proper mechanical support systems. The adhesive backing4 alone is often insufficient for long-term installation.

Understanding Surface Compatibility
The success of your installation starts with the mounting surface. Here's a detailed breakdown of common surfaces and their compatibility:
| Surface Type | Compatibility | Special Considerations |
|---|---|---|
| Glass | Excellent | Requires thorough degreasing |
| Painted Walls | Good | Paint must be fully cured |
| Metal | Very Good | Surface must be oxide-free |
| Wood | Fair | Needs sealing and primer |
| Plastic | Variable | Depends on specific type |
Beyond just the surface material, factors like texture, temperature fluctuations, and exposure to elements all play crucial roles. I've learned through experience that even seemingly ideal surfaces can fail without proper preparation and support methods.
What's the Right Way to Install Neon Flex Tape Lights?
After countless installations, I've seen that rushed jobs always lead to problems. Proper preparation seems time-consuming but saves enormous headaches later.
Successful installation requires a systematic approach: thoroughly clean surfaces with alcohol, ensure surface temperature is 65-75°F (18-24°C), use primer when needed, and install additional mounting clips6 every 12 inches for horizontal runs.

Essential Installation Steps
The difference between success and failure often lies in the details. Here's my proven installation process:
-
Surface Preparation
- Remove all dust, oil, and debris
- Use isopropyl alcohol for final cleaning
- Allow surface to completely dry
- Check surface temperature
-
Support Systems
- Install mounting clips6 at regular intervals
- Use aluminum channels7 for long runs
- Add extra support at corners and bends
- Consider expansion gaps in outdoor installations
-
Environmental Controls
- Monitor ambient temperature
- Check humidity levels
- Plan for thermal expansion
- Consider UV exposure effects
This systematic approach has helped me achieve a near-zero failure rate in professional installations.
How Do You Choose the Right Mounting System?
Many people underestimate the importance of proper mounting systems8, leading to expensive repairs and replacements down the line.
Select mounting systems8 based on installation location, surface type, and environmental conditions. For outdoor or high-traffic areas, always use aluminum channels7 with clips. For indoor decorative installations, high-quality 3M adhesive with periodic mounting clips6 usually suffices.

Mounting System Comparison
Here's a detailed comparison of common mounting options based on my field experience:
| Mounting Method | Best Use Case | Durability | Cost |
|---|---|---|---|
| Adhesive Only | Short-term indoor | Low | Low |
| Clips + Adhesive | General indoor | Medium | Medium |
| Aluminum Channel | Professional/Outdoor | High | High |
| Custom Brackets | Specialized applications | Very High | Very High |
The key is matching the mounting system to your specific needs while considering long-term reliability and maintenance requirements.
Conclusion
Success with neon flex tape lights comes down to proper preparation, choosing the right mounting system, and following professional installation procedures. Don't cut corners - invest time in proper installation to ensure long-lasting results.
Explore this resource to learn essential tips and techniques for a successful neon flex tape light installation. ↩
Understanding surface preparation can prevent installation failures and ensure your tape lights stay in place. ↩
Explore proven installation methods to ensure your neon flex tape lights are securely mounted. ↩
Find out why relying solely on adhesive backing may lead to installation failures. ↩
Learn how heat, humidity, and other environmental factors can impact the longevity of your installations. ↩
Learn the importance of using mounting clips and how they contribute to a successful installation. ↩
Discover how aluminum channels can enhance the durability and reliability of your tape light installations. ↩
Discover various mounting systems to choose the best one for your specific installation needs. ↩