
Installing indoor neon flex seems straightforward, but improper installation can lead to uneven lighting and premature failure. I've seen countless projects ruined by simple setup mistakes that could have been easily avoided.
The key to perfect indoor neon flex installation1 is using the right mounting accessories2, maintaining consistent bend radius3, ensuring even support distribution, and allowing proper heat dissipation4. Following these principles prevents common issues like dark spots and early degradation.

Let me share what I've learned from years of working with indoor neon flex installation1s, including the most common pitfalls and how to avoid them. Whether you're a contractor, designer, or DIY enthusiast, this guide will help you achieve professional-grade results.
Why Does Proper Installation Matter for Indoor Neon Flex?
I've seen beautiful lighting designs fail simply because installers treated neon flex like regular LED strips. This misunderstanding leads to uneven lighting and shortened product life.
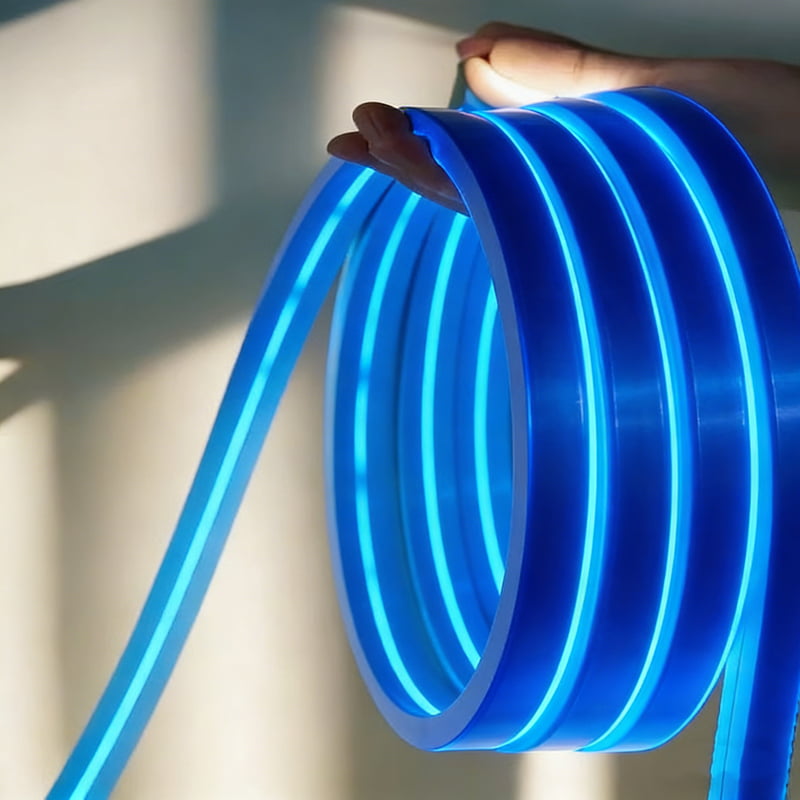
Unlike traditional LED strips, neon flex relies on structural support and uniform diffusion to create its signature effect. Proper installation maintains consistent light distribution, prevents stress points, and ensures optimal heat dissipation4.

Let's dive deeper into why installation matters so much for neon flex performance:
Physical Structure Considerations
- Light Distribution: The silicone housing5 acts as both diffuser and structural support
- Stress Points: Improper mounting creates pressure points that affect light output
- Heat Management: Correct installation ensures proper thermal dissipation
Common Installation Mistakes
- Random bending without proper support
- Inconsistent mounting point spacing6
- Ignoring heat dissipation4 requirements
- Using incorrect mounting channels
Impact on Performance
| Issue | Cause | Effect |
|---|---|---|
| Uneven lighting | Irregular mounting pressure | Dark/bright spots |
| Early failure | Excessive stress points | LED damage |
| Poor diffusion | Improper support | Visible hotspots |
What Are the Essential Tools and Materials for Professional Installation?
Every successful installation starts with having the right tools and materials. I've learned this lesson the hard way through trial and error.
Professional neon flex installation requires mounting channels, end caps, proper cutting tools, a measuring tape, level, marking tools, and appropriate fasteners. Using the correct accessories ensures long-term stability and optimal performance.

Understanding your installation tools and materials is crucial for success:
Required Tools Breakdown
Basic Tools
- Measuring tape
- Level
- Marking pencil
- Wire strippers
- Cutting tools
Mounting Materials
- Aluminum channels
- Mounting clips
- End caps
- Silicone sealant
Safety Equipment
- Work gloves
- Safety glasses
- Voltage tester
The quality of your installation tools directly impacts the final result. I always recommend investing in professional-grade tools, especially for commercial installations.
| Tool Category | Purpose | Impact on Installation |
|---|---|---|
| Measuring | Accuracy | Prevents waste and misalignment |
| Cutting | Clean edges | Ensures proper connections |
| Mounting | Secure fit | Maintains even light distribution |
How Do You Plan the Layout for Perfect Results?
The planning phase is where most installation problems can be prevented. I've seen rushed projects lead to costly mistakes and disappointing results.
Start by creating a detailed layout plan that includes mounting points, power supply locations, and bend radius3es. Test the complete run before permanent installation and ensure all measurements account for connections and corner pieces.

Let's explore the critical aspects of layout planning7:
Pre-Installation Considerations
- Surface preparation requirements
- Power source locations
- Mounting point spacing
- Bend radius calculations
Environmental Factors
- Temperature fluctuations
- Humidity levels
- Direct sunlight exposure
- Ventilation requirements
Technical Planning
| Factor | Specification | Why It Matters |
|---|---|---|
| Bend Radius | Minimum 2" | Prevents internal damage |
| Mount Spacing | Every 12" | Ensures even support |
| Power Drop | Every 16ft | Maintains brightness |
Conclusion
Successful indoor neon flex installation1 requires careful planning, proper tools, and attention to detail. Following these guidelines will help you achieve professional results and avoid common pitfalls that lead to premature failure or poor performance.
Explore this resource to learn essential techniques for achieving flawless indoor neon flex installations. ↩
Discover the best mounting accessories to ensure your neon flex installation is secure and effective. ↩
Understanding bend radius is crucial for preventing damage and ensuring optimal performance in neon flex. ↩
Learn about the importance of heat dissipation in neon flex installations to enhance longevity and performance. ↩
Explore how silicone housing contributes to light diffusion and structural support in neon flex. ↩
Learn about the optimal spacing for mounting points to ensure even light distribution in your installation. ↩
Effective layout planning is key to success; discover strategies to create a flawless installation plan. ↩