
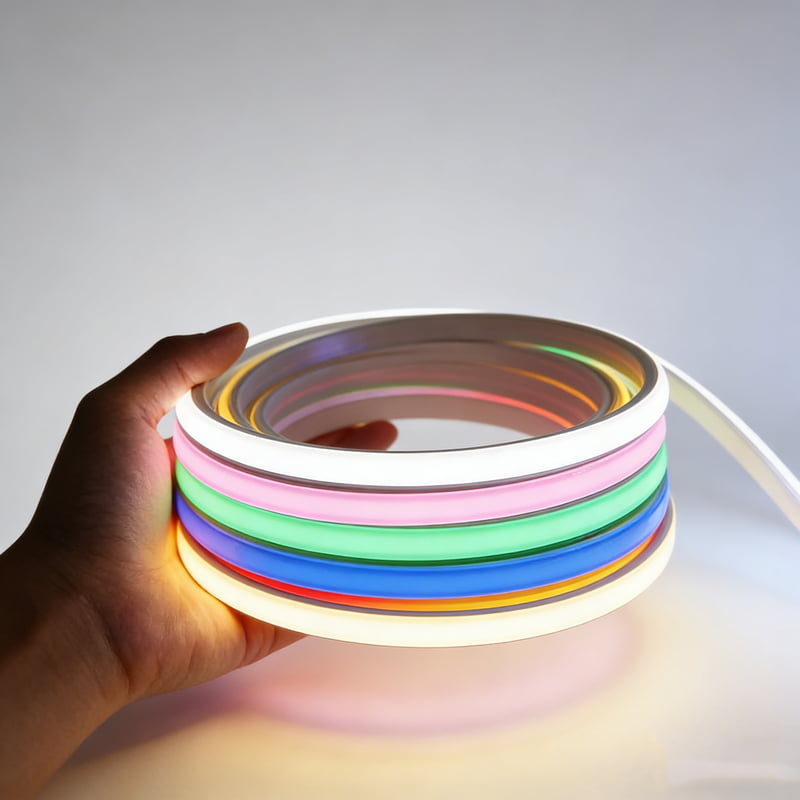
I've seen countless LED neon flex1 installations fail because of one hidden but devastating issue - dead spots2 appearing after installation. This seemingly minor problem can ruin entire lighting projects and waste thousands of dollars.
The most reliable way to prevent LED neon flex1 failures is to focus on proper cutting and connection methods3. Only use products with reinforced cutting points4, standardized connectors, and complete waterproofing5 at every joint. Test all connections before final installation.

As someone who has worked with LED neon flex1 for over a decade, I've learned that what seems like an "easy" product can quickly become a nightmare without proper attention to these critical details. Let me share what I've discovered through years of troubleshooting failed installations.
Why Do LED Neon Flex Lights Develop Dead Spots?
Every week I get calls from frustrated contractors dealing with sections of their LED neon flex1 installations that have mysteriously stopped working. The problem almost always traces back to one critical mistake made during installation.
Dead spots in LED neon flex1 typically occur because of poor connections at cutting points4. When the light strip is cut and reconnected improperly, it creates weak points vulnerable to water damage, mechanical stress, and electrical failure over time.

Let me break down the three main reasons these failures occur, based on the hundreds of projects I've analyzed:
1. Poor Cutting Point Design
Many manufacturers claim their LED neon flex1 can be cut anywhere, but the internal circuit design tells a different story. Without reinforced cutting points4 that protect the electrical connections, you're essentially creating a weak spot every time you make a cut. I've seen installations where every single cutting point eventually failed because the exposed connections weren't properly protected.
2. Improper Connection Methods
The way sections are joined together makes an enormous difference in long-term reliability. Quick connectors might seem convenient, but they often create loose connections that fail over time. Manual soldering6, if not done precisely to spec, creates similar issues. From my experience, about 80% of dead spot problems can be traced back to improper connection methods3.
3. Compromised Waterproofing
Even IP68-rated products can fail if the waterproofing5 is compromised during installation. Each cut creates a potential entry point for moisture. Without proper resealing, water inevitably finds its way in, leading to corrosion and electrical shorts. I've seen entire facades fail during rainy seasons because of this single issue.
What's The Solution For Reliable LED Neon Flex Installation?
After seeing so many failed installations, I developed a systematic approach to ensure reliability. It starts well before the first piece is even cut.
The key to reliable LED neon flex1 installation is using products specifically designed for cutting and reconnection, with standardized connection methods3 and complete waterproofing5 systems. Every cut point must be treated as a critical junction requiring the same level of protection as the original product.

Here's my proven approach that has saved countless installations:
Pre-Installation Testing
Before any major installation, I insist on testing the exact cutting and connection methods3 that will be used. This means:
- Cutting sample sections
- Making connections using the planned methods
- Testing under various conditions (bending, temperature changes, moisture exposure)
- Monitoring for at least 24 hours of continuous operation
Connection Standards
I've developed strict standards for making connections:
- Only cut at designated points marked by the manufacturer
- Use standardized connection methods3 (no improvised solutions)
- Apply proper strain relief7 at every connection point
- Implement complete waterproofing5 systems for each joint
Quality Control Process
For every installation, we follow a detailed quality control process8:
- Verify all cutting points4 before making cuts
- Document each connection with photos
- Test each section independently before final installation
- Perform stress testing on critical connections
- Implement proper support systems to prevent mechanical stress
What Makes A Connection Point Truly Reliable?
The difference between a connection that lasts and one that fails often comes down to subtle details that many installers overlook.
A truly reliable LED neon flex1 connection must have three key elements: mechanical stability9 to prevent movement, electrical continuity with proper current capacity, and complete environmental protection10. All three must work together as a system.

From my experience overseeing hundreds of installations, here's what makes a connection point truly reliable:
Mechanical Stability
- Reinforced internal structure at cutting points4
- Proper strain relief7 systems
- Support mechanisms to prevent bending stress
- Secure mounting methods that don't create pressure points
Electrical Integrity
- Clean, precise cuts at designated points
- Professional-grade connections (no quick-fix solutions)
- Proper current capacity matching
- Temperature management considerations
Environmental Protection
- Complete waterproofing5 system
- UV protection for outdoor installations
- Temperature cycle resistance
- Condensation management
Conclusion
The success of any LED neon flex1 installation ultimately depends on the quality of its connection points. By focusing on proper cutting methods, standardized connections, and complete waterproofing5, you can avoid the costly failures that plague so many projects.
Explore this resource to learn essential tips for successful LED neon flex installations and avoid common pitfalls. ↩
This link provides insights on preventing dead spots, ensuring your lighting projects remain flawless and effective. ↩
Discover the most reliable connection methods to enhance the longevity and performance of your LED neon flex installations. ↩
Understanding the significance of cutting points can help you make informed decisions for reliable installations. ↩
Learn about effective waterproofing techniques to protect your installations from moisture damage. ↩
Explore effective soldering techniques to ensure strong and reliable connections in your LED neon flex projects. ↩
Understanding strain relief can help you prevent mechanical stress and ensure the longevity of your installations. ↩
This resource outlines a quality control process that can help ensure the success of your LED neon flex projects. ↩
Explore the importance of mechanical stability in connections to prevent failures in your lighting installations. ↩
Learn about essential environmental protection measures to enhance the durability of your LED neon flex installations. ↩