
You are standing on set. The director calls "action." But something feels wrong. The light does not match. The color shifts. The shadows are too harsh. You realize you picked the wrong lighting type. Now you face reshoots. Now you face budget overruns. Now you face angry producers.
The answer is simple: different film scenes require specific lighting types1 based on mood, control, and color stability2. Soft, diffused lighting works for intimate drama. Hard, directional light creates tension in thrillers. Colored accent lighting defines sci-fi or fantasy worlds. But the real question is not which light you choose—it is whether that light stays consistent throughout your entire shoot.

You might think this is just about "picking the right bulb." It is not. It is about understanding how light behaves under pressure—under heat, under time, under the unforgiving eye of a cinema camera. Let me walk you through the real decisions that separate amateur setups from professional-grade film production.
What Lighting Types Do Filmmakers Actually Use on Set?
You walk onto any professional film set. You see dozens of lights. But they fall into just a few core categories. Each one serves a specific purpose. Each one solves a specific visual problem.
Filmmakers use key lights3 for primary subject illumination, fill lights4 to soften shadows, backlights5 for depth separation, and practical lights6 for realistic in-scene sources. Modern productions also rely on LED panels7, silicone neon flex8 for architectural accents9, and RGB systems10 for creative color control.

The Four Core Lighting Functions
Every light on set plays one of these roles. Understanding this helps you avoid buying unnecessary equipment.
| Lighting Type | Primary Function | Common Use Cases | Key Technical Requirement |
|---|---|---|---|
| Key Light | Main subject illumination | Close-ups, interviews, hero shots | High CRI (95+), stable color temperature11 |
| Fill Light | Shadow softening | Drama scenes, portrait lighting | Diffused output, adjustable intensity |
| Backlight | Subject separation from background | Action sequences, depth creation | Directional control, minimal spill |
| Practical Light | In-scene visible sources | Lamps, neon signs, ambient fixtures | Camera-friendly flicker-free output |
I have seen productions fail because they focused only on brightness. They ignored color accuracy. They ignored thermal stability12. A light might look perfect for the first hour. But after four hours of continuous shooting, the color temperature11 drifts. The image becomes inconsistent. Post-production costs double because colorists must now manually correct every single shot.
This is why I always test lights under real shooting conditions. I run them for eight to twelve hours straight. I check color shift. I measure heat buildup. I verify that the light you see in hour one matches the light in hour ten. If it does not, I do not recommend it. You cannot fix bad lighting in post. You can only waste money trying.
Which Lighting Works Best for Dramatic Interior Scenes?
You are shooting a tense conversation. Two characters sit across a table. The mood must feel intimate. The shadows must feel natural. The audience must feel like they are in the room.
Soft, diffused key lighting combined with warm-toned fill lights4 creates the most natural look for dramatic interiors. The key light should come from a motivated source angle—mimicking window light or a lamp—while fill lights4 prevent shadows from going completely black.

Breaking Down the Technical Approach
Many filmmakers make one critical mistake here. They use too many lights. More lights do not mean better lighting. It means more shadows. It means more inconsistencies. It means more headaches.
I approach dramatic interiors with a simple rule: one motivated key, one controlled fill, one subtle backlight. That is it. But each of these lights must perform flawlessly. The key light must have a CRI above 95. The fill must allow precise dimming without color shift. The backlight must separate the subject without creating lens flare.
Here is where traditional tungsten lights fail. They generate too much heat. They consume too much power. They require heavy diffusion frames. Modern LED panels7 solve some of these problems. But many LED systems still suffer from green-magenta tint shifts. I have tested dozens of brands. Most fail the twelve-hour consistency test.
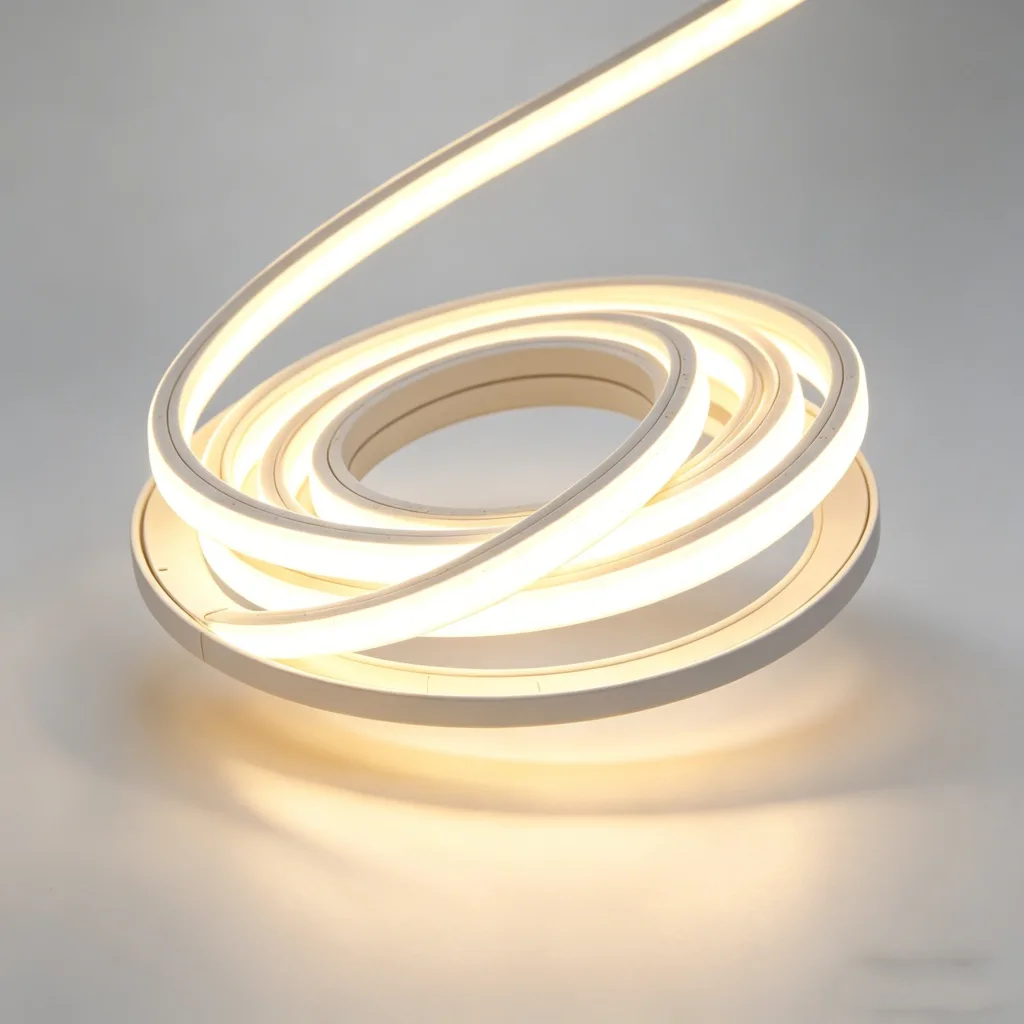
This is why I now recommend high-grade silicone neon flex8 systems for architectural accent lighting in interiors. They provide continuous, even illumination. They do not create visible hot spots. They maintain color temperature11 stability across long shoots. And because they use food-grade silicone extrusion, they resist yellowing even under sustained high temperatures.
But you must verify the manufacturing quality. Not all silicone flex is equal. Cheap versions use low-grade silicone. They yellow after just a few months. They show visible LED dots on camera. They fail the moment you need them most.
How Do You Light High-Action or Thriller Sequences?
The scene changes. Now you are shooting a chase. Or a fight. Or a moment of pure suspense. The lighting must shift. It must create tension. It must guide the viewer's eye exactly where you want it.
Hard, directional lighting with strong contrast ratios defines action and thriller sequences. Backlighting becomes critical to separate fast-moving subjects from chaotic backgrounds, while strategic shadow placement creates visual tension13.

Why Hard Light Outperforms Soft Light in Action
Soft light works for drama. It fails for action. Why? Because soft light flattens depth. It reduces contrast. It makes fast movement harder to track visually. Hard light does the opposite. It creates sharp shadows. It defines edges. It makes every punch, every jump, every car crash feel more visceral.
But hard light comes with a technical challenge: control. You cannot just blast a subject with hard light and call it done. You must shape that light. You must flag it. You must prevent spill onto areas where you do not want it.
I have worked with directors who tried to use basic fresnels for action sequences. The results were inconsistent. Light spilled everywhere. Shadows fell in the wrong places. The camera caught unwanted reflections. The solution was not bigger lights. It was better-controlled light.
This is where modern LED spotlights with barn doors and grid attachments excel. They give you surgical precision. You can carve light exactly where you need it. You can block it exactly where you do not.
For background accent lighting in action scenes, I often use side-view silicone neon flex8. It provides a continuous line of light that defines architectural edges without overpowering the key lighting. It stays cool. It does not flicker. It does not drift in color. And because it is IP68 rated, I can use it in rain sequences or underwater shots without worry.
What About Color-Graded Scenes in Sci-Fi or Fantasy?
Now the creative demands change completely. You are no longer working in natural color temperature11s. You are building a world. A world that exists only on screen. A world where color itself tells the story.
RGB LED systems and programmable DMX-controlled lighting allow filmmakers to create precise color palettes for sci-fi and fantasy environments. These systems must maintain color saturation consistency and allow real-time adjustments without interrupting production flow.

The Hidden Trap in RGB Lighting Systems
You see beautiful demo reels. Every color looks perfect. Saturated blues. Deep purples. Vivid cyans. You buy the system. You set it up on location. And then you discover the problem.
The color you see in person does not match the color the camera records. Why? Because most RGB systems10 use low-quality LEDs with poor spectral output. They create colors by mixing red, green, and blue. But the wavelengths are narrow. The camera sensor interprets them differently than your eye does. The result is muddy, inconsistent color on screen.
I learned this the hard way on a sci-fi commercial shoot three years ago. We used a popular RGB panel system. The client approved the colors on set. But when we reviewed the footage in post, the blues looked purple. The greens looked yellow. We had to reshoot. The client was furious. I was embarrassed.
Since then, I only work with RGB systems10 that use full-spectrum LEDs. These systems cost more upfront. But they save thousands in post-production. They deliver the color you expect. They maintain that color across different camera brands. They do not shift when you adjust intensity.
For architectural color accents, I now use SPI-controlled silicone neon flex8. It allows pixel-level control. It maintains color uniformity across long runs. It does not show individual LED dots on camera. And because it uses high-molecular silicone, it resists UV degradation and maintains color accuracy over years of use.
How Do You Choose Lighting for Outdoor Night Scenes?
Outdoor night shoots present unique challenges. You have no walls to bounce light. You have no ceiling to diffuse it. You have environmental variables—wind, temperature, humidity—that affect every piece of equipment.
Large-scale LED panels7 and high-output HMI lights14 remain the standard for outdoor night cinematography, but modern productions increasingly use weatherproof silicone neon flex8 for practical accents and architectural outlines that require zero maintenance across multi-day shoots.

Why Traditional HMI Lights Still Dominate
HMI lights14 produce massive output. They mimic daylight color temperature11. They can light an entire city block. But they come with serious drawbacks. They generate extreme heat. They require heavy ballasts. They consume enormous amounts of power. And they take time to warm up and cool down.
I remember a night exterior shoot in Shenzhen. We had four 12K HMI lights14. The power requirements were insane. We needed a dedicated generator truck. The lights took fifteen minutes to reach full output. Every time the director called cut, we had to decide: keep them running and waste power, or turn them off and wait fifteen minutes to restart.
Modern LED panels7 solve some of these issues. They turn on instantly. They consume less power. They generate less heat. But they still struggle with sheer output. You need many LED panels7 to match one large HMI. And that means more rigging. More power runs. More points of failure.
This is where hybrid approaches work best. Use HMI for your primary fill light. Use LED panels7 for controlled key lighting. And use silicone neon flex8 for all architectural accents9 and practical elements.
I recently worked on a commercial that required lighting a modern building facade at night. We used traditional lights for the main illumination. But for the building's architectural lines, we installed IP68-rated silicone neon flex8. It stayed on for fourteen hours straight. It survived a sudden rainstorm. It maintained perfect color temperature11. And it drew so little power that we ran it off a standard outlet.
What Mistakes Do First-Time Filmmakers Make with Lighting?
I have trained dozens of new cinematographers. I have reviewed hundreds of student films. The same mistakes appear again and again. These are not creative mistakes. They are technical oversights. And they cost time and money.
The most common lighting mistakes15 include using mismatched color temperature11s, ignoring light quality over quantity, failing to test equipment under real shooting conditions, and choosing cheap lights that drift in color or flicker on camera.

The Color Temperature Trap
You buy lights from different manufacturers. They all claim to be 5600K daylight. You set them up. You shoot. And in post-production, you discover they do not match. One is slightly green. One is slightly magenta. One is actually 5800K. Now you must color-correct every shot individually.
This happens because manufacturers measure color temperature11 differently. Some measure at full output. Some measure at 50 percent. Some use cheap sensors. Some just lie.
I solve this with a simple rule: test every light with a calibrated color meter before you buy. I do not trust spec sheets. I verify. And if a manufacturer refuses to let me test their product, I do not buy from them.
The "More Lights" Fallacy
New filmmakers think more lights equal better lighting. They set up ten lights for a simple interview. The result is chaos. Multiple shadows. Conflicting color temperature11s. Overlit subjects with no depth.
Professional cinematography uses fewer lights, better placed. I would rather have three high-quality lights than twenty mediocre ones. Quality over quantity applies to lighting more than any other aspect of filmmaking.
The Testing Gap
You see a light in a showroom. It looks perfect. You buy it. You bring it to set. And it fails. Why? Because showroom conditions do not match real shooting conditions.
I never buy lights without testing them under real conditions. I run them for hours. I shoot test footage. I check for flicker at different frame rates. I verify color stability2. I measure heat output. I confirm that the light performs exactly as promised.
This is especially critical with silicone neon flex8 systems. Many manufacturers use low-grade silicone. It yellows quickly. It shows visible LED dots. It fails after a few months. But if you test it properly before purchase, you avoid these problems.
Conclusion
Film lighting is not about having every type of light. It is about having the right light for each specific scene—and ensuring that light performs consistently throughout your entire production. Test rigorously. Choose quality over quantity. And never compromise on color stability2.
Understanding various lighting types is crucial for achieving the desired mood and visual storytelling in film. ↩
Maintaining color stability ensures consistency across shots, reducing post-production costs. ↩
Key lights are essential for illuminating the main subject, shaping the visual narrative. ↩
Fill lights soften shadows, creating a more natural look in various scenes. ↩
Backlights create depth and separation, enhancing the visual composition of a scene. ↩
Practical lights add realism to scenes by providing visible light sources within the frame. ↩
LED panels are energy-efficient and versatile, making them ideal for modern film productions. ↩
Silicone neon flex provides consistent illumination and color stability, perfect for architectural accents. ↩
Using specialized lighting for architectural accents adds depth and interest to scenes. ↩
RGB systems allow for creative color control, essential for building unique visual environments. ↩
Understanding color temperature is key to achieving visual harmony in film lighting. ↩
Thermal stability prevents color shifts during long shoots, maintaining visual consistency. ↩
Effective lighting shapes viewer perception, enhancing the emotional impact of scenes. ↩
HMI lights provide powerful output and daylight color temperature, ideal for large outdoor scenes. ↩
Avoiding common mistakes can save time and money, leading to better film quality. ↩