

You send over your logo files. You approve the design mockups. You sign off on the brand colors. Everything looks perfect on paper. Then installation day arrives, and nothing fits. The curves don't bend the way they should. The lighting breaks up where it should flow. Your 12-meter storefront sign suddenly looks like a patchwork quilt instead of a cohesive brand statement.
Custom Logo Neon Signs are not plug-and-play products. They are engineering translations of brand assets. When you skip the "brand-to-build" validation step, you don't eliminate risk—you just delay discovering it until the most expensive phase of your project.
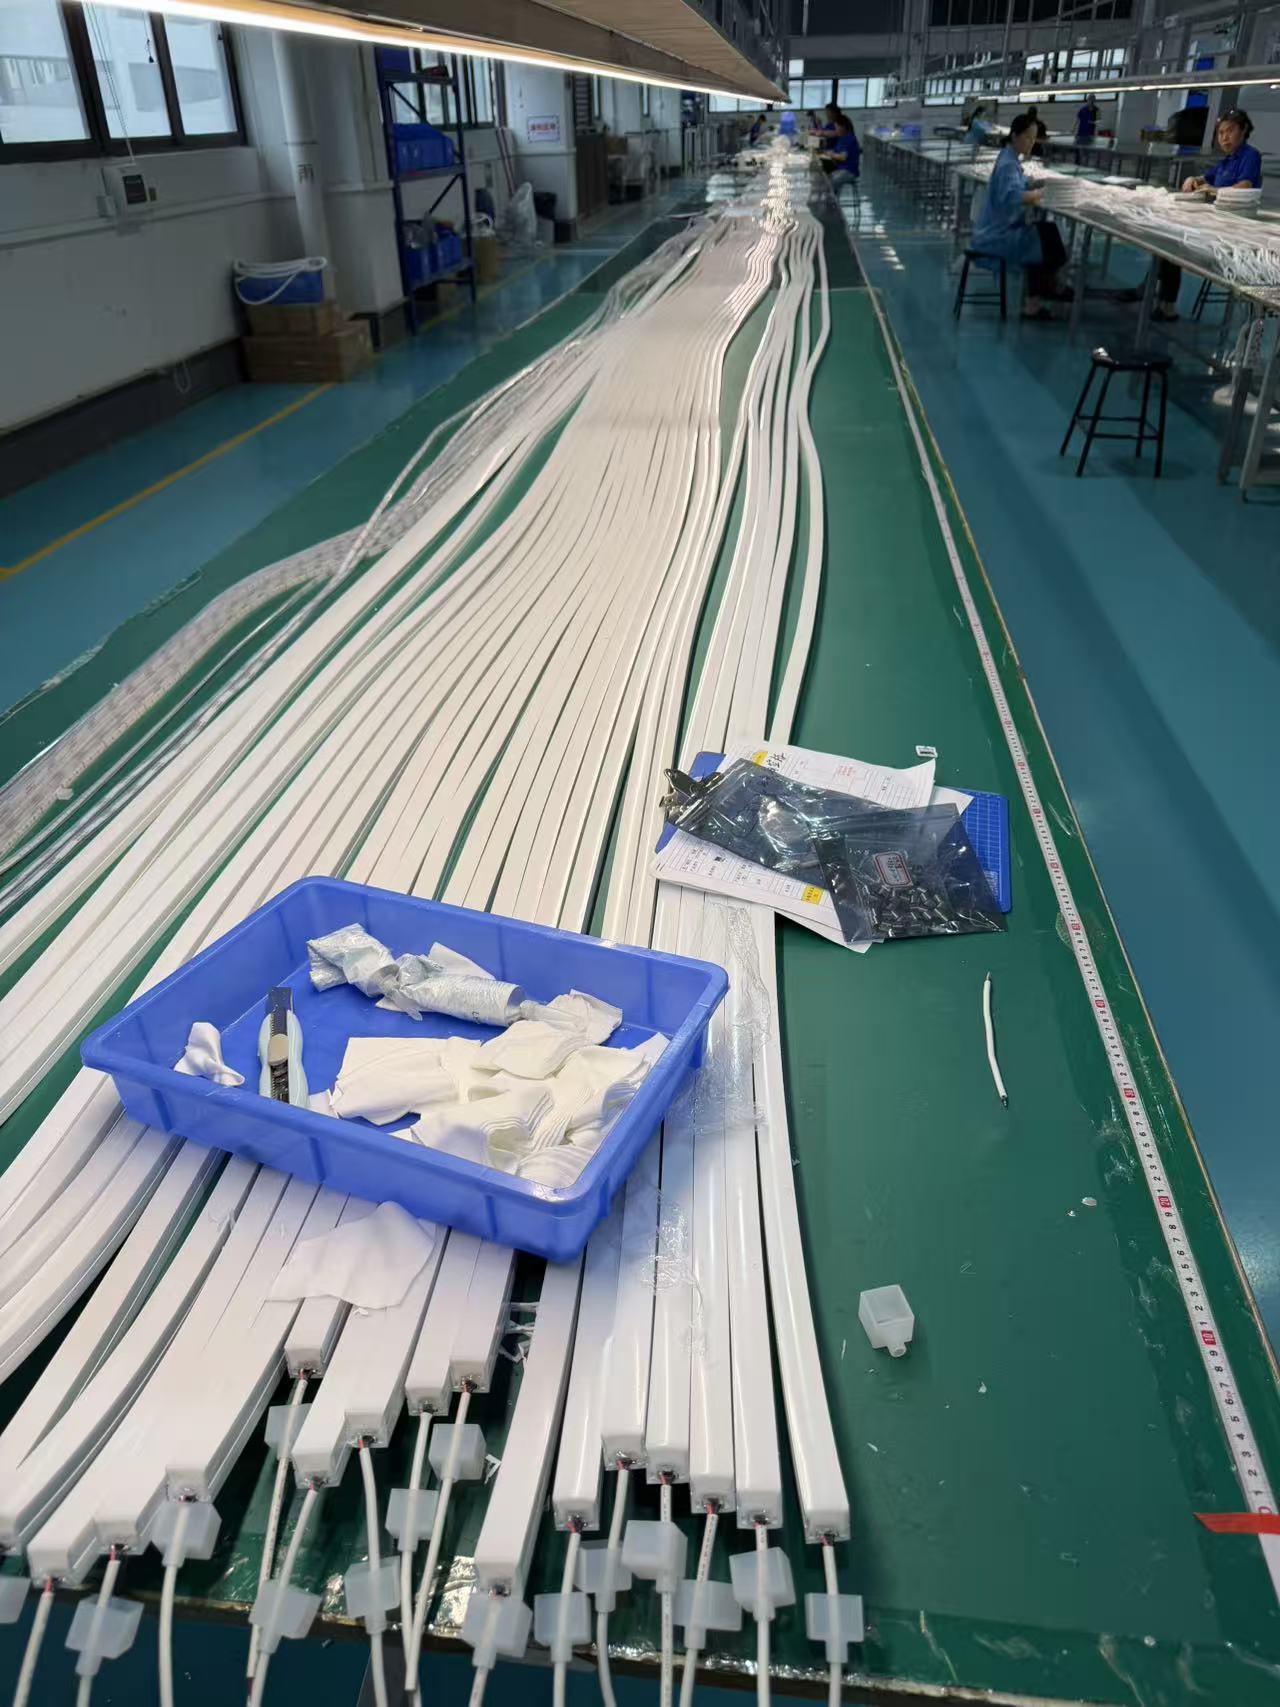
I have watched this mistake destroy project timelines across dozens of commercial builds. The problem is not what most people think. It is not about finding a "better manufacturer." It is about understanding that your logo was designed for print and screens, not for 8-meter fabrication with real-world physics, structural loads, and nighttime visibility requirements.
Why Does Everyone Assume Logo Files Equal Production Files?
Your brand team hands you an AI file. Your design agency confirms the Pantone colors. Your project manager checks the box labeled "Logo Approved." Everyone believes the hard part is done. But here is what actually just happened: you finalized a visual concept, not a construction blueprint.
Logo files define what something should look like. They do not define how to build it, power it, mount it, or make it survive weather, thermal expansion, and multi-angle viewing distances. That gap between design and deployment is where most Custom Logo Neon Signs projects collapse.

I worked with a retail chain that provided a beautifully refined script logo. It looked flawless in their brand manual. When we scaled it to their 15-meter facade requirement, we discovered the internal curves had radii too tight for continuous silicone extrusion. The manufacturer could produce it—but only by adding visible seams every 600mm. The brand team rejected it instantly. We had to restart from structural planning, not from manufacturing.
The Hidden Translation Layer Nobody Plans For
Your logo exists in brand space. Your neon sign exists in construction space. Between those two realities sits an invisible translation process that most project teams skip entirely. This translation must answer questions your brand guidelines never considered: How do you route power through a 3D letter without visible wires? How do you anchor curved shapes to a flat building surface? How do you ensure a 10-meter sign maintains visual consistency when viewed from 5 meters versus 50 meters? When do you segment a continuous wordmark, and where do you hide the joints?
Nobody writes these answers into the logo approval meeting. But if you manufacture before you solve them, you are building a prototype on your client's budget.
The Scale Problem That Breaks Beautiful Designs
Small samples lie. I have seen it kill projects repeatedly. A client approves an 800mm prototype. It looks stunning under controlled showroom lighting. Then the factory produces the 12-meter version for the actual building. Suddenly the elegant curves become mechanical angles. The smooth transitions turn into visible segments. The unified glow fractures into uneven brightness zones.
Why does this happen? Because geometric relationships do not scale linearly. A curve that works at 800mm may require structural reinforcement at 8 meters. A joint that is invisible at arm's length becomes obvious at architectural scale. A power supply that handles 2 meters of LED neon cannot drive 15 meters without voltage drop.
Your sample proved you can make a miniature version. It did not prove you can make the real thing.
What Happens When Projects Skip Engineering Validation?
I have reviewed post-mortems from projects across North America, Europe, and Asia. The pattern is always the same. Teams follow every documented process correctly. They check every approval box. They meet every specification listed in the RFP. Then the installation fails anyway. Not because anyone broke the rules—but because the rules validated the wrong things.
When you approve a logo design without engineering review, you are not reducing project risk. You are converting it from a planning problem into a construction crisis.
![Failed Installation Scenario]https://siluxa.com/wp-content/uploads/2026/04/silicone-neon-flex-production-1.webp "Example of misaligned custom logo neon installation requiring rework")
One hospitality brand discovered this during a 20-location rollout. Their logo featured continuous flowing letterforms. Beautiful on screen. Impossible to mount on the mix of brick, glass, and metal composite panels across their actual buildings. By the time we identified the issue, they had already fabricated signs for 8 locations. We had to redesign the mounting system, which meant reengineering the sign structure, which meant new fabrication. Four-month delay. Six-figure cost overrun.
The Five Failure Modes That Repeat Across Projects
Failure Mode 1: Dimensional Accuracy Without Visual Consistency
Your spec sheet says "Logo width: 6000mm." Both the mockup and the installed sign measure exactly 6000mm. But one looks right and one looks wrong. Why? Because dimensional accuracy does not guarantee visual accuracy. Viewing distance, mounting height, background contrast, and lighting conditions all shift perception. A logo that works at eye level fails when mounted 8 meters high. The dimensions match. The visual impact does not.
Failure Mode 2: Color Match in Wrong Conditions
Your brand manual specifies Pantone 485C. Your neon supplier confirms CRI>90 color rendering. You approve the daytime sample. Then you see it at night against your building's facade lighting and realize the color shifts completely. Neon color is not static—it interacts with ambient light, background material, and viewing angle. Matching Pantone in isolation does not mean matching brand perception in context.
Failure Mode 3: Flexibility Specs That Ignore Compound Curves
Your RFP says "Flexible LED Neon, minimum bend radius 25mm." Your logo has curves that technically fall within that radius. But those curves are not isolated circles—they are compound curves that transition through multiple radii while maintaining smooth visual flow. A neon strip can bend to 25mm. It cannot transition smoothly through three different radii in 200mm while maintaining even light output. Technical compliance does not equal design feasibility.
Failure Mode 4: Sample Approval Without Scale Testing
You approved a 500mm sample. Your building requires a 14-meter sign. You assumed the small version would scale proportionally. It does not. Long runs require segmentation for shipping and installation. Segmentation requires joints. Joints require power connections. Power connections create visual breaks. Your approved sample did not have these breaks because it did not need them. Your installed sign must have them because physics requires them.
Failure Mode 5: Separate Approvals For Interdependent Systems
Your brand team approves aesthetics. Your engineering team approves structure. Your electrical team approves wiring. Your construction team approves installation. Nobody approves how all four work together. Each department solves their piece correctly while creating an unsolvable puzzle. The logo looks right—but cannot be mounted. The mounting works—but blocks necessary electrical access. The electrical plan functions—but requires visible conduit that brand rejects.
These are not manufacturing defects. They are validation gaps. The product works. The building works. The logo works. They just do not work together—because nobody checked if they could before committing to all three simultaneously.
What Should Actually Be In Your Custom Logo Neon Signs Specification?
Most RFPs for Custom Logo Neon Signs read like product datasheets. They list dimensions, power requirements, IP ratings, and material specs. All necessary. None sufficient. Because they describe the component, not the system. They define what you are buying, not whether it can actually be installed in your specific building under your specific conditions.
A specification that prevents project failure does not just describe the neon sign. It describes the complete integration between brand requirements, structural realities, and installation constraints.
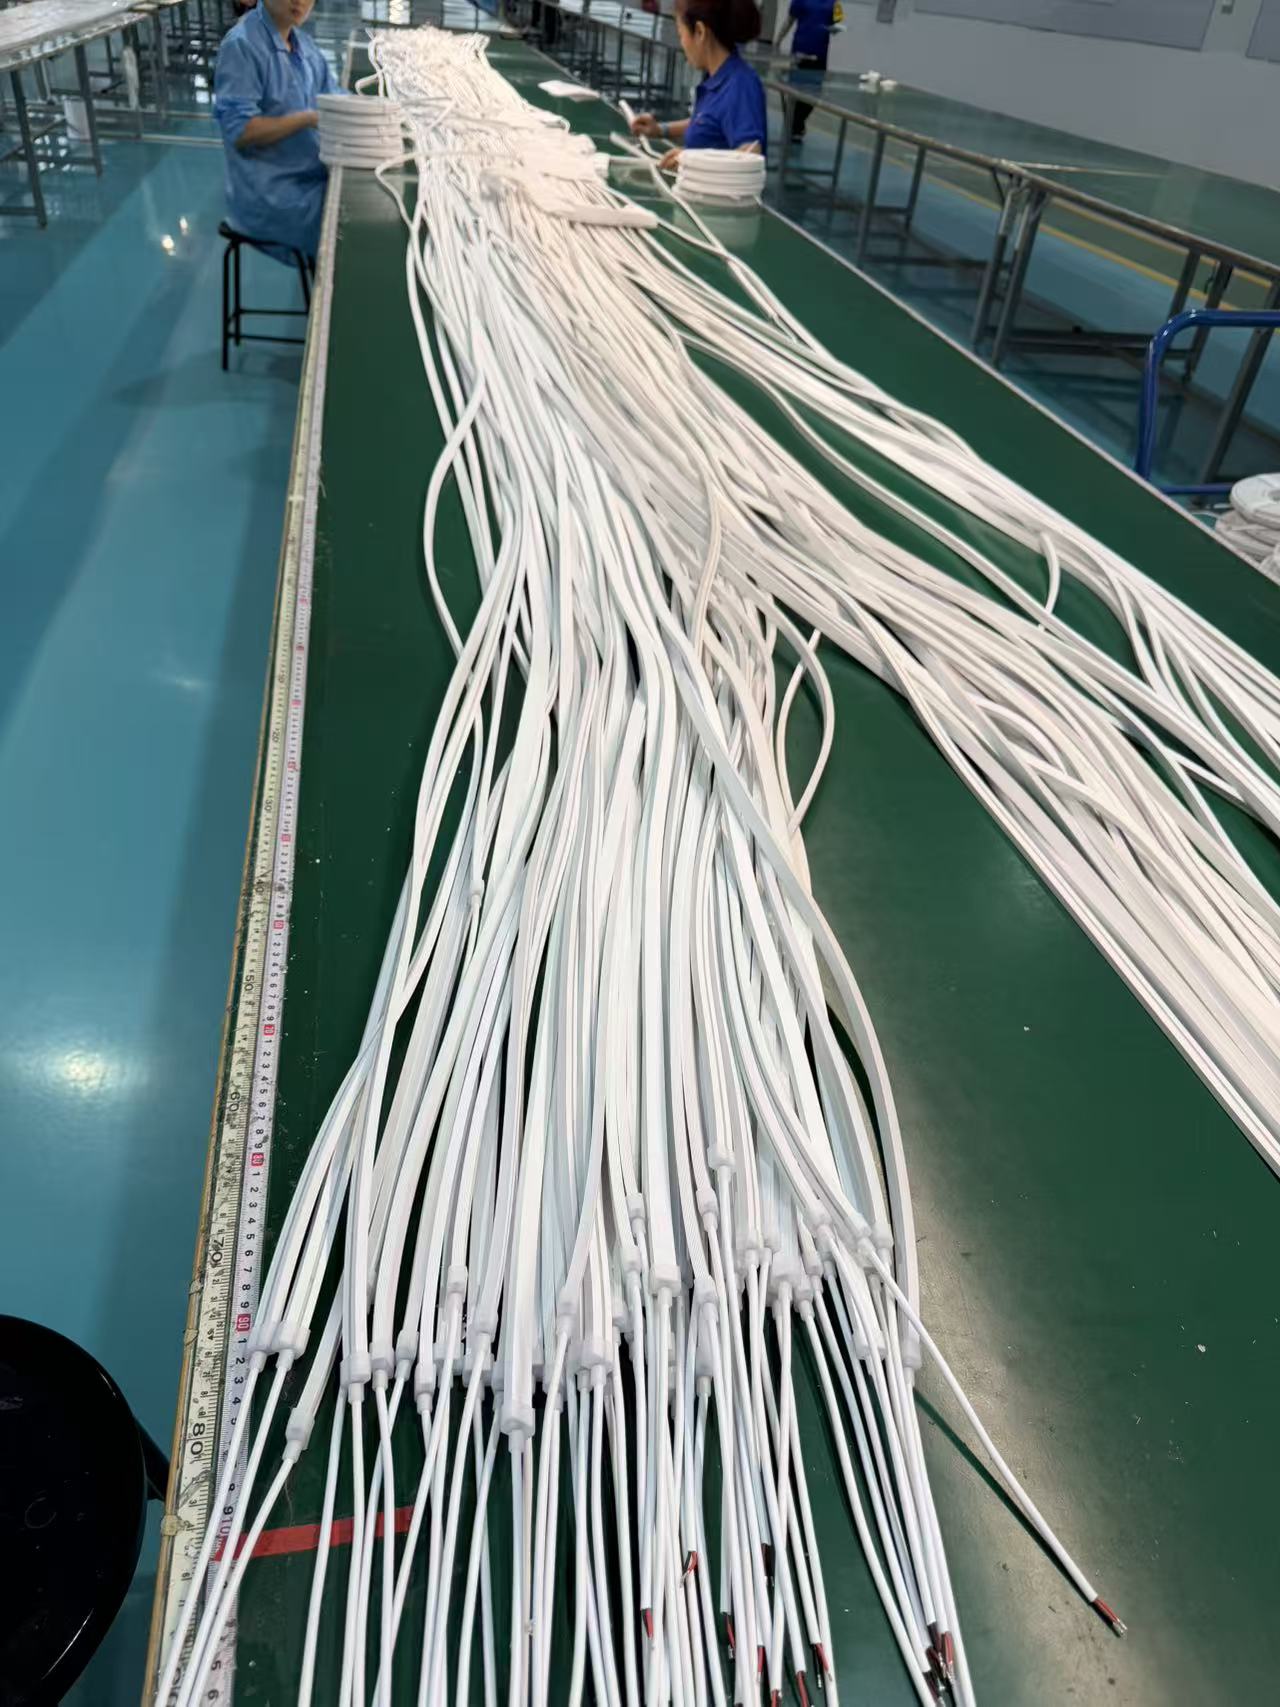
I have started requiring clients to answer questions that do not appear in standard RFPs: What is the minimum viewing distance for this sign? What is the maximum? How will building lighting affect perception? What structural load can the mounting surface support? What maintenance access exists? How will you replace a section if it fails in year three? These answers determine whether your logo can become a sign, not just whether a sign can be manufactured.
The Real Specification Structure That Prevents Failures
Your specification needs three validation layers, not one product description.
Layer 1: Brand Visual Standards Under Actual Conditions
Do not specify Pantone numbers. Specify visual appearance under defined lighting conditions. Provide reference images taken at the actual installation site during day and night. Define acceptable color variation not as technical measurements but as visual perception: "Must match brand primary color as perceived at 15-meter viewing distance under 4000K commercial district ambient lighting." This forces suppliers to test in real conditions, not lab conditions.
Layer 2: Structural Integration Requirements
Do not just specify sign dimensions. Map the complete mounting system. Show building facade photos with marked anchor points. Identify structural material (brick, curtain wall, EIFS, metal panel). Define load limits. Show conduit routing paths. Mark prohibited penetration zones. Require suppliers to submit installation plans, not just product specs. Make them prove how they will actually attach their sign to your actual building.
Layer 3: Segmentation and Joint Strategy
Large logos cannot be continuous. They must be segmented for shipping, handling, and installation. But your brand team should define where segments are allowed, not leave it to shipping logistics. Identify natural break points in the logo design. Specify maximum segment lengths. Define how joints will be concealed. Require mockups of joint areas, not just overall appearance. A beautiful logo with ugly seams is a failed logo.
The Questions Your Specification Must Force Suppliers To Answer
I have learned to front-load complexity into the RFP, not into post-award problem-solving. These questions should be mandatory response items, not optional details:
Fabrication Reality Check:
- Show how you will produce continuous curves within the logo's specified minimum radii
- Identify any design elements that require modification for manufacturing feasibility
- Provide test samples of critical curve sections at full scale, not miniature prototypes
Installation Method Validation:
- Submit a mounting plan showing every attachment point with structural calculations
- Demonstrate how you will route power without visible conduit
- Prove access for future maintenance without dismantling the entire sign
Visual Consistency Proof:
- Provide photos of similar-scale installations viewed from equivalent distances
- Show color samples under both daylight and nighttime ambient lighting
- Demonstrate joint concealment methods on multi-segment assemblies
Suppliers who cannot answer these questions should not receive contracts. Because they are not ready to execute the project—they are ready to discover problems during execution at your expense.
How Do You Actually De-Risk A Custom Logo Project?
Risk elimination in Custom Logo Neon Signs does not happen through better contracts or tighter specs. It happens through validation sequencing. You must force problems to surface during planning, when they cost time and revisions, not during installation, when they cost demolition and rework.
The highest-performing projects I have managed did not have fewer problems. They simply discovered those problems at the 20% complete stage instead of the 90% complete stage.
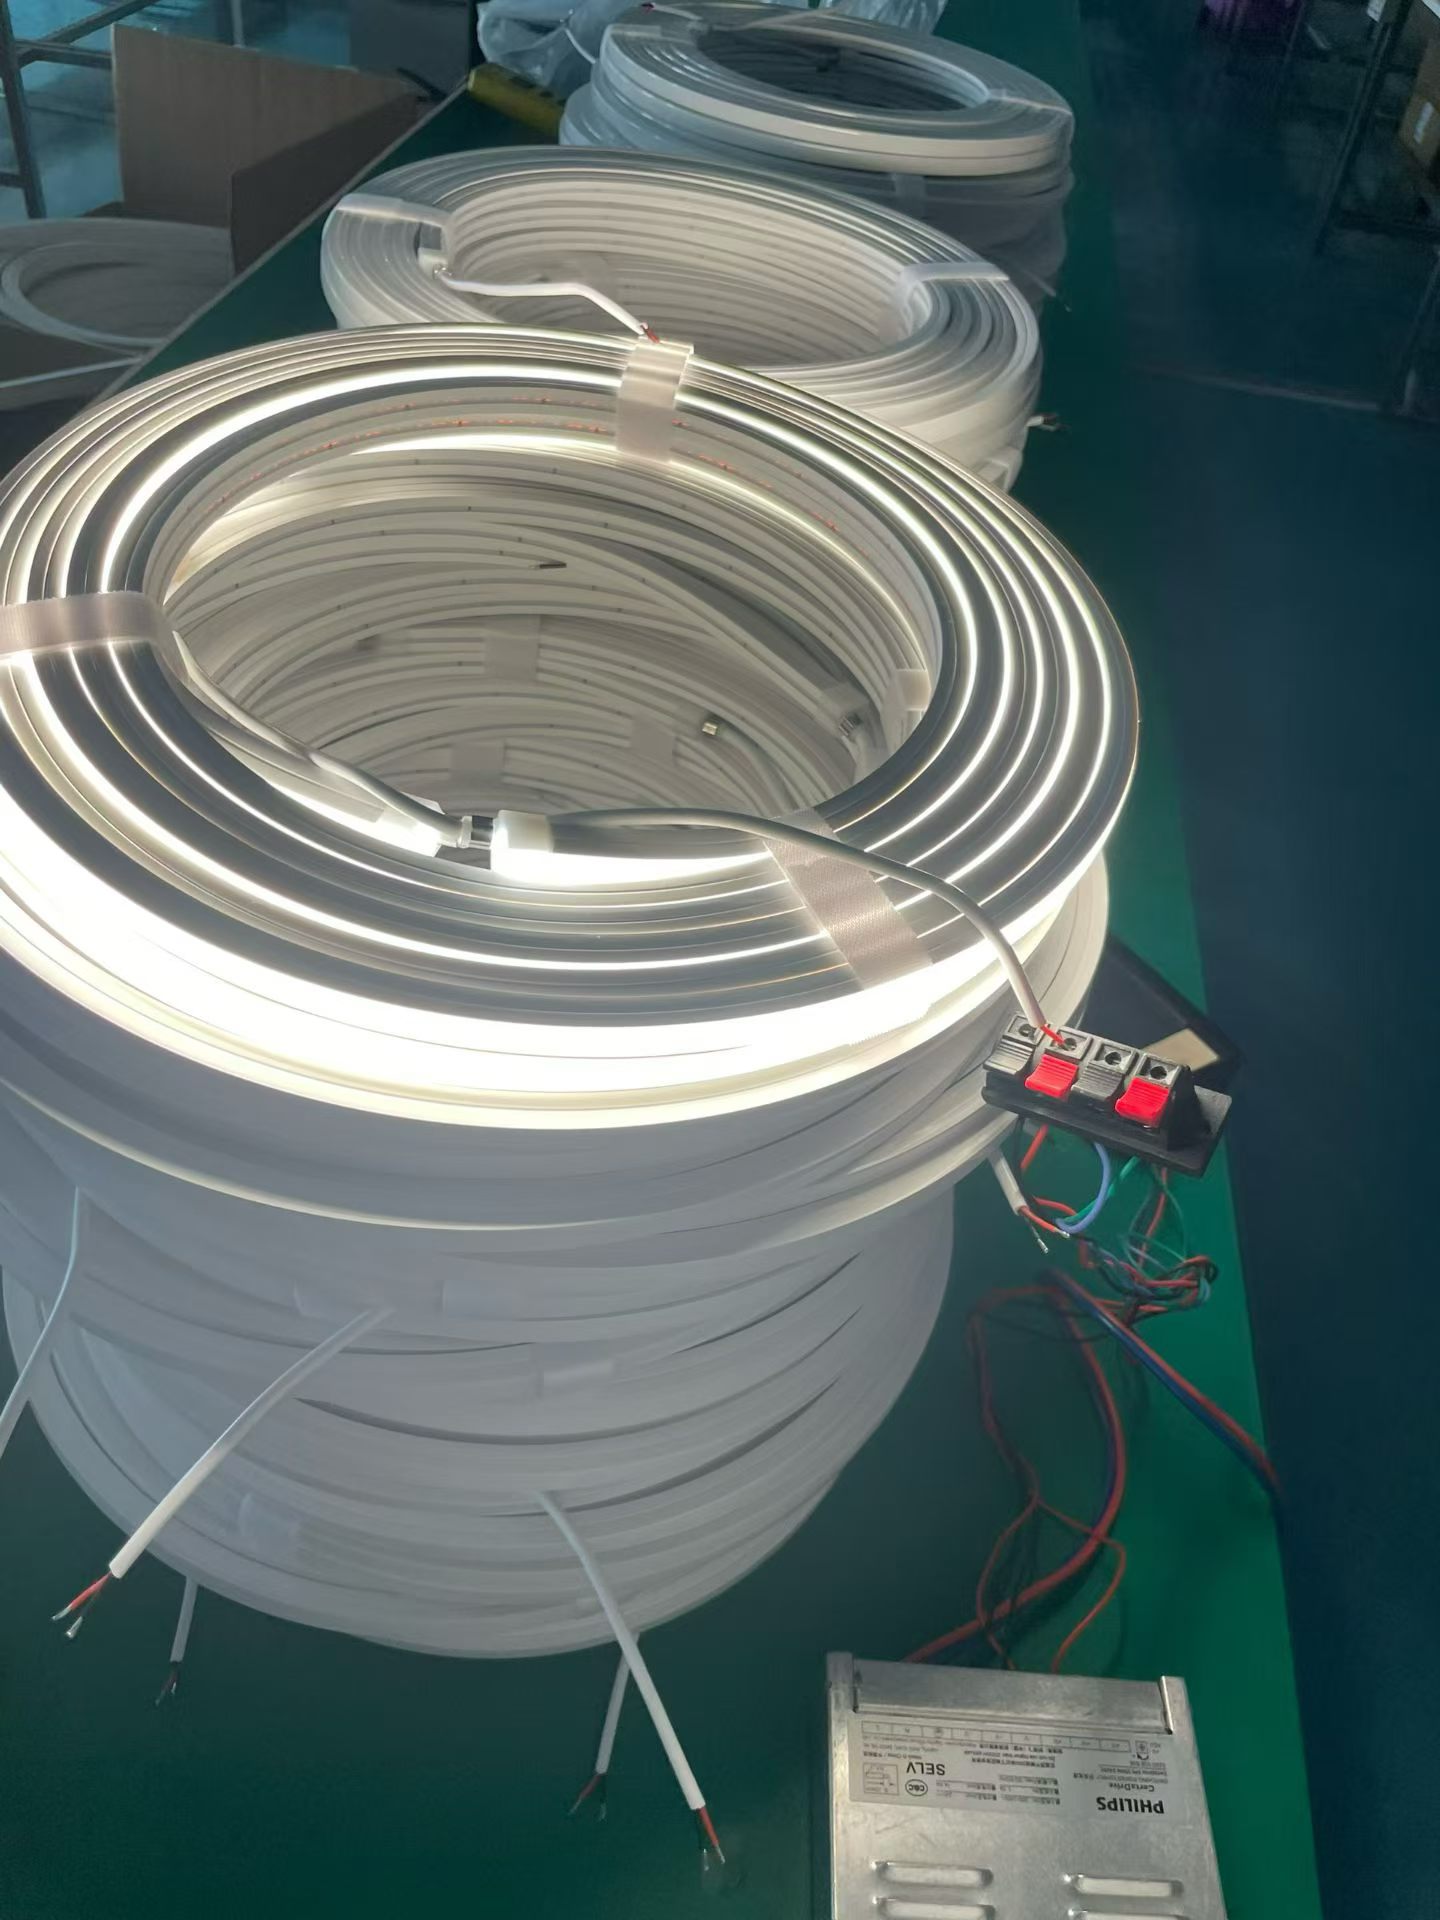
This requires inverting the normal project flow. Most teams design, approve, procure, then discover issues. High-reliability projects prototype the failure points first. They identify the three most likely integration problems and solve those before finalizing anything. They spend more time in planning and less in rework.
The Validation Sequence That Prevents Late-Stage Failures
Stage 1: Critical Section Mockup (Week 1-2)
Do not approve the full logo. Approve the hardest 10% of it. Identify the tightest curve, the most complex junction, the longest continuous run. Build only that section at full scale. Test it under actual site lighting. Mount it on a sample of the actual facade material. If this section works, the rest has a chance. If it fails, you just saved the entire project budget by discovering it early.
Stage 2: Structural Integration Test (Week 3-4)
Take your critical section mockup. Do not just look at it—install it. Use the real mounting method. Route the real power supply. Apply the real weatherproofing. Photograph it from the real viewing distances. Now you know what the actual project will require, not what the design suggests it might require.
Stage 3: Multi-Party Joint Approval (Week 5)
Do not let departments approve sequentially. Gather brand, engineering, electrical, and construction teams in one room. Show them the tested section. Force them to discuss conflicts immediately. When brand says "the curve must be tighter" and engineering says "the material cannot bend tighter," solve it now. Do not wait for them to discover this disagreement after you have fabricated 40 meters of sign.
Stage 4: Fabrication With Hold Points (Week 6-12)
Do not manufacture the entire sign in one continuous run. Build it in phases with mandatory review gates. Produce the first 30% and install it. Verify appearance, structural performance, and installation method. Only then authorize the remaining 70%. Yes, this is slower. It is also vastly cheaper than replacing 100% of a failed installation.
The Role Architecture That Prevents Responsibility Gaps
Projects fail when everyone is responsible for their piece but nobody is responsible for integration. I have started requiring a single "System Integration Owner"—not a project manager who coordinates, but a technical authority who approves cross-system decisions. This person does not replace the brand manager, engineer, or contractor. They resolve conflicts between them.
When brand wants invisible mounting and engineering needs visible brackets, the System Integration Owner decides. When electrical routing conflicts with aesthetic requirements, they define the trade-off. When installation sequencing threatens visual consistency, they restructure the plan. One person, one accountability, one decision point.
Conclusion
Custom Logo Neon Signs fail not because manufacturing is hard, but because translation is invisible. Your brand logo lives in a design file. Your building exists in physical space. Between those two realities, someone must engineer the transformation. Most projects assume this happens automatically. It does not. It requires deliberate validation, forced conflict resolution, and early-stage prototype testing. Skip that process, and you are not buying a sign—you are funding an expensive experiment on your own deadline.