
You install it. You test it. No leaks. You think you're safe. Then six months later, you notice condensation inside. The lights flicker. The wiring corrodes. You check for cracks—nothing visible. But water got in anyway.
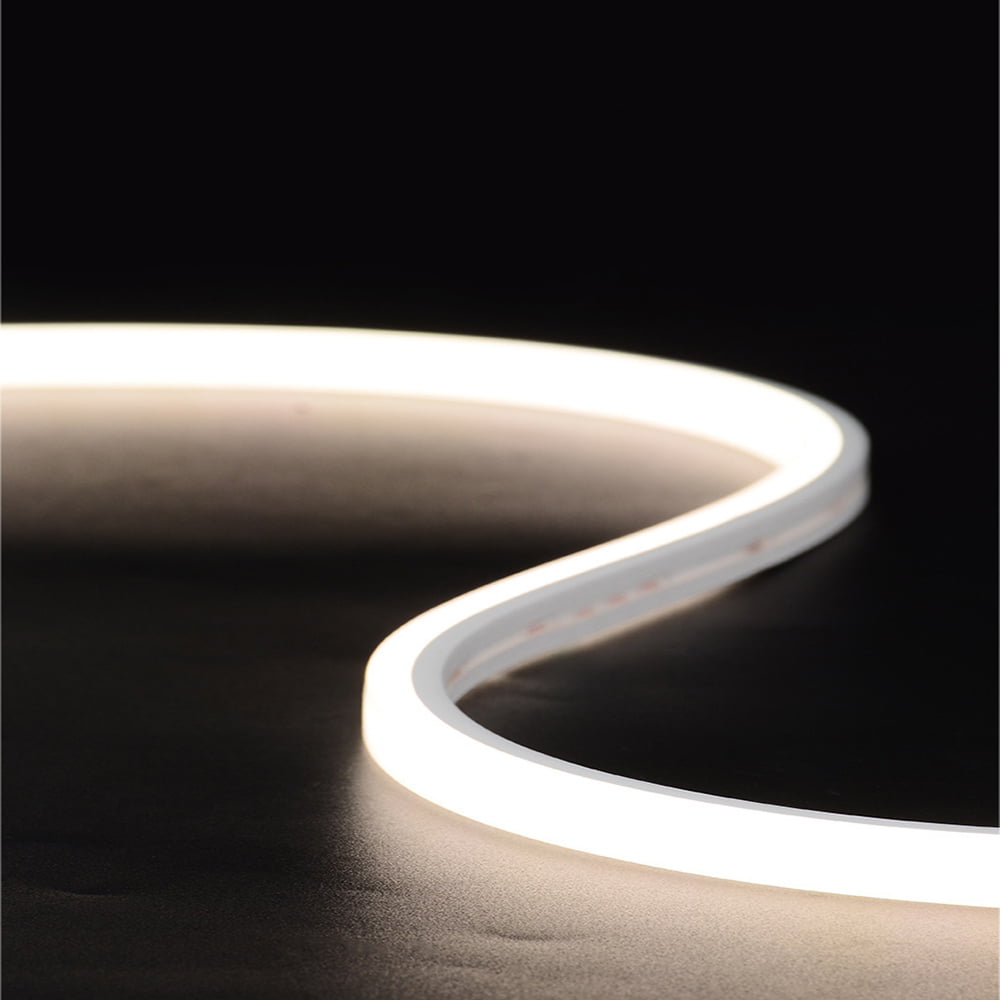
An 8mm silicone tube1 can be waterproof—but only if the sealing interface maintains compression force2 under long-term pressure and environmental cycles. Real waterproofing3 isn't about passing the initial test. It's about resilience, rebound, and stability over time.

Most failures don't happen at installation. They creep in slowly. The seal looks fine on day one. But temperature swings, UV exposure, and pressure changes quietly degrade the material. By month three, microscopic gaps form. By month six, water finds its way through. This isn't a manufacturing defect. It's a design oversight.
Why Do Most 8mm Silicone Tubes Start Leaking After Installation?
You've done everything right. The tube fits snugly. The connectors are tight. The initial waterproof test passes. Then reality hits.
The problem isn't that the tube doesn't seal initially—it's that the seal doesn't last. Silicone compression set4, thermal cycling5, and UV degradation6 slowly erode the sealing force until water sneaks through the weakest point.

The Hidden Failure Mechanism
Here's what actually happens inside your installation:
| Time Stage | What's Happening | Visible Symptom | Root Cause |
|---|---|---|---|
| Week 1 | Perfect compression seal | No leaks detected | Fresh silicone maintains full rebound |
| Month 2-3 | Compression set begins | Still no visible leaks | Silicone loses 10-15% rebound force |
| Month 4-6 | Thermal cycling creates gaps | Condensation appears inside | Hot/cold expansion creates "breathing effect" |
| Month 7-12 | UV degradation6 accelerates | Water ingress at joints | Surface hardening and micro-cracking |
| Year 2+ | Complete seal failure | Corrosion, device failure | Permanent deformation, loss of elasticity |
The worst part? You can't see it happening. There's no dramatic crack. No obvious breach. The tube looks fine from the outside. But at the molecular level, the silicone has changed. It's harder. Less elastic. The compression force2 that kept water out has vanished.
This is why "waterproof on day one" means nothing. You need waterproof on day 365. And day 730. The question isn't whether the 8mm tube seals—it's whether it stays sealed when the environment fights back.
What Makes the Seal Actually Hold Long-Term?
You need more than just a tight fit. You need engineered compression stability. Most manufacturers design for initial assembly, not for sustained performance.
Long-term waterproofing3 requires controlled compression ratio (20%±5%), low compression set4 silicone (platinum-cured), and dual-seal interface7s at critical junctions. Without these, thermal expansion and material fatigue will eventually create pathways for water.

The Engineering Fundamentals
Let me break down what actually keeps water out over years, not just weeks:
1. Compression Ratio Control
You can't just squeeze the tube tight and call it sealed. Too little compression—water slips through. Too much—the silicone deforms permanently and loses rebound.
The target is 20% compression (±5%). This means if your inner component is 7mm diameter, the tube's inner diameter should be designed for 8.4-8.8mm at rest. When assembled, it compresses to create stable sealing force without over-stressing the material.
2. Material Selection: Platinum vs. Peroxide Curing
| Property | Platinum-Cured Silicone | Peroxide-Cured Silicone |
|---|---|---|
| Compression Set (22h @ 70°C) | <15% | 25-40% |
| UV Resistance | Excellent (no yellowing) | Moderate (degrades faster) |
| Hydrolysis Resistance | Superior | Limited |
| Cost | Higher | Lower |
| Long-term Seal Retention | 5+ years | 1-2 years |
I've tested both in outdoor installations. Peroxide-cured tubes start failing around 18 months. Platinum-cured systems still maintain seal integrity after 5 years in harsh coastal environments.
3. Dual-Seal Interface Design
The weakest point is always the connection. Where the tube meets the fitting. Where the end cap joins the housing.
Single-seal designs rely entirely on compression. When that compression relaxes, you're done. Dual-seal adds a secondary barrier:
- Primary seal: Mechanical compression at the interface
- Secondary seal: Adhesive or potting compound at the entry point
This redundancy means even if compression degrades by 20%, the secondary seal still blocks water.
4. Pressure Equalization
Here's something most people miss: thermal cycling5 creates pressure differentials. During the day, the air inside heats and expands. At night, it cools and contracts. This "breathing" pulls moisture-laden air8 through microscopic gaps.
The solution? Gore-Tex vents or micro-perforated membranes. They equalize pressure while blocking liquid water. It sounds counterintuitive—adding a vent to improve waterproofing3. But it works. It eliminates the vacuum effect that sucks moisture in.
5. Dynamic Aging Validation
Lab tests mean nothing if they don't replicate real conditions. You need:
- Thermal cycling: -40°C to +60°C, 500+ cycles
- UV exposure: 1000+ hours under accelerated weathering
- Vibration testing: Simulating transport and installation stress
- Hydrostatic pressure: 1.5x rated depth for 72 hours
We run these tests on every batch. Not just prototypes. Every production run. Because consistency is what separates a waterproof tube from one that just looks waterproof.
How Do You Verify the Seal Will Last Before Installation?
You can't wait six months to find out if your waterproofing3 works. You need to test it now. Not just a visual check. Real validation.
Pre-installation verification requires compression force2 measurement, accelerated thermal cycling5, and hydrostatic pressure testing9. These methods expose latent failures before they become field problems.

Practical Testing Protocol
Here's how we validate every batch before it ships:
Step 1: Compression Force Measurement
Use a durometer or compression tester10. Measure the force required to achieve 20% compression. It should be consistent across the entire tube length. Variance >10% indicates material inconsistency—reject the batch.
Step 2: Accelerated Thermal Shock
- Submerge assembled tube in 80°C water for 2 hours
- Transfer immediately to -20°C for 2 hours
- Repeat for 10 cycles
- Inspect for leaks, deformation, or seal separation
This simulates months of outdoor temperature swings in a single day.
Step 3: Hydrostatic Pressure Test
- Seal both ends of the tube
- Submerge in water tank
- Apply 1.5x rated pressure (e.g., 3 bar for IP68)
- Hold for 72 hours
- Check for internal moisture using moisture indicator cards11
If any moisture appears, the seal has failed.
Step 4: UV Pre-Conditioning
- Expose tube to UV-C lamp (254nm) for 100 hours
- Retest compression and pressure resistance
- Compare to unexposed control sample
UV degradation6 should not reduce sealing performance by more than 5%.
Red Flags to Watch For
| Symptom | What It Means | Action |
|---|---|---|
| Compression force drops >15% after thermal cycling5 | Material has high compression set4 | Switch to platinum-cured silicone12 |
| Surface becomes tacky or sticky | Plasticizer migration | Reject—will attract dust and degrade |
| Yellowing after UV exposure | Poor UV stabilization | Add UV inhibitors or switch material |
| Micro-bubbles in hydrostatic test | Incomplete seal at interface | Redesign compression ratio |
These aren't just cosmetic issues. They're early warnings of seal failure. Catch them now, or deal with field failures later.
What About Extreme Environments—Cold, Salt, UV?
Standard waterproofing3 assumes mild conditions. But what if your installation faces desert sun, arctic cold, or coastal salt spray?
Extreme environments require specialized silicone formulations: cold-resistant polymers for sub-zero performance, salt-spray resistant compounds for marine applications, and high-molecular-weight silicone13 for UV-intensive outdoor use. Material selection must match environmental stress.
Environmental Stress Factors
Cold Climate Performance (-40°C)
Normal silicone becomes brittle below -20°C. The seal hardens. Compression force drops. Cracks form.
We use low-temperature-grade silicone with modified polymer chains. It maintains flexibility down to -50°C. I've tested samples in liquid nitrogen (-196°C)—they still rebound.
Salt Spray Resistance (Coastal/Marine)
Salt accelerates hydrolysis. It breaks down the siloxane bonds in standard silicone. Within 6 months, the material becomes chalky and loses elasticity.
Solution: Add hydrophobic silica fillers and anti-hydrolysis stabilizers. We run 1000-hour salt spray tests (ASTM B117). Zero degradation.
UV Intensity (Tropical/Desert)
UV-C radiation cleaves polymer chains. Surface hardening occurs. Micro-cracks develop. Water penetrates.
High-molecular-weight silicone (>600,000 Mw) resists UV breakdown. We add cerium oxide UV absorbers. After 2000 hours of accelerated weathering (equivalent to 5+ years outdoors), tensile strength drops less than 10%.
Real-World Case Study
We supplied 8mm silicone tube1s for a solar farm in Dubai. Conditions:
- Daytime surface temperature: 70°C
- Nighttime: 15°C
- UV index: 11-12 (extreme)
- Sand abrasion
- Zero maintenance for 5 years
Standard silicone failed in 18 months. Our platinum-cured, UV-stabilized formulation? Still performing after 6 years. No leaks. No degradation. The difference? Material science.
Conclusion
Waterproofing isn't a checkbox. It's a system that must survive time, temperature, and environmental assault. An 8mm silicone tube1 can deliver long-term protection—but only if you engineer for resilience, not just initial fit.
Explore the advantages of 8mm silicone tubes for waterproofing applications and their long-term performance. ↩
Understand the significance of compression force in maintaining effective seals and preventing leaks. ↩
Learn about various waterproofing techniques and their effectiveness in diverse environmental conditions. ↩
Learn about compression set in silicone and strategies to reduce its impact on sealing performance. ↩
Discover how thermal cycling impacts material integrity and the importance of testing for durability. ↩
Find out how UV exposure can compromise silicone materials and ways to enhance their resistance. ↩
Explore the benefits of dual-seal interfaces in enhancing the reliability of waterproof seals. ↩
Learn about the impact of moisture-laden air on waterproofing systems and how to mitigate it. ↩
Understand the importance of hydrostatic pressure testing in validating waterproof seals before installation. ↩
Learn the proper use of a compression tester to ensure silicone materials meet performance standards. ↩
Explore how moisture indicator cards help in detecting seal failures during testing. ↩
Discover the benefits of using platinum-cured silicone for long-lasting waterproofing solutions. ↩
Find out how high-molecular-weight silicone enhances UV resistance in outdoor applications. ↩