
You found the perfect design. You approved the sample. Then three months later, your brand's logo looks like a patchy mess on the wall.
The real challenge with custom logo neon signs1 is not creating complex shapes—it's maintaining consistent light output after bending. Color shifts, uneven brightness2, and corner hotspots3 will instantly cheapen your brand image, and most suppliers won't tell you this until after production.

I have seen too many projects fail at this exact point. The sample looks flawless in the factory. But when the sign arrives at your location, or worse, a few weeks after installation, you notice dark patches at the curves and bright spots at the corners. Your client is unhappy. Your reputation takes a hit.
What Actually Causes Custom Logo Neon Signs to Degrade So Quickly?
Most people think it is about design complexity. They are wrong.
The core issue is thermal stress distribution4 across bent sections of silicone neon flex. When you bend the material to form letters or logos, you create uneven heat dissipation patterns. This leads to accelerated LED degradation5 in specific zones, causing visible light decay and color inconsistency within 60–90 days.

This is not a manufacturing defect you can see during QC inspection. It is a time-delayed failure that only appears after the sign operates under real-world conditions. The bending process itself creates micro-stress points6 in the silicone extrusion. These stress points change the optical properties of the material. They also trap heat around specific LED chips.
The Three Hidden Failure Modes
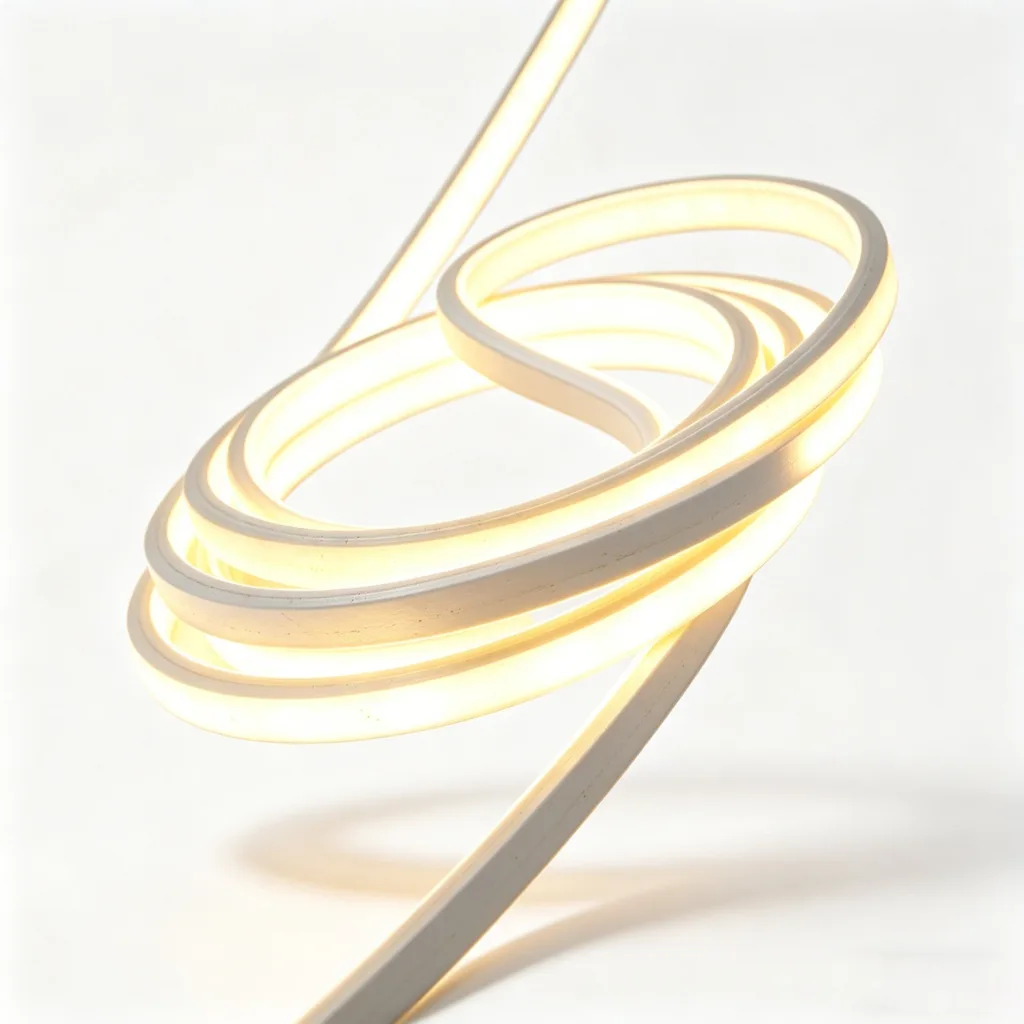
1. Corner Brightness Spikes When silicone neon flex bends sharply, the outer radius stretches while the inner radius compresses. This changes the wall thickness of the silicone diffuser. Thinner sections allow more light to escape, creating visible bright spots. Thicker sections trap light, causing dark zones. Your logo now has uneven luminosity across its outline.
2. Asynchronous Light Decay Not all LEDs age at the same rate. In a straight run, this difference is negligible. But in a custom logo with multiple tight curves, LEDs in high-stress zones degrade 30–40% faster than LEDs in straight sections. After 2,000 hours of operation, you will see sections of your logo dimming while others remain bright. The effect is subtle at first, then suddenly obvious.
3. Batch-Level Color Drift LED manufacturers sort diodes into "bins" based on color temperature. A ±200K difference is standard industry tolerance. When your logo uses multiple production batches of silicone neon flex, and those batches use different LED bins, the color inconsistency gets amplified by bending stress. What looked like uniform 3000K warm white in the sample becomes a patchwork of yellowish and bluish sections in the final installation.
How Do Professional Contractors Prevent These Failures?
I work directly with lighting designers who specify custom logo neon signs1 for luxury hotels and flagship retail stores. They cannot afford failures. Here is their process.
Step 1: Structure Selection Before Design Finalization They do not let the designer dictate bending requirements. Instead, they lock the minimum bend radius7 first. For side-view silicone neon flex, this is typically 50mm. For top-view variants, it can go as tight as 30mm. But here is the key: they design the logo to fit these constraints, not the other way around. If your logo requires a 20mm radius curve, you need a different technology—not standard silicone neon flex.

Step 2: Single-Batch LED Procurement Professional buyers specify that all silicone neon flex for a single logo must come from one continuous production run. This ensures all LEDs are from the same bin code. The color temperature tolerance stays within ±100K across the entire installation. Yes, this increases lead time. Yes, it requires larger minimum order quantities. But it eliminates the most common cause of color drift.
Step 3: Pre-Formed Fabrication (Not Field Bending) Amateur installers bend silicone neon flex on-site using heat guns and manual pressure. This is a disaster waiting to happen. Professional fabricators use CNC bending jigs8 in a controlled factory environment. The silicone is heated to a precise temperature, bent to the exact radius, and allowed to cool under controlled conditions. This process "sets" the molecular structure of the silicone, reducing internal stress by up to 70%.
| Bending Method | Stress Level | Color Consistency | Lifespan Impact |
|---|---|---|---|
| Field Bending (Heat Gun) | High | ±300K drift | -40% lifespan |
| Manual Jig Bending | Medium | ±150K drift | -20% lifespan |
| CNC Pre-Forming | Low | ±50K drift | Full rated lifespan |
Step 4: Accelerated Aging Testing Before shipping, top-tier manufacturers run a 500-hour thermal cycling test9 on bent samples. They heat the neon flex to 60°C for 8 hours, then cool it to -10°C for 4 hours. This cycle repeats for 21 days. Any section that will fail prematurely shows visible dimming or color shift during this test. This is how you catch problems before installation, not after.
What Should You Demand From Your Silicone Neon Flex Supplier?
Most suppliers will not volunteer this information. You need to ask specific technical questions.
Question 1: What is your LED binning tolerance for custom logos? If they say "standard industry tolerance," walk away. You need ±100K maximum. They should provide the bin code documentation for your specific order.
Question 2: Do you pre-form complex shapes in-house? If they say "we ship straight lengths and you bend on-site," that is a red flag. You want a supplier with CNC bending capabilities and temperature-controlled curing processes.
Question 3: Can you provide thermal imaging data10 for bent sections? A serious manufacturer will have thermal camera data showing heat distribution across curved sections. If the temperature variance exceeds 5°C between the inner and outer radius of a bend, you will have premature LED failure.

Question 4: What is your accelerated aging protocol? If they do not have one, they are guessing. You need a supplier who can show you before-and-after lumen maintenance data from thermal cycling test9s on bent samples.
Why We Engineer Custom Logo Neon Signs Differently at Shenzhen Alister
I am not going to pretend every supplier does this. Most do not, because it costs more and takes longer.
We use a three-stage stress relief process for all custom logo work. First, we extrude the silicone at a controlled molecular weight that gives us 15% more flexibility than standard formulations. This reduces the initial stress when bending. Second, we pre-form all curves using CNC jigs with closed-loop temperature control. The silicone is heated to exactly 85°C, bent, and held at that radius for 30 minutes while it cools. Third, we run a 72-hour thermal shock test on every batch before shipment.
Our LED procurement is locked to single-bin sourcing. For a typical logo project, we order 20% more material than needed, all from one production lot. This gives us buffer stock for repairs or expansions without introducing color drift. The cost increase is about 8%, but the failure rate drops to near zero.
We also provide thermal imaging reports for complex logos. You get a visual map showing the exact temperature profile across every bend in your design. If we see a hotspot, we either increase the bend radius or add a secondary heat sink path. You never get a sign that will fail in three months.

What Happens If You Skip These Steps?
You save money upfront. Then you spend three times that amount fixing the installation or replacing sections that failed prematurely.
I have seen retail chains order 50 identical logo signs for a nationwide rollout. The supplier used mixed LED batches and field-bent the curves. Six months later, 30% of the signs showed visible color drift. The chain had to replace them all. The total cost, including labor and downtime, was $47,000. The initial "savings" by choosing the cheaper supplier was $3,200.
The math does not work in your favor when you compromise on technical execution11. Custom logo neon signs are not commodity products. They are precision optical devices12 that happen to be shaped like your brand. Treat them that way, or accept that they will look terrible in a few months.
Conclusion
Your custom logo neon sign is only as good as its ability to maintain consistent light output after bending, and most suppliers will not tell you this until after the failure happens.
Explore this resource to understand how to create high-quality custom logo neon signs that maintain their appearance over time. ↩
Find out effective strategies to avoid uneven brightness in neon signs for a professional finish. ↩
This resource explains corner hotspots in neon signs and offers solutions to prevent them. ↩
Learn about the impact of thermal stress distribution on neon signs and how to mitigate its effects. ↩
This link provides insights into LED degradation and how to ensure longevity in neon signage. ↩
Understand the concept of micro-stress points and their impact on the performance of neon signs. ↩
This link provides essential information on minimum bend radius for silicone neon flex to ensure quality. ↩
Learn how CNC bending jigs enhance the quality of neon signs through precise manufacturing techniques. ↩
This resource explains thermal cycling tests and their role in identifying potential failures in neon signs. ↩
Understand how thermal imaging data is utilized to improve the quality and performance of neon signs. ↩
Discover the critical role of technical execution in the manufacturing of high-quality neon signs. ↩
Explore the concept of precision optical devices and how it relates to the quality of neon signage. ↩