

You probably think choosing LED strips is about brightness, power, color temperature, CRI, and price. But if that is all you focus on, you are only looking at product parameters. You are missing the real question.
The real question is not "which strip is brightest?" The real question is "will this system still work after five years of thermal stress, mechanical stress, UV exposure, humidity cycles, and electrical load?" Because most failures do not happen because the LED chip dies. They happen because you chose a strip without thinking about the system it lives in.
I have seen this happen many times. A project looks perfect at handover. Then six months later, color shifts appear. One year later, entire sections start flickering. And everyone blames the LED chip. But the chip was never the problem. The problem was that no one asked the right questions during selection.
What Really Causes LED Strip Failures in Real Projects?
Most people start by comparing lumen output. They compare datasheets. They request samples. They test brightness in a lab. Then they place the order.
But here is what they do not test: What happens when this strip runs at 70°C inside a sealed aluminum channel for two years? What happens when the silicone reacts with the mounting adhesive? What happens when the PCB and the aluminum profile expand at different rates during summer heat cycles? What happens when you need to reorder six months later and the color temperature no longer matches?
I worked on a high-end commercial building facade project once. We used high-density LED strips. The samples looked beautiful. Brightness was perfect. Color temperature was consistent. IP rating passed all lab tests. Installation went smoothly. Handover was successful.
Six months later, the south-facing facade started showing color differences. One year later, the entire building showed visible color bands. Some sections lost more than 20% brightness. Everyone suspected bad LED chips.
We pulled samples and tested them. The LEDs were fine. The problem was three things happening together. First, the project was purchased in three batches. The supplier did not lock the LED BIN code. Different batches had color temperature drift over 200K. You could not see it during the day. But at night, when everything was lit, the entire building showed clear color bands.
Second, the strips were installed inside sealed metal channels. Heat dissipation was poor. The PCB ran hot all the time. Phosphor degradation happened much faster than lab data predicted.
Third, the mounting structure completely blocked thermal expansion. The strips were fixed with both adhesive tape and mounting clips. During summer and winter temperature cycles, the strips were under constant tensile stress. This caused micro-cracks in solder joints. Some sections started flickering intermittently.
The most ironic part? At handover, every single specification was met. The problems only appeared after one year of real-world operation. This is the biggest difference between lab data and field performance. Labs test products. The field tests systems.
Why PCB Quality Matters More Than LED Brand?
If I were evaluating an LED strip project today, I would not start with the LED chip. I would start with the PCB.
For long-term installations, PCB copper thickness, substrate stability, and circuit design matter more than LED brand. Most light decay problems are actually thermal management problems. They are not light source problems.

Most LED strips use 1 oz copper PCB. This is fine for low-power decorative lighting. But for high-density architectural installations, 1 oz copper is not enough. The resistance is too high. Heat dissipation is poor. Voltage drop becomes significant over long runs.
Better strips use 2 oz or even 3 oz copper. The cost is higher. But the thermal performance is dramatically better. Heat spreads more evenly across the board. Voltage drop decreases. LED junction temperature stays lower. And lower junction temperature directly translates to longer lifespan. For every 10°C reduction in junction temperature, reliability improves significantly.
The substrate matters too. FR4 is the most common material. But not all FR4 is the same. Low-grade FR4 can yellow over time under high heat. It can delaminate. It can become brittle. High-grade FR4, or aluminum-backed PCB, stays stable for years.
Then there is circuit design. Some manufacturers pack LEDs as close as possible to maximize brightness. But this creates hot spots. Heat accumulates in small areas. Those sections fail first. Better designs space LEDs more evenly. They add more parallel circuits to reduce current per LED. They optimize trace width to minimize resistance.
You cannot see any of this in a datasheet. You need to cut open samples. You need to measure copper thickness with a micrometer. You need to run thermal imaging under full load. You need to test voltage drop across different lengths. Only then do you understand what you are really buying.
How Does Batch Consistency Affect Large-Scale Projects?
Architectural facades, hotels, and retail chains all have one thing in common. They need consistent color across hundreds or thousands of meters of LED strips. And they need to be able to reorder months or years later without visible color shifts.
This is where BIN management becomes critical. LED manufacturers sort LEDs into different "bins" based on color temperature and brightness. A single production run can have LEDs spanning 200K to 300K in color temperature. If your supplier does not lock the BIN code, every batch you receive will be slightly different.

Most people do not notice this during installation. They install one section at a time. Each section looks fine on its own. But when the entire building lights up at night, you see clear color bands. Some sections are warmer. Some are cooler. Some are brighter. Some are dimmer.
This is especially visible in warm white projects. 2700K, 3000K, and 4000K lights are very sensitive to color temperature drift. A 100K shift is noticeable to the human eye. A 200K shift is obvious. A 300K shift looks like different products.
The solution is simple but often ignored. Lock the BIN code before production. Request a sample from the locked BIN. Approve it. Then require the supplier to use only that BIN for your entire project, including future reorders. Some suppliers resist this because it limits their flexibility. But for high-end projects, this is non-negotiable.
You also need to test color consistency under real operating conditions. Lab measurements at 25°C mean nothing. You need to test at full load after the strip has been running for 30 minutes. You need to test different sections side by side. You need to test under the same viewing angle. Only then do you see what your clients will see.
What Makes Waterproofing Fail After One Year?
Many people focus on IP ratings. They see IP67 or IP68 and assume the product is waterproof. But IP ratings only tell you what happens during the test. They do not tell you what happens after 500 thermal cycles, 1000 hours of UV exposure, or two years of outdoor installation.
Most waterproofing failures do not happen in the main body. They happen at the ends and connections. Because that is where different materials meet. That is where thermal expansion creates stress. That is where water finds a way in.
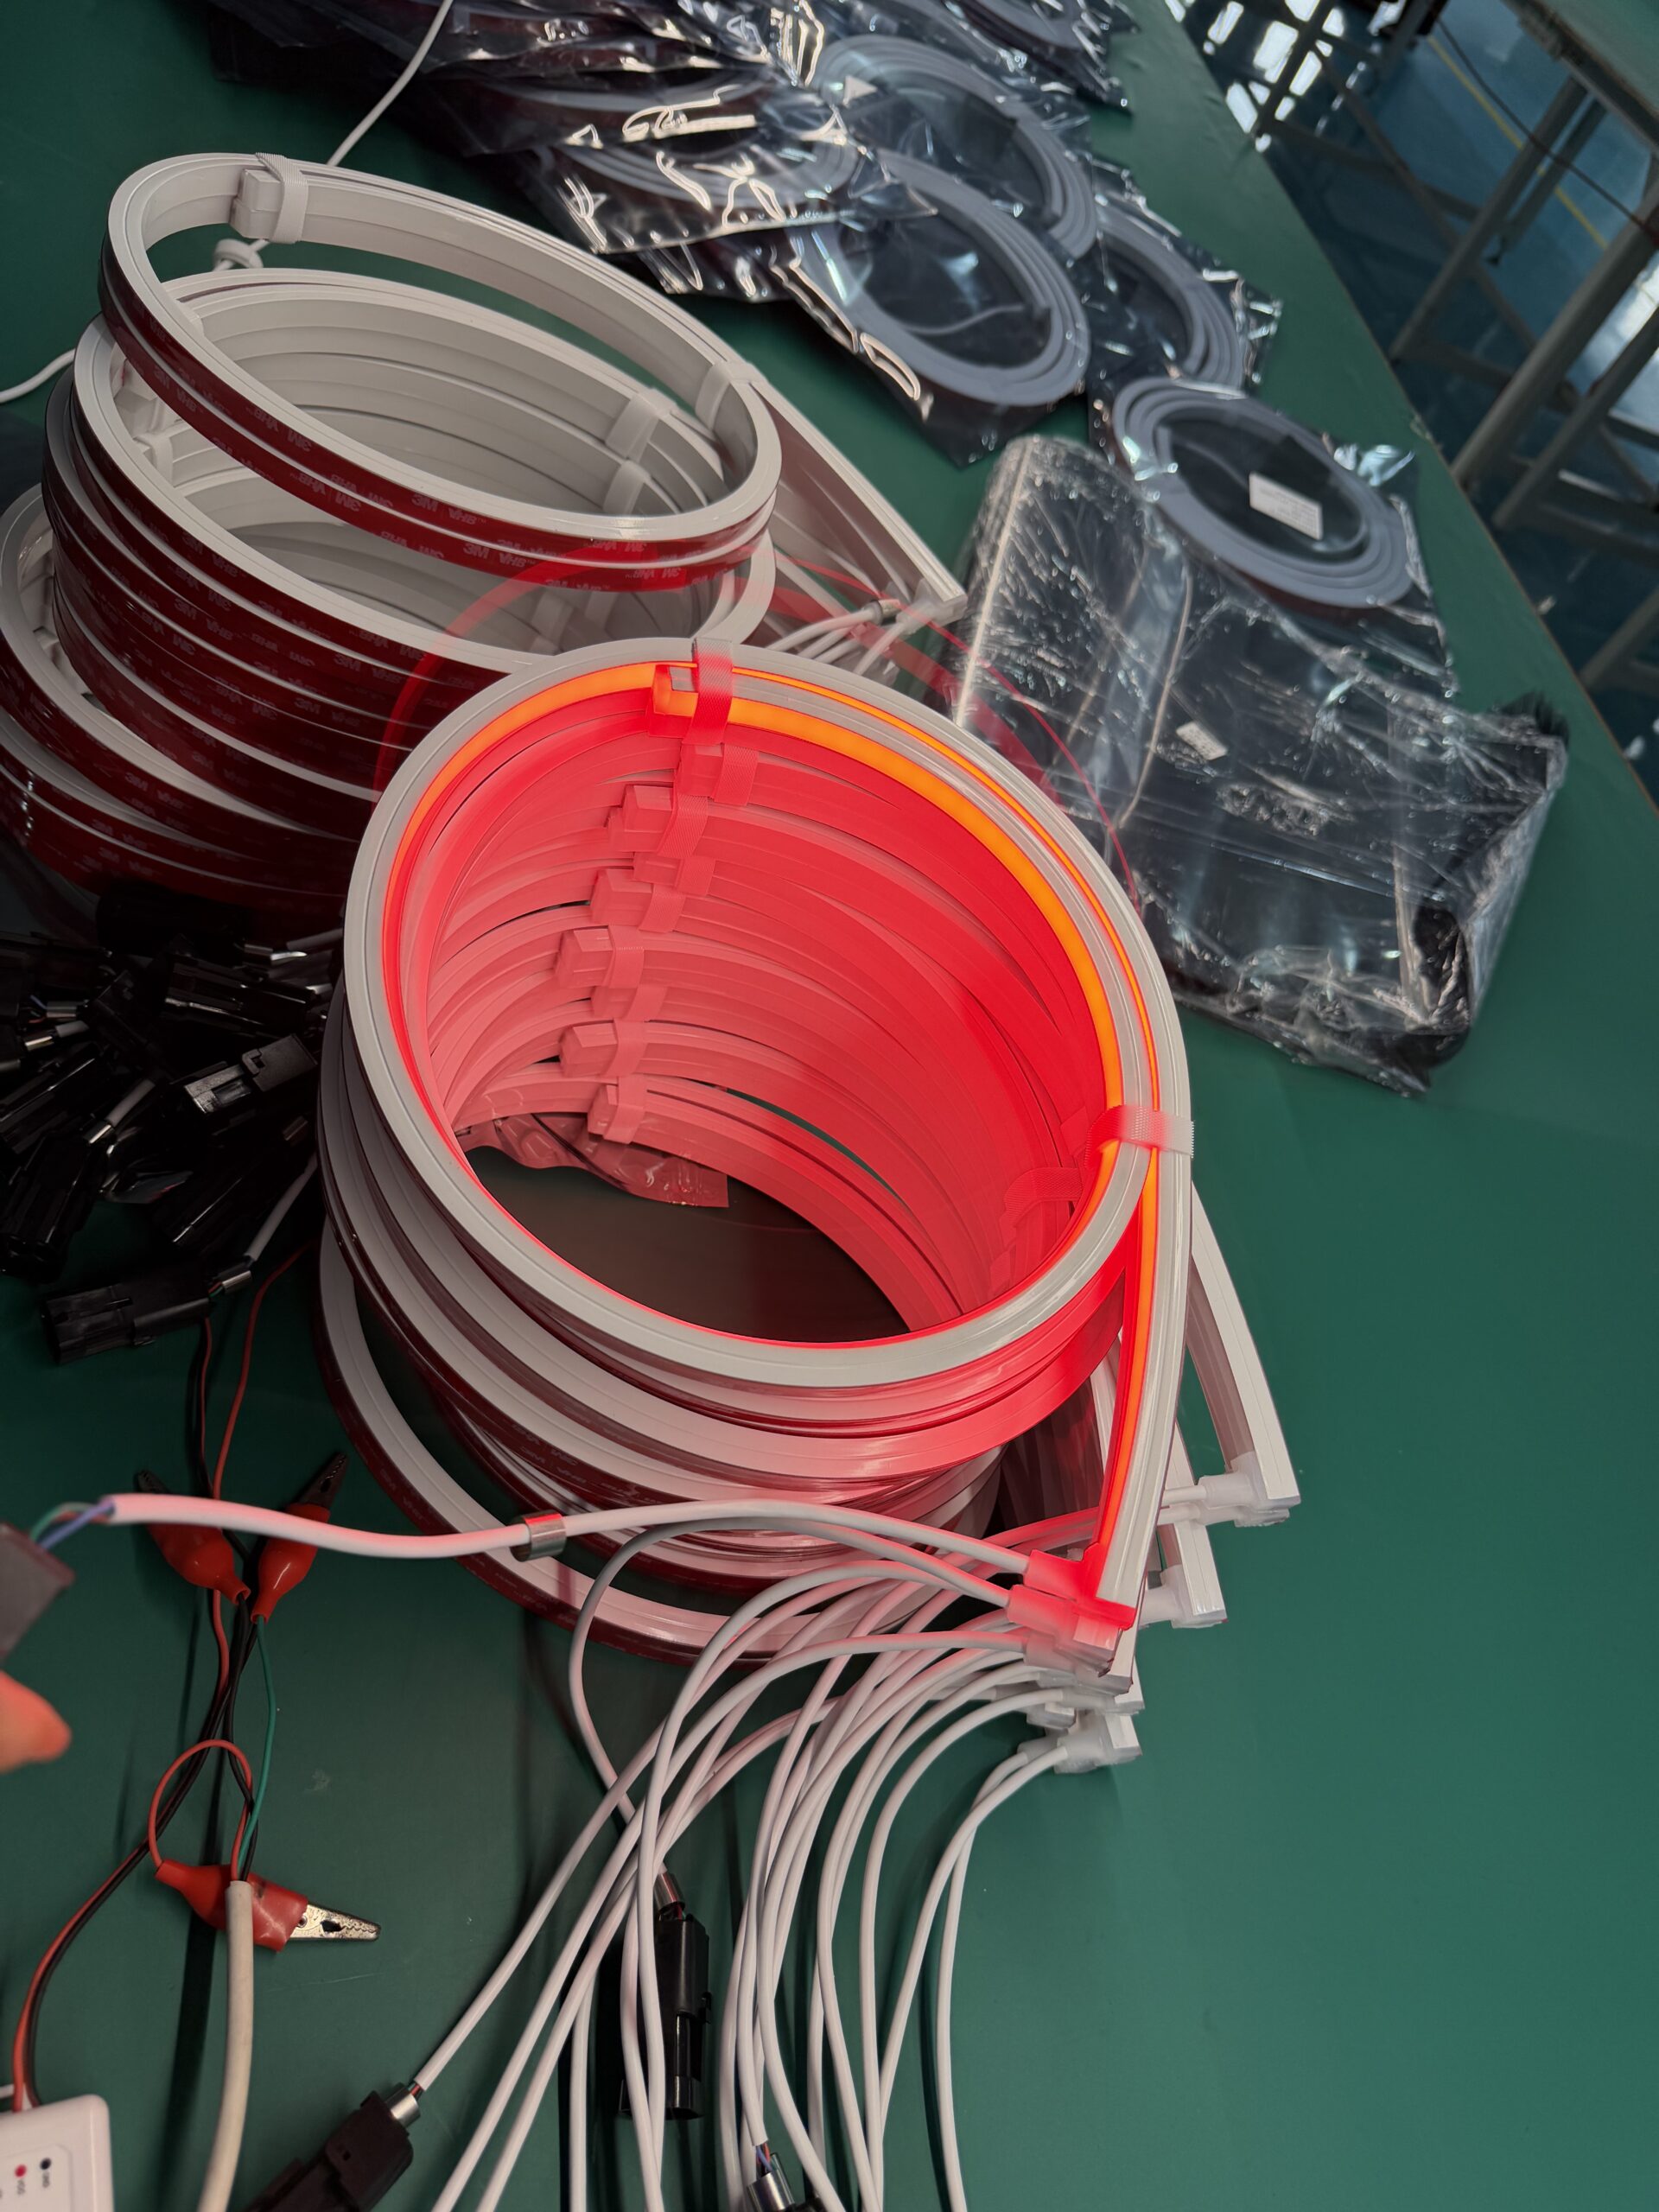
Silicone extrusion is excellent for long-term outdoor use. It resists UV. It does not yellow. It stays flexible across a wide temperature range. But the end caps are a different story. Many manufacturers use cheap PVC or epoxy end caps. PVC hardens over time. Epoxy cracks under thermal stress. Both create entry points for water.
The best designs use silicone end caps that are chemically bonded to the main extrusion. No separate adhesive. No mechanical press fit. Just a continuous silicone structure that expands and contracts together. This eliminates the weak point.
Connection points are even more critical. Every time you connect two strips, you create a potential failure point. The connection needs to seal against water. It needs to allow thermal expansion. It needs to maintain electrical contact. And it needs to do all of this for years without maintenance.
We use custom injection-molded connection boots. They are made from the same silicone as the main strip. They slide over the connection and create a compression seal. No glue needed. They can be installed and removed without tools. And they move with the strip during thermal cycles.
You should also think about how the waterproofing interacts with the mounting adhesive. Some adhesives release plasticizers over time. These plasticizers migrate into the silicone and degrade it. The silicone becomes sticky. It attracts dust. It loses elasticity. Eventually, it cracks.
We test all our mounting adhesives for compatibility with our silicone. We run accelerated aging tests at 85°C and 85% humidity for 1000 hours. We measure shore hardness before and after. We check for discoloration. We check for tackiness. Only adhesives that pass this test go into our installation manuals.
Why Does Installation Method Determine Long-Term Reliability?
Even the best LED strip can fail if installed incorrectly. And the worst part is, you will not see the failure immediately. It takes months or years for stress-related failures to appear.
The biggest mistake is over-constraining the strip. People want it to stay perfectly straight. They want it to follow every curve precisely. So they use strong adhesive. They add mechanical clips. They pull it tight. And in doing so, they create a time bomb.

All materials expand and contract with temperature. Aluminum profiles expand at a different rate than PCB. PCB expands at a different rate than copper. Copper expands at a different rate than silicone. When you rigidly fix all these materials together, they fight each other during every thermal cycle.
Over time, this creates stress. Solder joints develop micro-cracks. Copper traces fatigue. PCB delamination starts at the edges. Eventually, sections start flickering or going dark completely. And because this happens gradually, it is hard to trace back to the installation method.
Better installation allows controlled movement. Use mounting clips that grip without crushing. Leave small gaps every few meters to allow expansion. Avoid sharp bends that create stress concentration points. Follow the manufacturer's minimum bend radius. Do not over-tighten screws on mounting brackets.
For outdoor installations over 5 meters, we recommend using sliding mounting clips every meter. These clips hold the strip in place laterally but allow it to slide longitudinally. This way, thermal expansion happens freely without creating stress.
You should also think about the UV exposure of mounting materials. Plastic clips become brittle after a few years of direct sunlight. They crack. They lose grip. The strip starts sagging. Metal clips are better but they need to be corrosion-resistant. Stainless steel is ideal. Aluminum is acceptable if anodized. Galvanized steel should be avoided in high-humidity environments.
How Should You Test LED Strips Before Full-Scale Deployment?
Never commit to thousands of meters based on a single sample test. Real-world reliability cannot be predicted from a 5-minute bench test. You need to simulate years of operation in a compressed timeframe.
Start with thermal cycling. Install a sample in the actual mounting profile you will use. Run it at full power for 12 hours. Then turn it off for 12 hours. Repeat this cycle for at least 30 days. Measure color temperature and brightness at the start and end. Check for any mechanical stress signs like warping or delamination.
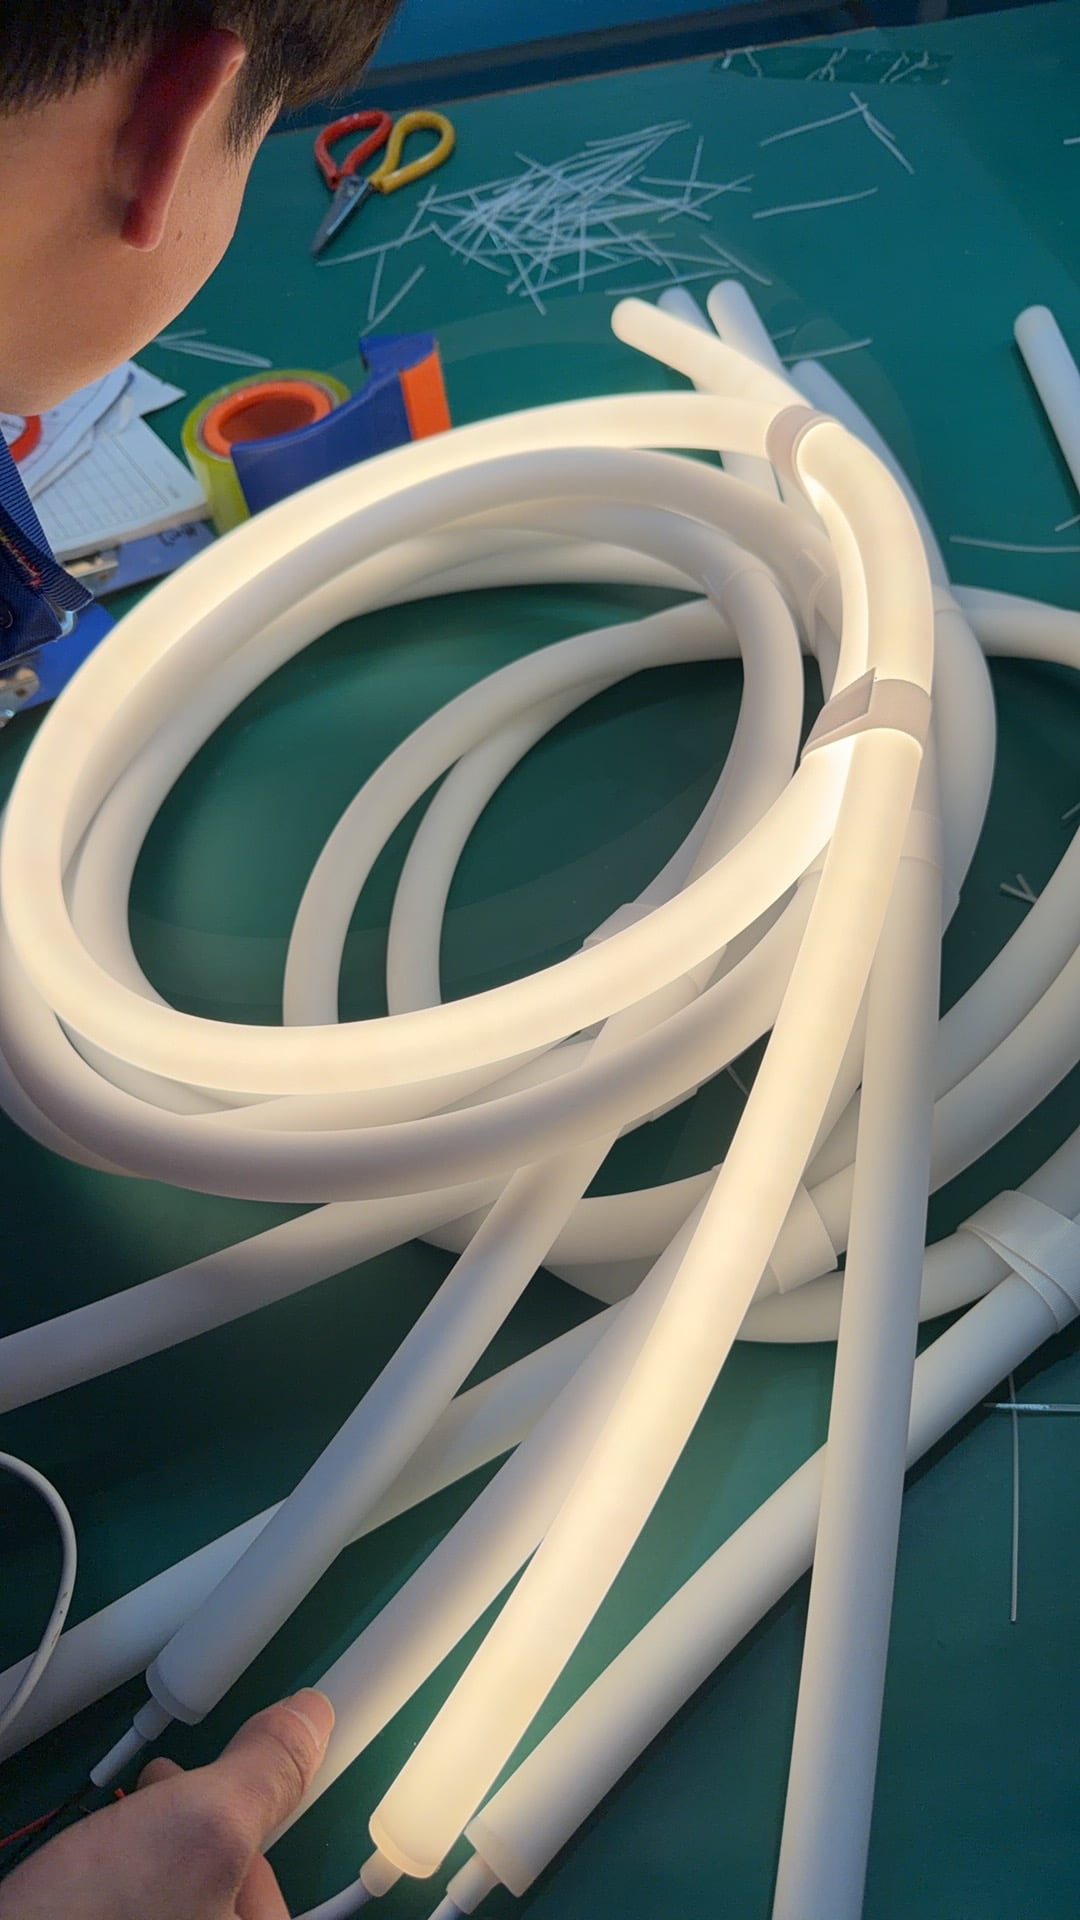
Next, test under real environmental conditions. If this is an outdoor project, put samples outside. Mount them exactly as you will in the real installation. Let them run through actual rain, sun, temperature swings, and humidity changes. Check them every week. Look for water ingress. Look for color shift. Look for mechanical degradation. This test should run for at least 3 months.
For projects with high aesthetic standards, request samples from at least three different production batches. Install them side by side. Compare them under the actual lighting conditions where they will be used. Do not rely on lab measurements. Use your eyes. Use your client's eyes. If you can see a difference, your clients will see it too.
Also test compatibility with your entire system. Not just the strip, but the power supply, dimming controller, and mounting hardware. Run them together for extended periods. Check for electromagnetic interference. Check for voltage stability. Check for heat generation at connection points. Many issues only appear when the complete system runs together.
Finally, conduct a failure mode analysis. Deliberately stress the samples beyond normal conditions. Bend them tighter than recommended. Heat them higher than rated. Immerse them longer than specified. See where they break first. This tells you the weak points. This tells you what to monitor during installation. This tells you what failure modes to design against.
Conclusion
Choosing LED strips is not about finding the brightest product. It is about building a system that survives five years of real-world stress. Focus on thermal management, batch consistency, waterproofing integration, installation flexibility, and comprehensive system testing. That is how you avoid costly failures.