
Most people think outdoor lighting fails because LEDs burn out. They are wrong. The real reason has nothing to do with LED lifespan. It happens long before that.
LED Outdoor Perimeter Lighting projects rarely fail because of light output. They fail because the material system and structural system collapse first. The problem is not brightness—it is what happens after five years of thermal expansion, UV exposure, and mechanical stress cycles that no lab test can fully replicate.
I have spent years working with architectural lighting contractors and building facade projects. I have seen buildings that look perfect during acceptance inspections. Then they start failing eighteen months later. The issue is never random. It follows a pattern.
Why Do Most Outdoor Perimeter Lighting Systems Actually Fail?
Many buyers focus on lumens. They focus on wattage. They focus on color temperature. They check IP67 or IP68 ratings. They compare price per meter.
The real cause of failure is thermal fatigue. Outdoor perimeter lighting is exposed to thousands of thermal expansion and contraction cycles. Daytime heat. Nighttime cooling. Winter shrinkage. Summer expansion. Every single day. This mechanical stress accumulates over time and causes material interfaces to crack, even when the LEDs still work perfectly.
Indoor lighting never faces this problem. Indoor temperature stays stable. Indoor lighting does not expand and contract dozens of times per month. Outdoor perimeter lighting does. The difference is massive.
I once worked on a project for an international brand headquarters. The building had over two kilometers of LED perimeter lighting installed at a height above eighty meters. During acceptance, everything looked flawless. The light output was uniform. The color temperature was consistent. All tests passed.
By the second summer, problems started appearing. First, some corner sections showed brightness irregularities. Then flickering began. Then water ingress appeared in isolated sections. By the third year, entire segments went dark at night.
The failure analysis shocked everyone. The LEDs were fine. The drivers were fine. The waterproof rating was still IP68. The real problem was the installation structure.
During installation, contractors locked the light strips rigidly inside aluminum channels to ensure perfectly straight lines. There was zero tolerance for thermal expansion. In summer, the building surface reached seventy-five degrees Celsius. In winter, it dropped to minus fifteen degrees Celsius.
Over three years, the system endured thousands of heating and cooling cycles. The silicone expanded and contracted. The PCB expanded and contracted. The aluminum channel barely moved. The result was predictable: solder joint fatigue, copper trace stress fractures, seal interface failure, and moisture intrusion.
The project required complete removal and reinstallation from high-altitude work platforms. The cost far exceeded the original lighting purchase budget. This type of failure is nearly impossible to replicate in a lab. But it is extremely common in real outdoor installations.
What Is the Real Danger in Outdoor Perimeter Lighting Projects?
Most people believe rainwater is the biggest enemy of outdoor projects. It is not. The real danger is thermal cycling combined with material aging.
Water is just the result. Cracks are the cause. And cracks usually come from long-term mechanical stress. Almost every outdoor perimeter lighting failure follows the same progression: material fatigue begins invisibly, seal interfaces develop microcracks, moisture enters, PCB corrosion starts, and finally mass failure occurs during the warranty period.
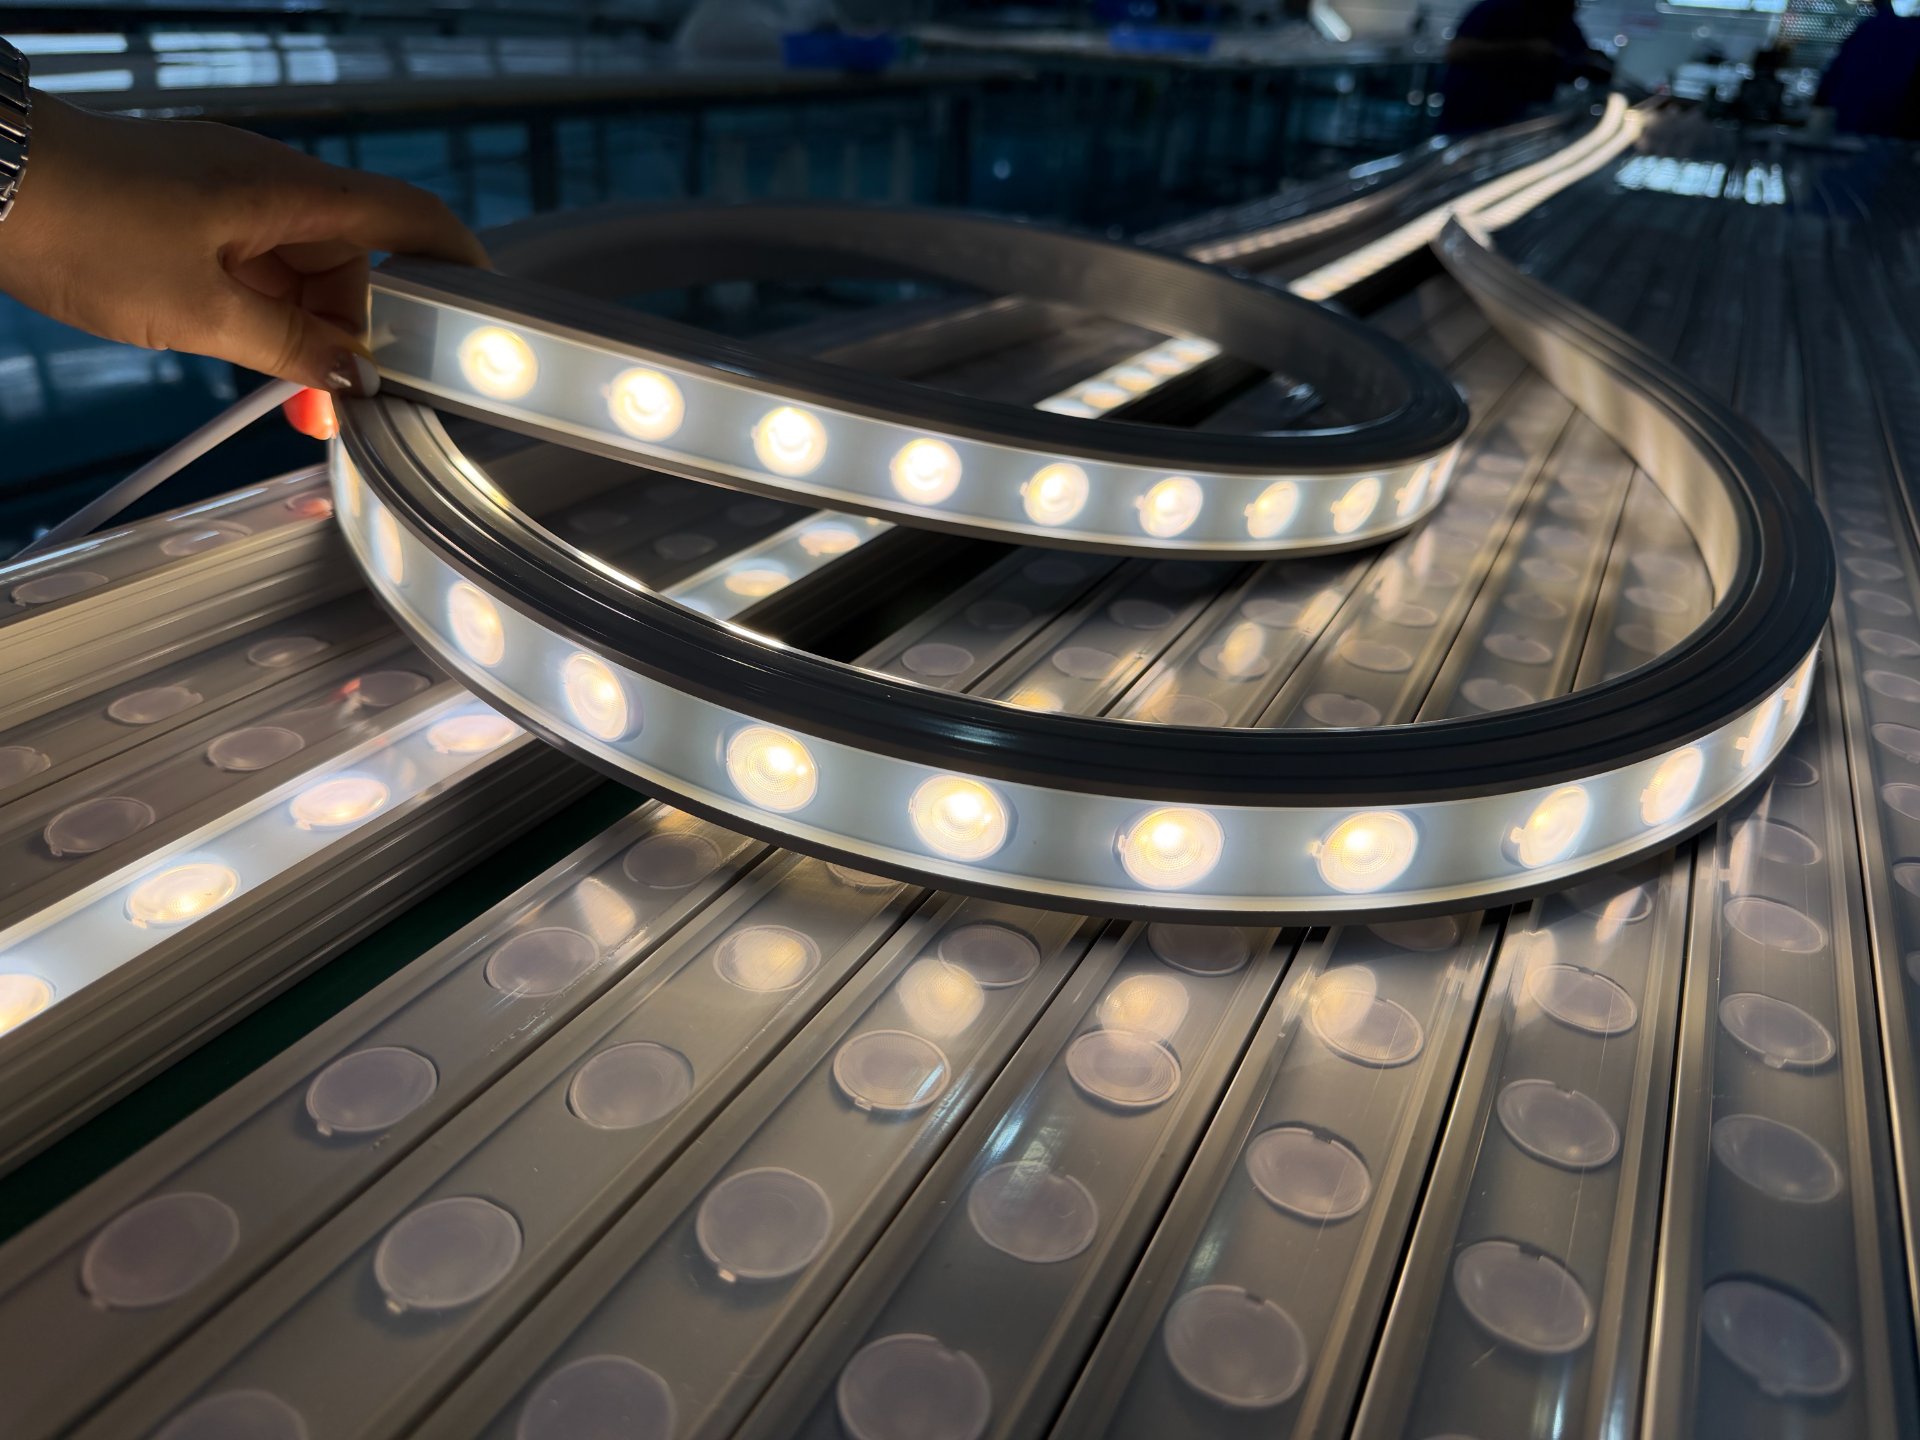
The problem is timing. By the time you see water ingress, the real failure may have started a year earlier. The failure path has five stages:
Stage One: Material fatigue begins. You cannot see it.
Stage Two: Seal interfaces develop microcracks. Still invisible.
Stage Three: Moisture begins entering. Occasional flickering starts.
Stage Four: PCB corrosion occurs. LED failure begins.
Stage Five: Mass failure. The project enters the after-sales nightmare phase.
I have seen this exact pattern repeat across dozens of projects. The timeline varies by region. High-UV areas fail faster. Coastal salt spray areas fail faster. Desert heat zones fail faster. Freeze-thaw cycle regions fail faster. But the pattern stays the same.
Why Do IP68-Rated Products Still Experience Water Ingress?
This is one of the industry's biggest misconceptions. An IP68 rating proves one thing: the product did not leak water on the day of testing. It does not prove the product will remain waterproof five years later.
The most vulnerable points in outdoor perimeter lighting are not the main light body. They are the cable exit points, end caps, potting zones, corner structures, and connector interfaces. These areas experience constant mechanical stress. Once different materials age at different rates, microcracks become inevitable.
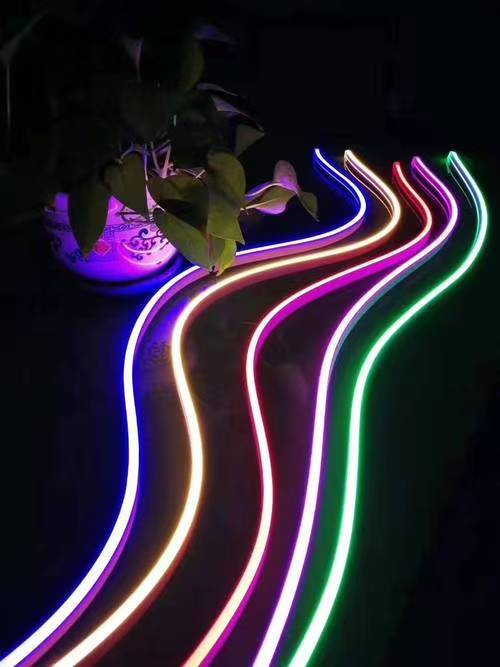
I have tested products with perfect IP68 ratings in controlled lab conditions. Then I subjected them to accelerated UV aging, thermal cycling, salt spray exposure, and repeated bending. The waterproof performance degraded significantly. Some failed within weeks of aging tests. The IP rating became meaningless.
This is especially true in harsh environments:
- High-UV regions: UV radiation degrades polymer chains in silicone and rubber seals faster than predicted.
- Coastal salt spray areas: Salt accelerates corrosion at material interfaces and metal components.
- High-temperature desert zones: Extreme heat accelerates chemical degradation and causes faster material embrittlement.
- Freeze-thaw cycle regions: Repeated expansion and contraction create mechanical fatigue at bonding layers.
The failure rate in these environments can be three to five times higher than in mild climates. Yet most product datasheets are based on standard lab conditions. The disconnect is enormous.
What Are the Technical Solutions That Actually Work?
Professional projects do not just verify IP ratings. They verify IP lifespan. Here is what I recommend based on years of troubleshooting failed installations:
1. Test Waterproofing After Aging, Not Before
Standard IP testing is useless for predicting long-term performance. Real-world testing must include:
- UV aging followed by waterproof testing
- Thermal cycling followed by waterproof testing
- Salt spray exposure followed by waterproof testing
- Repeated bending followed by waterproof testing
The waterproof structure's biggest enemy is not water. It is aging. Products that pass IP68 testing on day one may fail catastrophically after six months of UV exposure. I have seen it happen repeatedly.
| Test Sequence | Standard Approach | Professional Approach |
|---|---|---|
| IP Testing Timing | Before any aging | After full aging simulation |
| UV Exposure Duration | Not required | Minimum 1000 hours |
| Thermal Cycling | Not required | Minimum 200 cycles (-20°C to +80°C) |
| Salt Spray Testing | Optional | Mandatory for coastal projects |
| Post-Aging Water Ingress Test | Not conducted | Critical validation step |
This approach reveals the true durability of sealing systems. Products that look identical on paper perform very differently after aging.
2. Always Design Thermal Expansion Compensation
The worst mistake in outdoor perimeter lighting is rigid, locked installation. This is especially dangerous for:
- Ultra-long continuous runs
- Building facade contours
- Rooftop edge lines
You must design in:
- Expansion buffer zones
- Tolerance spacing between fixing points
- Stress release zones at corners
Thermal stress will always find an outlet. You just do not know where it will crack open. I have seen thirty-meter continuous runs shear solder joints at mounting brackets because there was zero expansion allowance. The fix required complete reinstallation.
3. Silicone Hardness Is Not Always Better When Higher
Many buyers mistakenly believe higher hardness means better durability. The opposite is often true for outdoor perimeter lighting.
Overly hard silicone cannot absorb structural stress. The stress transfers directly to the PCB, solder joints, and seal interfaces. Over time, this causes higher failure rates. The optimal hardness range should match the installation method, bending radius, and temperature variation range—not simply pursue maximum hardness.
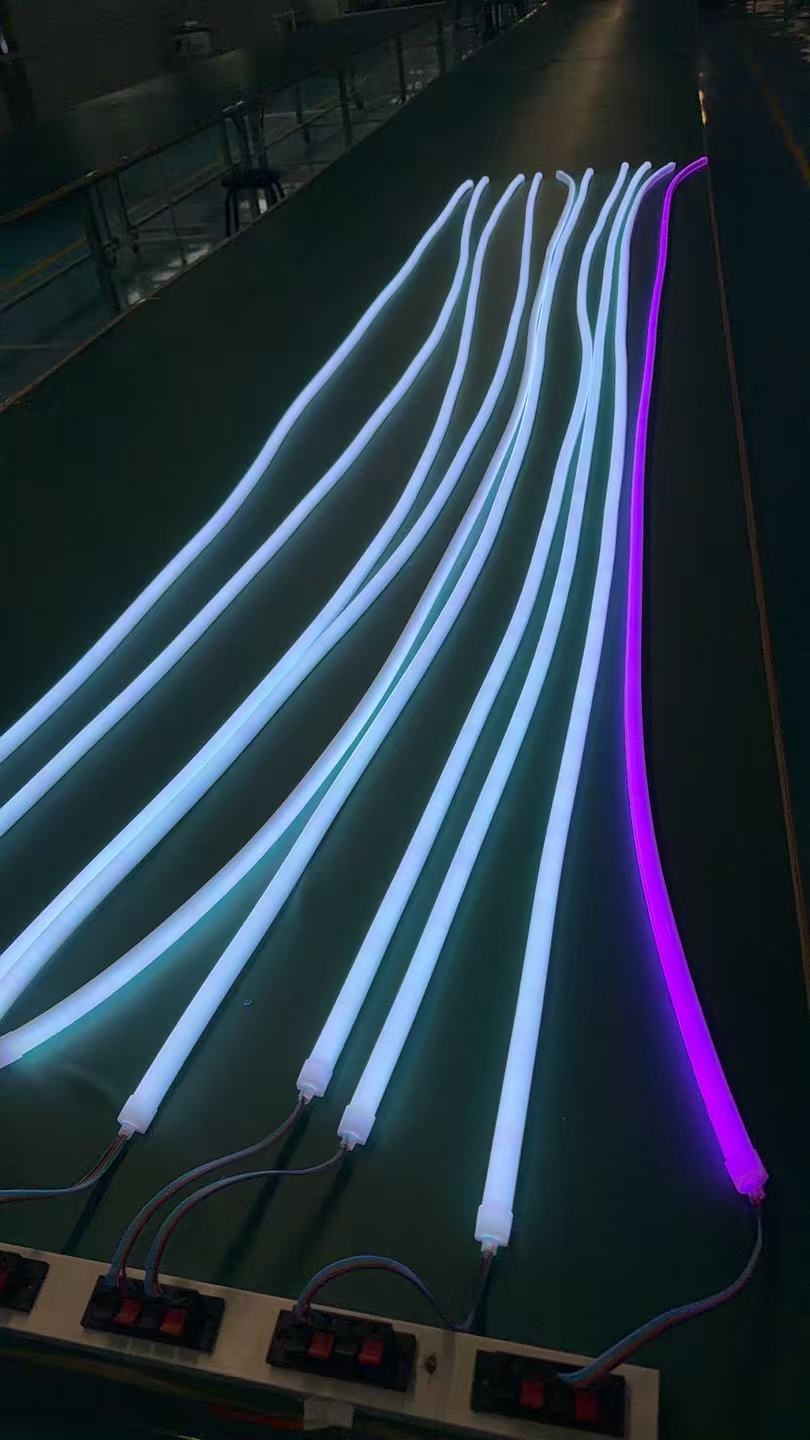
In my experience, silicone with Shore A hardness between 60 and 75 works best for most architectural perimeter applications. It provides enough structure for handling while maintaining flexibility for thermal stress absorption. Products above Shore A 85 often crack prematurely in high-stress installations.
4. In High-UV Regions, Focus on Yellowing Mechanism, Not Just Yellowing Grade
Most anti-yellowing test data lacks real engineering value. Why? Because most tests are short-duration lab simulations. Real outdoor environments involve UV radiation, temperature, humidity, acid rain, and salt spray acting simultaneously.
Many products perform excellently in one-thousand-hour accelerated tests. Then they turn completely yellow after three years of actual outdoor exposure. The lab test missed critical interactions between aging factors.
What you really need to validate is:
- Light transmission change after UV aging
- Color coordinate shift after UV aging
- Mechanical property degradation after UV aging
Not just a yellowing grade number. I have compared products from different manufacturers with identical yellowing grades. After eighteen months outdoors in Dubai, some stayed clear while others turned noticeably yellow. The difference was molecular structure and UV stabilizer chemistry, not the test report number.
5. Lock Color Temperature BIN, Not Just Color Temperature Number
One of the biggest visual disasters in outdoor perimeter lighting is color mismatch during replacement orders. This is especially critical for:
- Commercial complexes
- Hotel buildings
- Brand headquarters
- Urban landmarks
Continuous perimeter lighting is extremely sensitive to color differences. A specification of "3000K" does not guarantee the same visual appearance. What you need to lock down is:
- Specific LED bin codes
- Color coordinate ranges
- Project-dedicated production batches
| Specification Approach | Risk Level | Why It Fails |
|---|---|---|
| "3000K CCT" only | Very High | Different bins can vary by 200K+ in visual appearance |
| "3000K ±150K tolerance" | High | Still allows visible mismatch in continuous runs |
| "MacAdam 3-Step" | Medium | Better but not tied to specific batches |
| "Locked LED Bin + Batch Code" | Low | Ensures consistency across orders |
Without this level of specification, replacement orders eighteen months later will look visibly different even though the datasheet matches perfectly. I have seen projects where new sections were installed with identical specifications but clearly different color appearance at night. The client was furious. The contractor ate the cost of replacement.
6. Choose Structure Based on Installation Method, Not the Reverse
Many projects select a product first, then figure out how to install it. This is backwards. The correct logic is: installation environment determines structure.
For example:
- Building corner areas need low-stress structures that can flex without breaking seals.
- Ultra-long continuous sections need thermal compensation structures to prevent cumulative expansion damage.
- High wind-load areas need reinforced mounting structures that prevent vibration fatigue.
Different installation methods require completely different extrusion designs. I have seen projects fail because a standard product was forced into an incompatible installation scenario. The product was not defective. It was simply the wrong structural design for that specific application.
When we work with contractors on large facade projects, we first evaluate:
- Mounting surface material (concrete, metal panel, glass curtain wall)
- Temperature range variation
- Wind load exposure
- Maintenance access method
- Expected bend radius at corners
Then we select or customize the extrusion profile accordingly. This approach has reduced our field failure rate by over seventy percent compared to generic product selection.
What Question Should You Really Be Asking?
When you evaluate an LED outdoor perimeter lighting system, the real question is not: How bright is it today? What is the IP rating? How low is the price?
The real question is: After five years of UV exposure, thousands of thermal cycles, rainstorms, salt spray, thermal expansion, material aging, and continuous operation—will this system still perform as it does today?
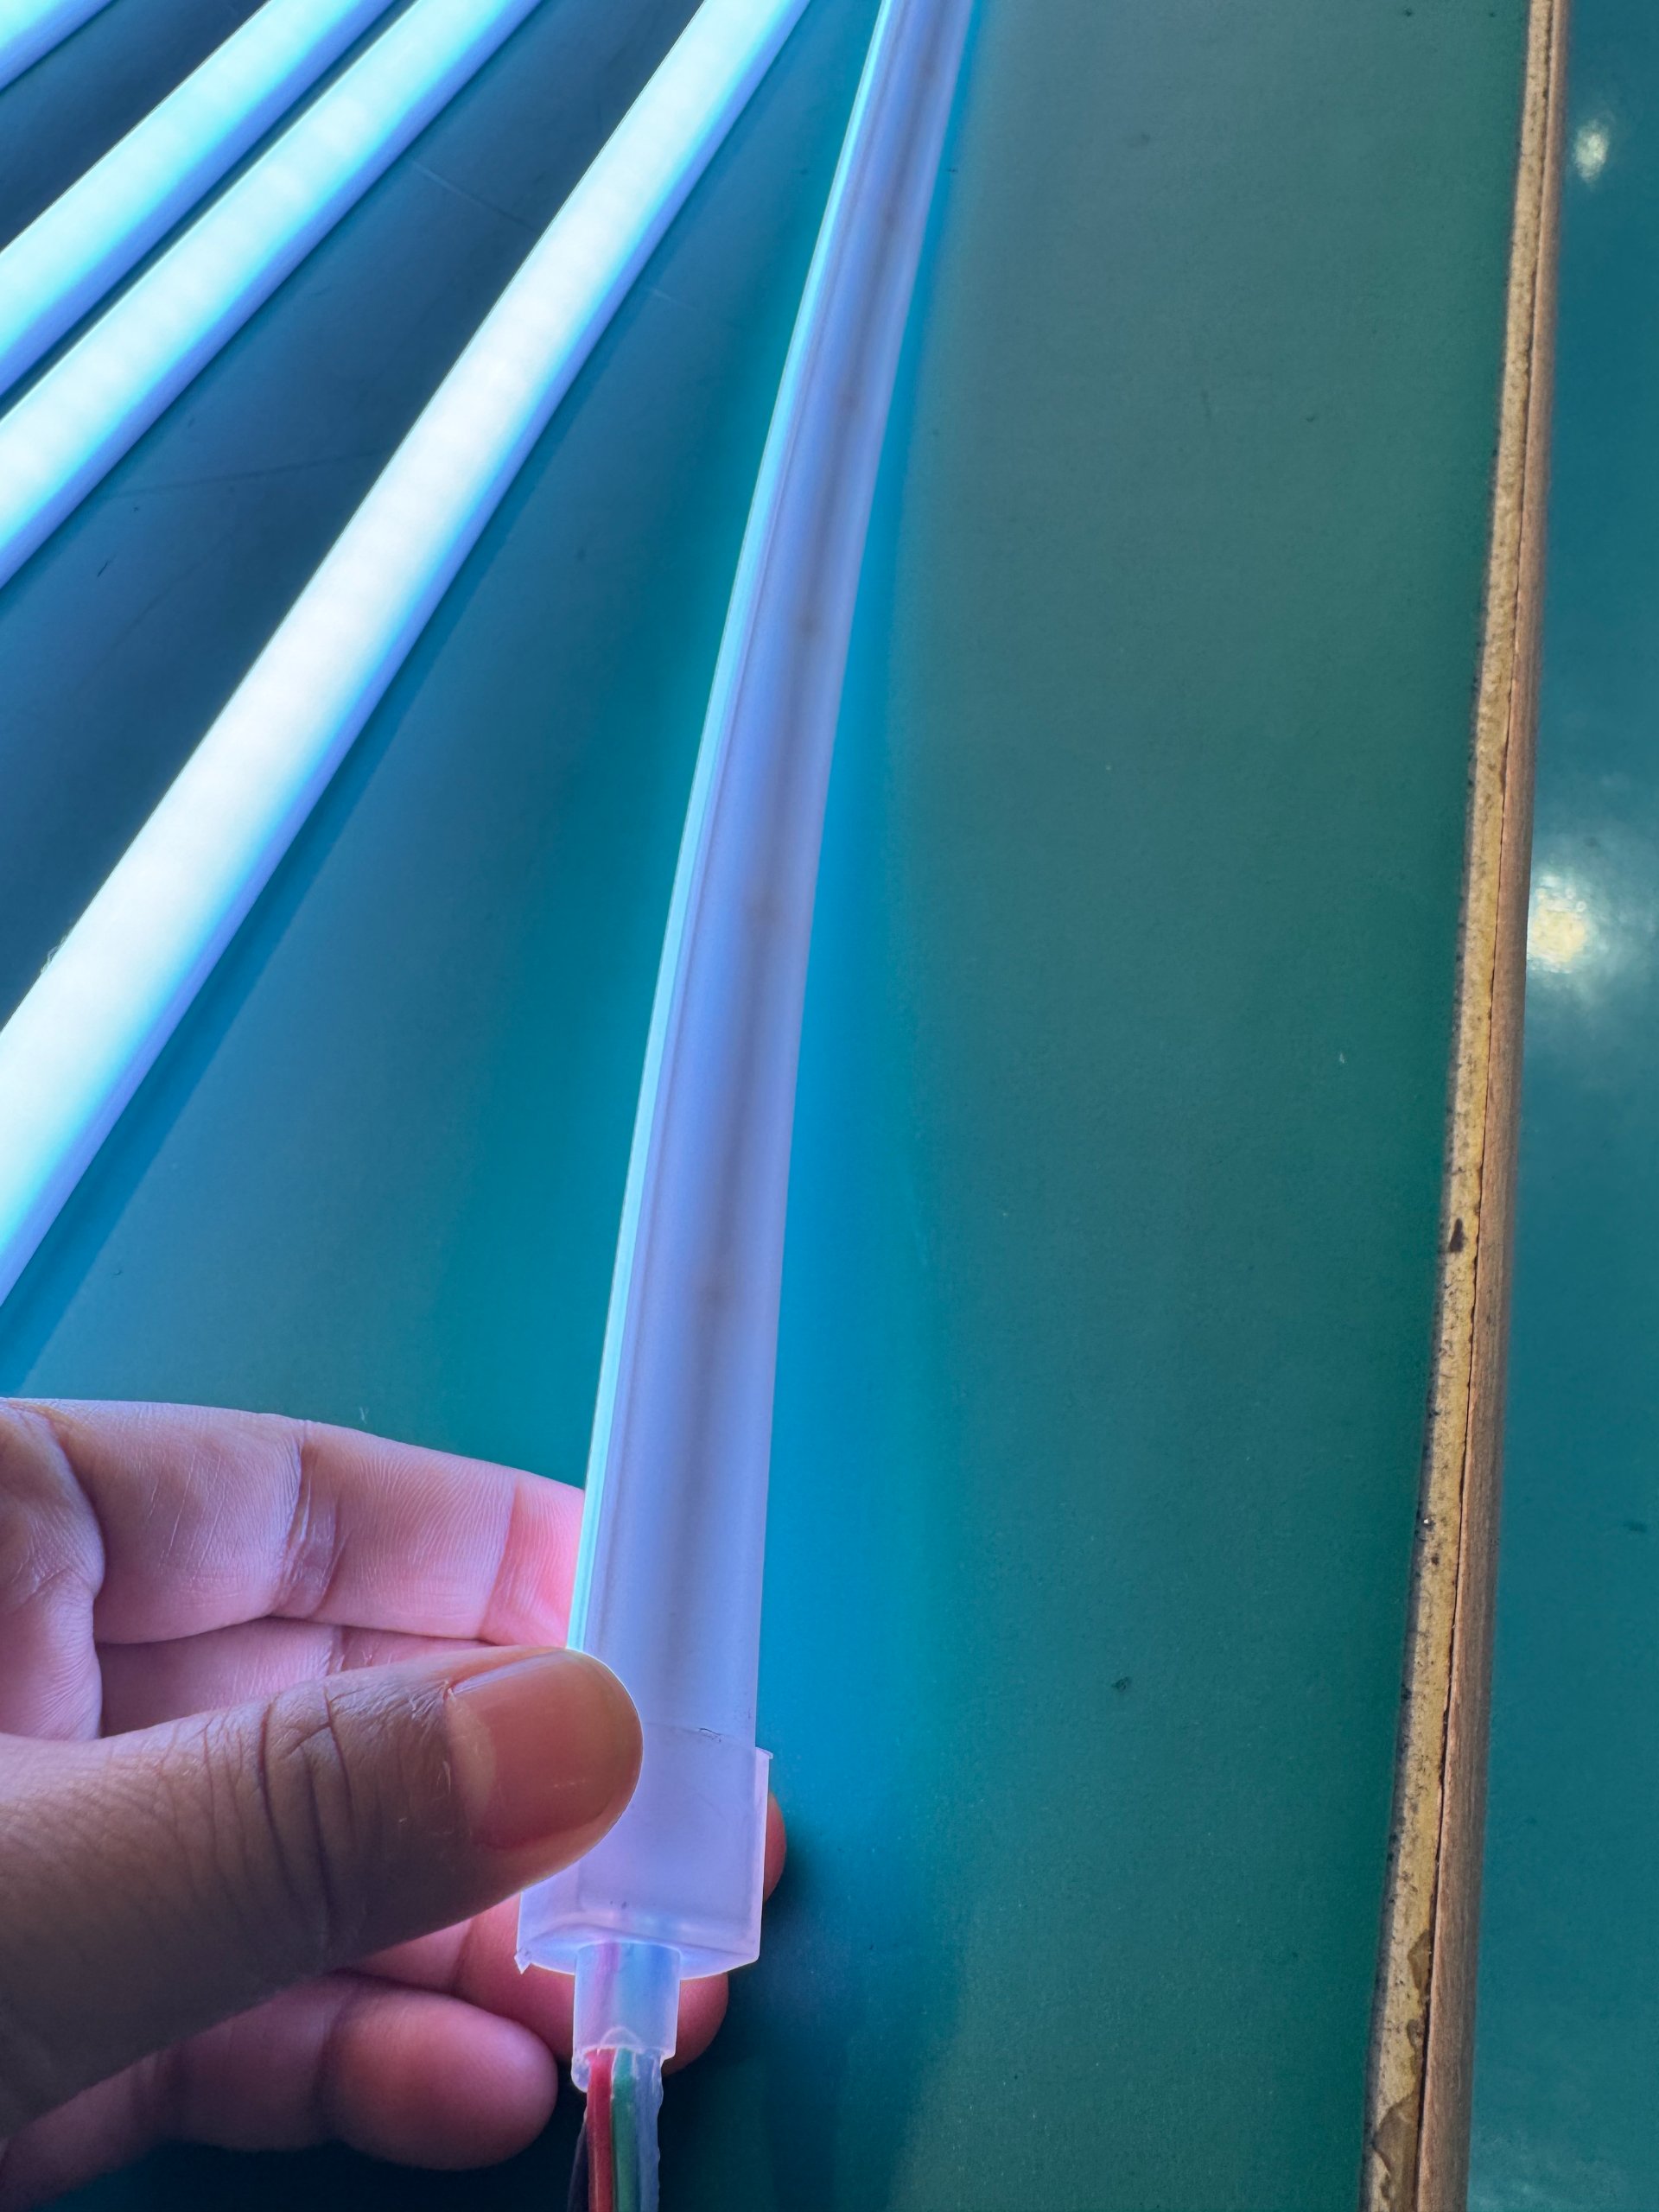
Because for outdoor perimeter lighting, the biggest cost never occurs during the procurement phase. It occurs on the suspended work platform eighty meters above ground. It occurs when an entire building needs to be stripped and reinstalled. It occurs after the project has already been delivered and accepted.
I have worked with contractors who chose products based solely on initial cost. Two years later, they spent five times the original lighting budget on high-altitude repairs. I have also worked with contractors who invested in properly engineered systems upfront. Five years later, those systems still operate without issues.
The difference is not LED quality. It is system engineering. Professional buyers do not select a light strip. They select an engineering system designed to survive time.
This is what separates projects that succeed long-term from projects that become expensive maintenance nightmares. The choice is always yours. But the consequences are always predictable.