

You are planning a lighting project. You compare specs. You check prices. You finalize orders. Everything looks good on paper. But then the first summer arrives. The first rainstorm hits. The first restocking happens. Suddenly, your entire LED strip lights system starts failing. You realize you were asking the wrong questions from the beginning.
Most LED strip lights don't fail on the day they are powered on. They fail during the first summer heat wave, the first heavy rain, the first batch replenishment, and the first warranty cycle. The real challenge is not choosing the brightest product. The real challenge is predicting where the system will break under long-term stress and preventing it before installation begins.

Many buyers focus on wattage, lumens, CRI, IP rating, and unit price. These metrics matter. But they don't tell you what will happen in year three when UV exposure weakens the silicone. They don't warn you about thermal expansion stress at corner joints. They don't explain why your second batch looks different under the same light. I have seen projects where every specification was correct, yet the system collapsed within 18 months. Why? Because long-term reliability is not written in datasheets.
Should You Focus on Brightness or Failure Pathways First?
You walk into a meeting. Someone asks: "How bright is this strip?" That is the wrong first question. I always ask: "Where will this fail first?" Because every application has a different failure mode. Indoor cove lighting fails from heat buildup and overloaded drivers. Facade lighting fails from UV degradation and thermal cycling. Landscape installations fail from moisture ingress and salt corrosion. Retail chains fail from color inconsistency across batches.
The core issue is not product selection. The core issue is failure mode identification. If you don't know how your system will break, you cannot choose the right components to prevent it.
I worked on a commercial complex facade project. We used 24V high-density LED strips. The sample passed every test. Brightness was uniform. Color temperature was consistent. Waterproofing was certified. The installation looked stunning. Three months later, summer arrived. The facade surface temperature reached 78°C. Dark zones appeared at corners. Flickering started in sections. Brightness dropped at the ends. One year later, water penetrated certain areas.
The autopsy revealed the truth. The LED chips were fine. The problem was a chain of small mistakes. First, the installation team mounted the strips tightly inside aluminum channels to keep lines straight. No expansion room was left. Silicone and aluminum have vastly different thermal expansion coefficients. Continuous heat cycling caused PCB stress. Solder joints cracked over time. Second, the power supply load was designed at 92%. In high heat, the driver ran at full capacity continuously. Output gradually declined. Third, the end-cap sealant was incompatible with the silicone body. After thermal cycling, microcracks formed. Moisture began creeping in.
None of these issues alone would destroy the project. But together, they created a cascading failure. This is the most dangerous aspect of large-scale projects. A single major error is easy to spot and fix. Five small errors working together are nearly impossible to reverse after installation. So before you choose LED strip lights, you need to think through six critical points that specifications never cover.
How Do Material Compatibility Issues Cause Long-Term Damage?
Most post-installation failures trace back to material migration. This is especially true when combining silicone, PVC, adhesive tapes, sealants, and cable jackets. Lab tests show everything is fine. One year later, yellowing appears. The problem is not the LED. The problem is chemical reactions between materials. Low-quality adhesives contain plasticizers. These plasticizers migrate into the light-emitting surface over time. The result is yellowing, stickiness, and reduced light output.
What you should verify is not just initial appearance. You should verify long-term thermal aging compatibility, UV aging stability, and chemical migration resistance. These tests take weeks or months. But they reveal what happens in year two and year three when customers start complaining.
I have seen projects where the entire strip turned yellow after 18 months. The manufacturer blamed the LED chips. But testing proved the chips were intact. The yellowing came from adhesive tape migration. The tape was not designed for continuous 60°C exposure. Under heat, plasticizers leached into the silicone. The lesson is simple: every material in your system must be tested together, not separately. Silicone must be compatible with the sealant. The sealant must be compatible with the adhesive. The adhesive must be compatible with the PCB coating. One incompatible link destroys the entire chain. This is why we always request full material datasheets and conduct cross-compatibility tests before large orders.
Why Is Thermal Management More Important Than Wattage?
LED lifespan is controlled by temperature. Many buyers only look at power ratings. Few buyers look at operating temperature. This is a critical mistake. The same LED strip running at 60°C and running at 90°C have completely different lifespans. Temperature is not a secondary factor. Temperature is the primary factor. High brightness means nothing if the strip overheats and degrades in two years.
What you should evaluate is PCB copper thickness, thermal dissipation structure, installation environment, aluminum channel heat sink capacity, and maximum ambient temperature. LED chips do not suddenly die. They slowly degrade under prolonged heat exposure.
In our factory, we conduct thermal imaging tests on every new design. We measure the hotspot temperature after four hours of continuous operation. If the hotspot exceeds 85°C, we redesign the PCB or recommend installing additional heat sinks. Many projects fail because buyers assume the aluminum channel will solve all thermal issues. But if the channel is too narrow, or if airflow is blocked, or if the ambient temperature is high, the channel becomes useless. Heat accumulates. The LED junction temperature rises. Lumen depreciation accelerates. Within 12 months, the brightness drops below acceptable levels.
I have tested identical LED strips in different environments. One strip mounted in an open-air aluminum channel with good airflow maintained 95% of its initial brightness after 3000 hours. Another strip mounted in a sealed plastic channel with poor ventilation dropped to 78% brightness after the same period. The LED chips were identical. The difference was thermal management. So when I specify LED strips for clients, I always calculate the worst-case thermal scenario. I ask: what is the maximum surface temperature in summer? Is there ventilation? Is the channel oversized or undersized? Can we add thermal gaps? These questions determine whether the project will still look good in year five.
How Does Power Supply Redundancy Prevent System Collapse?
Many after-sales failures are traced to power supplies, not LED strips. This is a common oversight. Buyers calculate the total wattage. They choose a power supply that matches. They think the job is done. But experienced engineers know that long-term projects should never load power supplies beyond 80% capacity. Why? Because high temperatures reduce driver output. Electrolytic capacitors degrade continuously. Many projects work fine in winter. In summer, flickering begins.
The root cause is not LED failure. The root cause is insufficient power redundancy. Drivers running at 90% load in 40°C ambient temperatures are already beyond their safe operating zone. When summer arrives and the driver heats up, the output drops. Voltage sags. LEDs start flickering or dimming.

I have analyzed dozens of projects where flickering appeared six months after installation. Every time, the driver was the culprit. The buyer chose a 100W driver for a 95W load. On paper, it seemed fine. But drivers are rated at 25°C ambient. In real installations, the driver sits in a hot enclosure. Ambient temperature inside the box can reach 60°C or higher. At that temperature, a 100W driver can only deliver 70W safely. The 95W load now exceeds capacity. Voltage drops. Flickering starts.
My rule is simple: always oversize the driver by at least 20%. For outdoor projects, I oversize by 30%. Yes, this increases upfront cost. But it eliminates 90% of power-related failures. I also recommend separate drivers for each 5-meter run instead of one large driver for the entire system. This creates redundancy. If one driver fails, the rest of the installation keeps working. Repairs become easier. Downtime is minimized. Power redundancy is not optional. It is essential.
What Makes Waterproofing Last Beyond the IP Rating?
IP67 is the most misleading specification in the LED industry. It only means the product passed a water immersion test on the day it was tested. It does not mean the product will remain waterproof after five years of UV exposure, thermal cycling, and mechanical stress. True waterproofing longevity depends on UV aging performance, thermal cycling resistance, salt spray endurance, and cable entry point durability.
Most outdoor projects do not fail at the LED body. They fail at end caps, cable junctions, and potting zones. These are the real weak points. IP ratings do not test these areas under long-term stress.
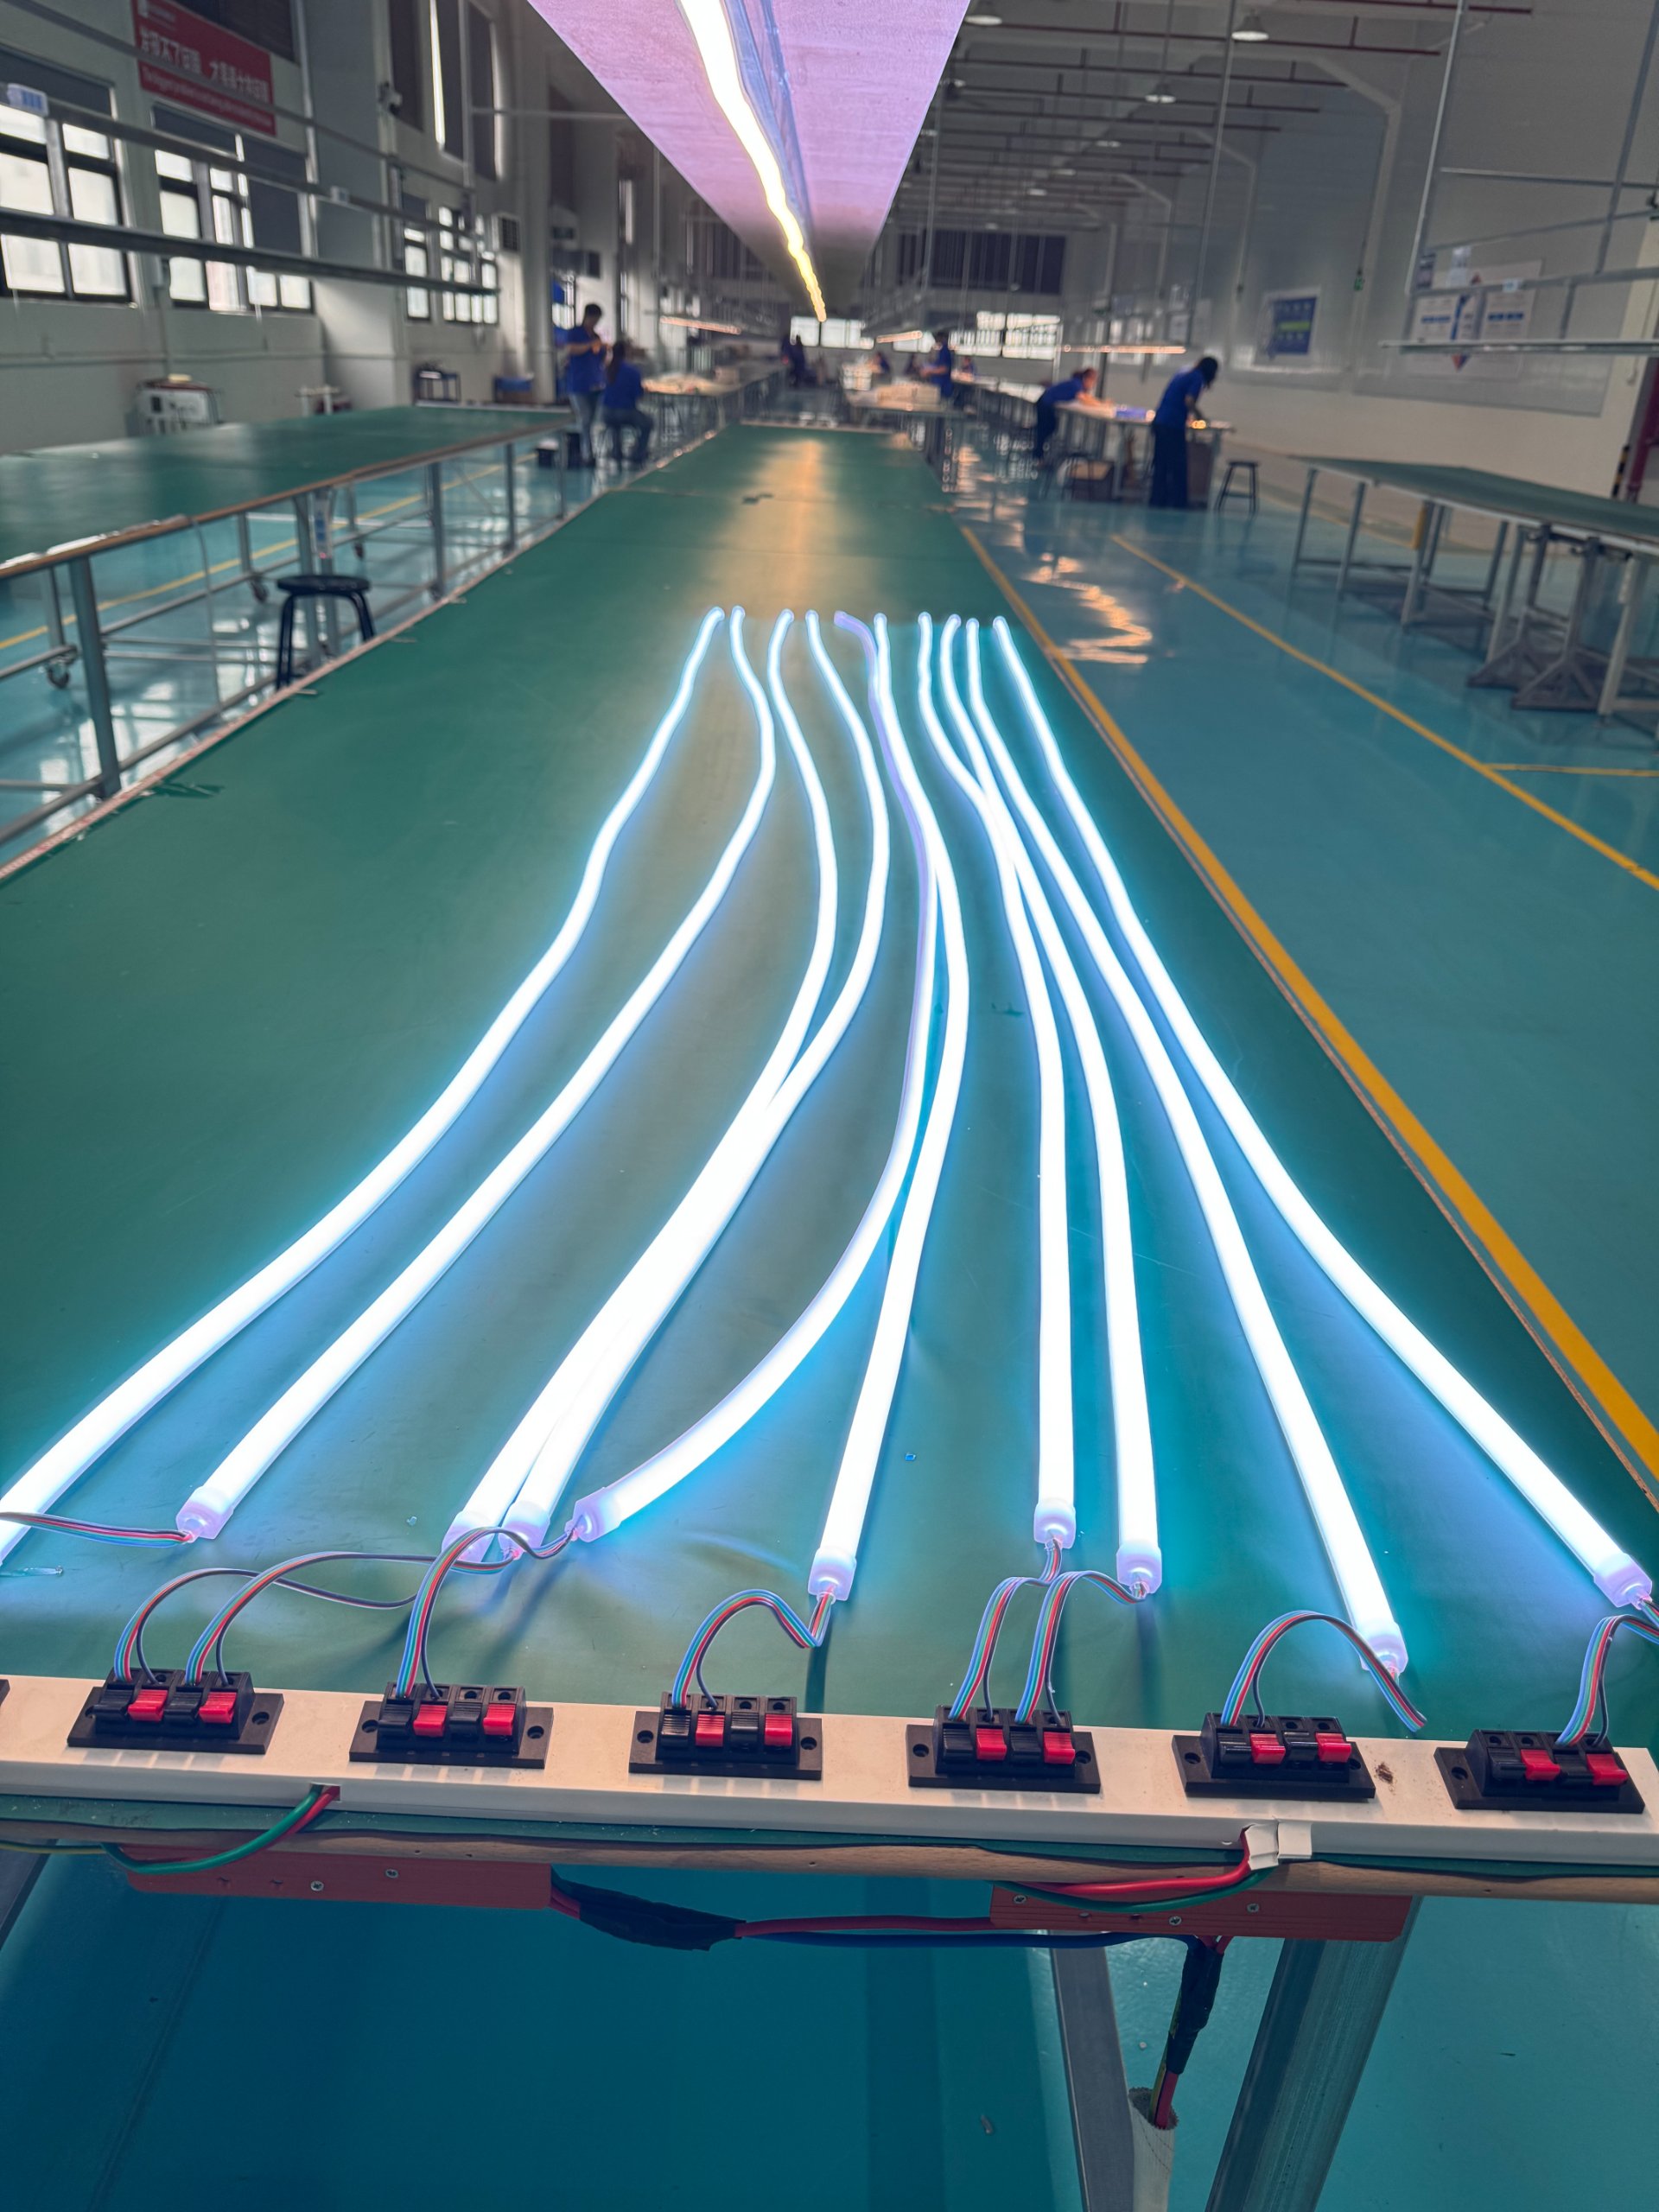
I have seen countless projects where the strip body remained intact, but water entered through the cable gland. The gland was rated IP67. But after 12 months of sun exposure and rain, the rubber seal hardened. Cracks formed. Water seeped in. Corrosion started. The entire section failed. The lesson is: IP ratings are static tests. Real life is dynamic. UV breaks down plastics. Heat causes expansion. Cold causes contraction. Repeated cycling weakens seals. Salt spray corrodes metal contacts.
Before we ship large orders, we run extended environmental tests. We expose samples to 1000 hours of UV aging. We cycle them through 100 freeze-thaw cycles. We spray them with salt fog for 500 hours. Only then do we examine the seals. If cracks appear, we redesign the end cap or switch to a different sealant. These tests are expensive. But they reveal what happens in year three when customers start reporting water damage. For critical projects, I also recommend secondary sealing at all junctions. This adds labor cost, but it provides a second line of defense if the primary seal fails.
How Do Color Consistency and Batch Management Prevent Visible Defects?
Many architectural projects are destroyed during the restocking phase. The first batch is 3000K. The second batch is also labeled 3000K. But when installed side by side, the colors look completely different. The problem is not incorrect labeling. The problem is BIN variation. LED manufacturers sort chips into different BINs based on color coordinates. Two chips labeled "3000K" can have slightly different spectral outputs. In isolation, the difference is invisible. Side by side, the difference is obvious.
Large projects must lock BIN, lock batch, and lock color coordinates. Otherwise, maintenance and expansion phases will create visible color banding. It is only a matter of time.
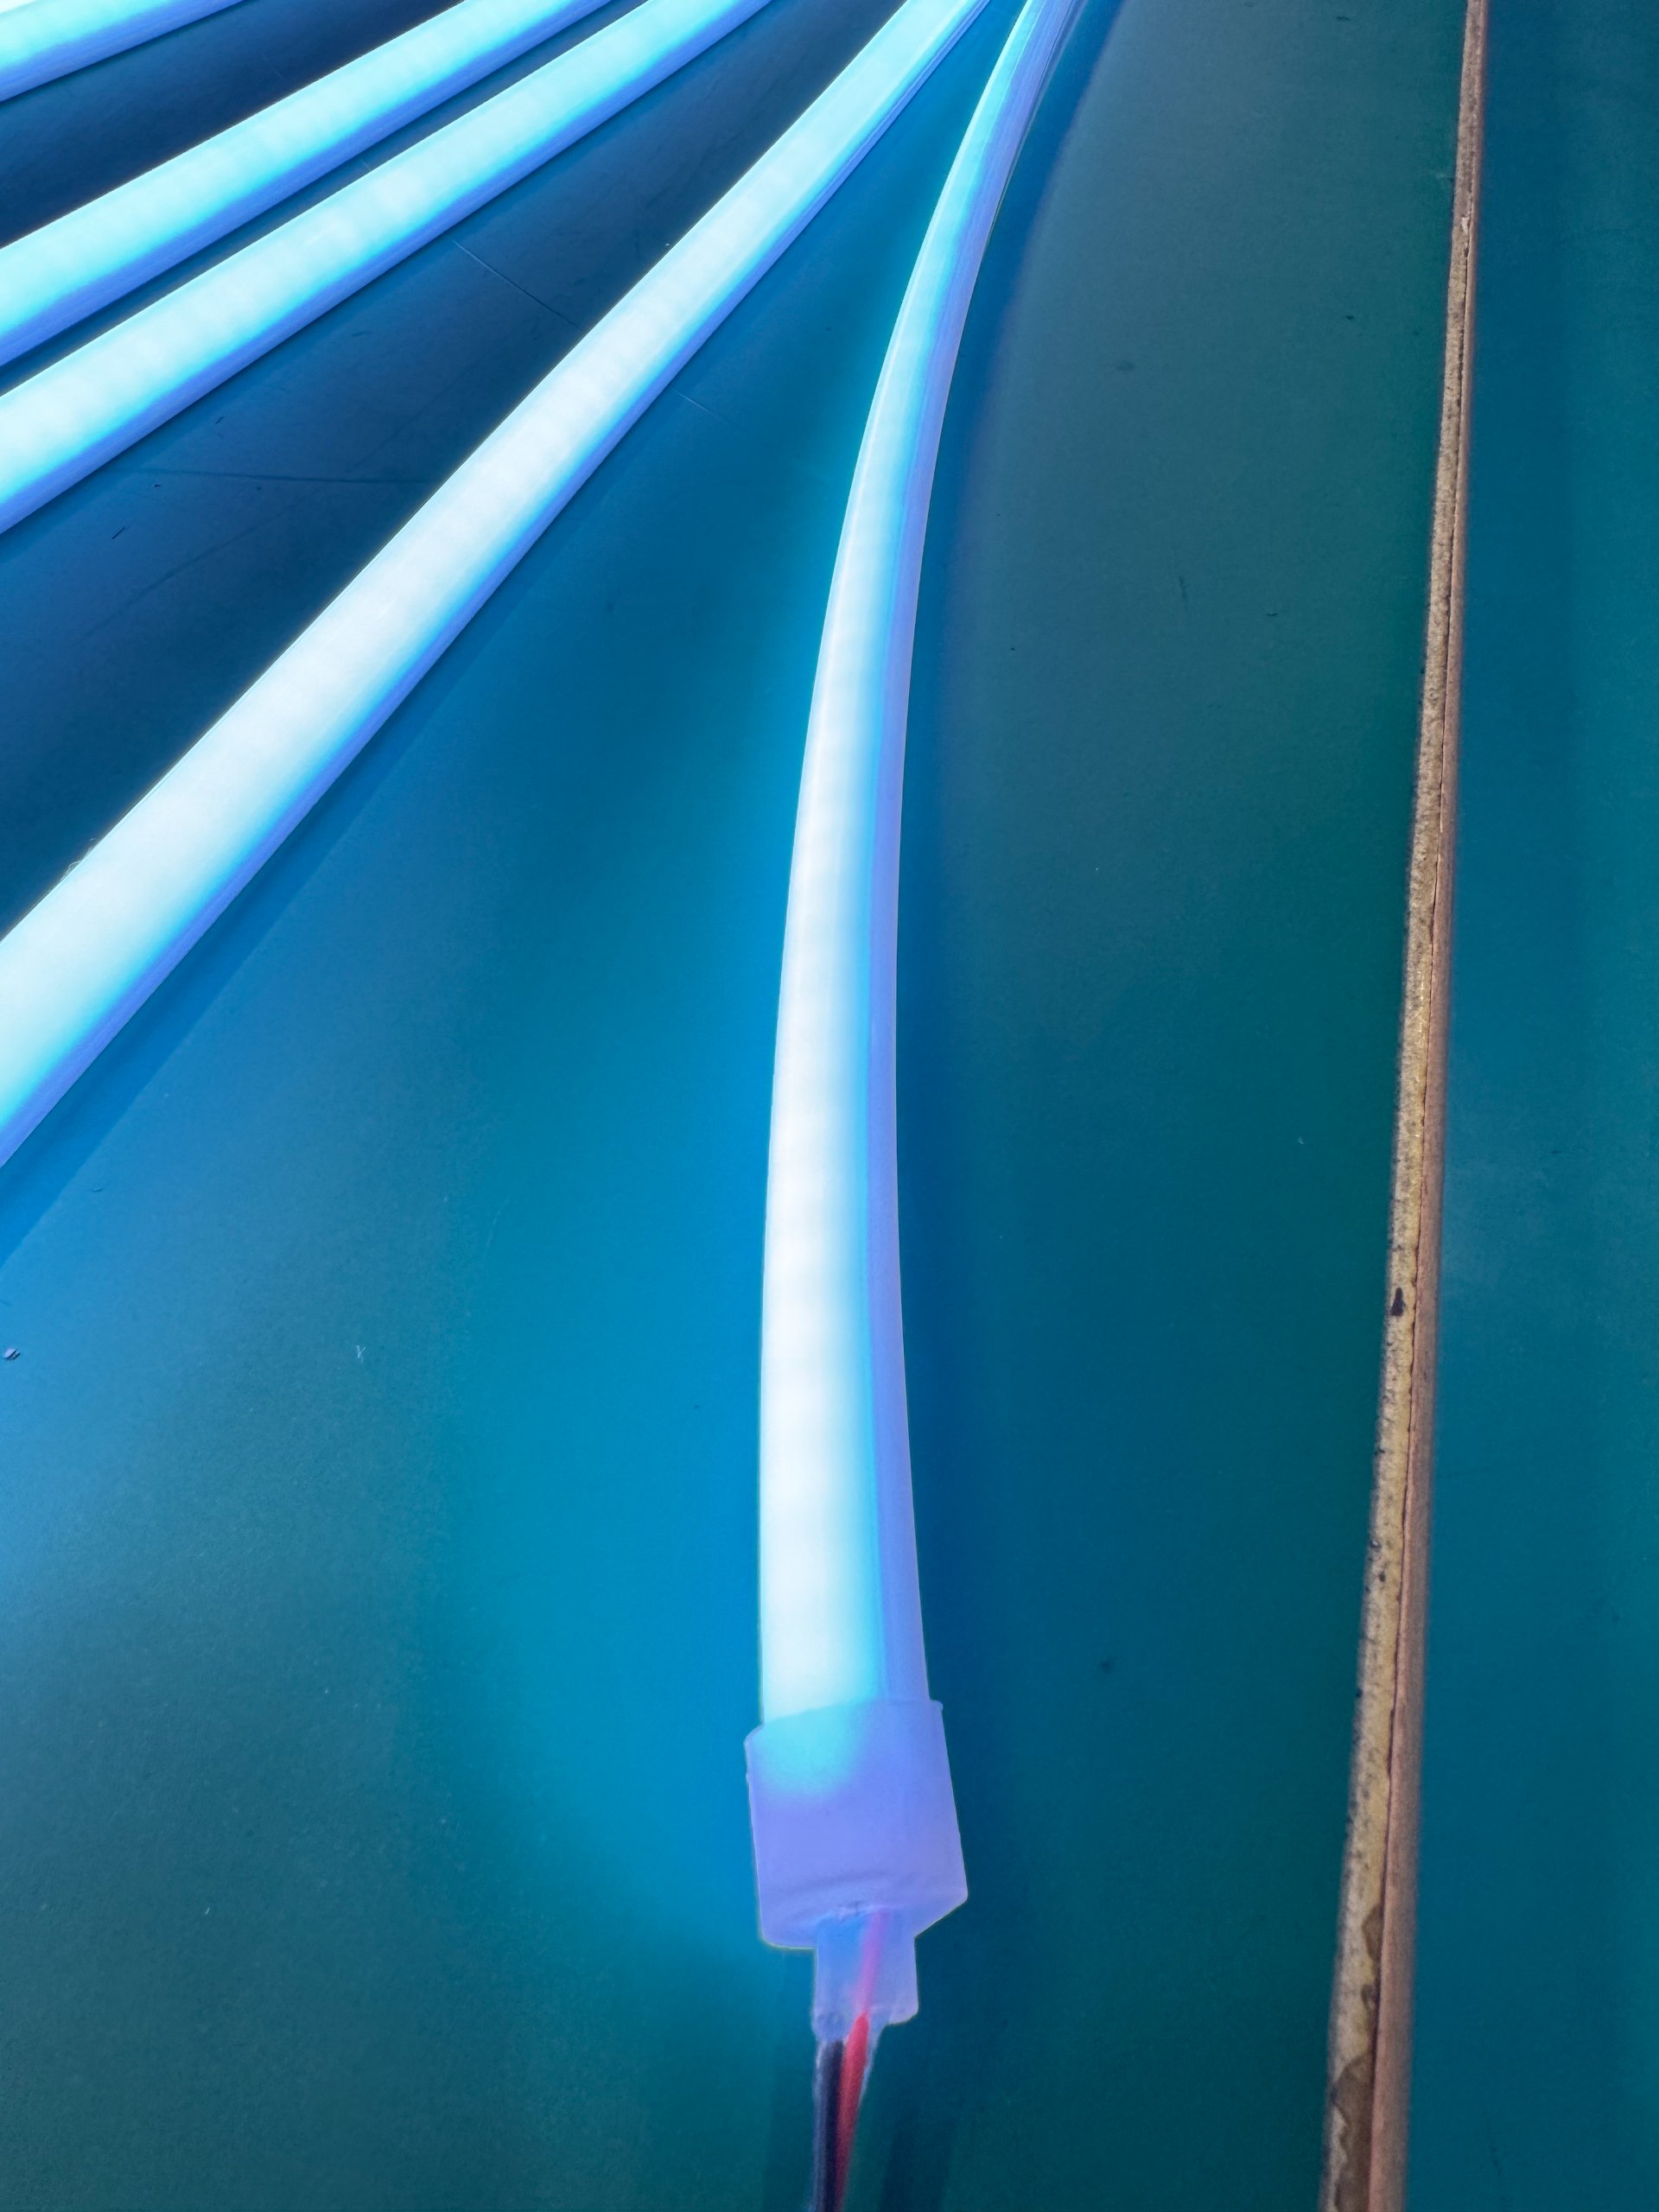
I worked on a hotel corridor project. The client ordered 200 meters for phase one. Two years later, they expanded and ordered another 100 meters. The specifications were identical. But the new batch was from a different production run. The color difference was immediately visible. The client demanded replacement. We had to absorb the cost. Since then, we started a BIN reservation system for large projects. When a client orders the first batch, we reserve chips from the same BIN for future orders. We store them in climate-controlled warehouses. This ensures color consistency across years.
For critical projects, I also recommend specifying SDCM (Standard Deviation of Color Matching) values. We use SDCM ≤ 3 for high-end projects. This ensures that any two strips, even from different batches, will look identical when installed. Yes, this increases cost. But it prevents color banding complaints that can destroy a project's reputation. Color is the most visible quality indicator. If the color is inconsistent, nothing else matters.
Why Does Installation Structure Determine Long-Term Reliability?
Many LED strips do not fail from aging. They fail from installation stress. Corner bends, tight radius curves, and long continuous runs create mechanical strain. The result is copper trace fatigue, solder joint cracking, and silicone tearing. Even the best LED strip will fail if installed incorrectly. This is why design must account for minimum bend radius, stress relief zones, and thermal expansion compensation.
No matter how high the product quality is, improper installation will destroy it. The most common mistakes are forcing strips into tight bends, over-tightening mounting clips, and failing to leave expansion gaps.
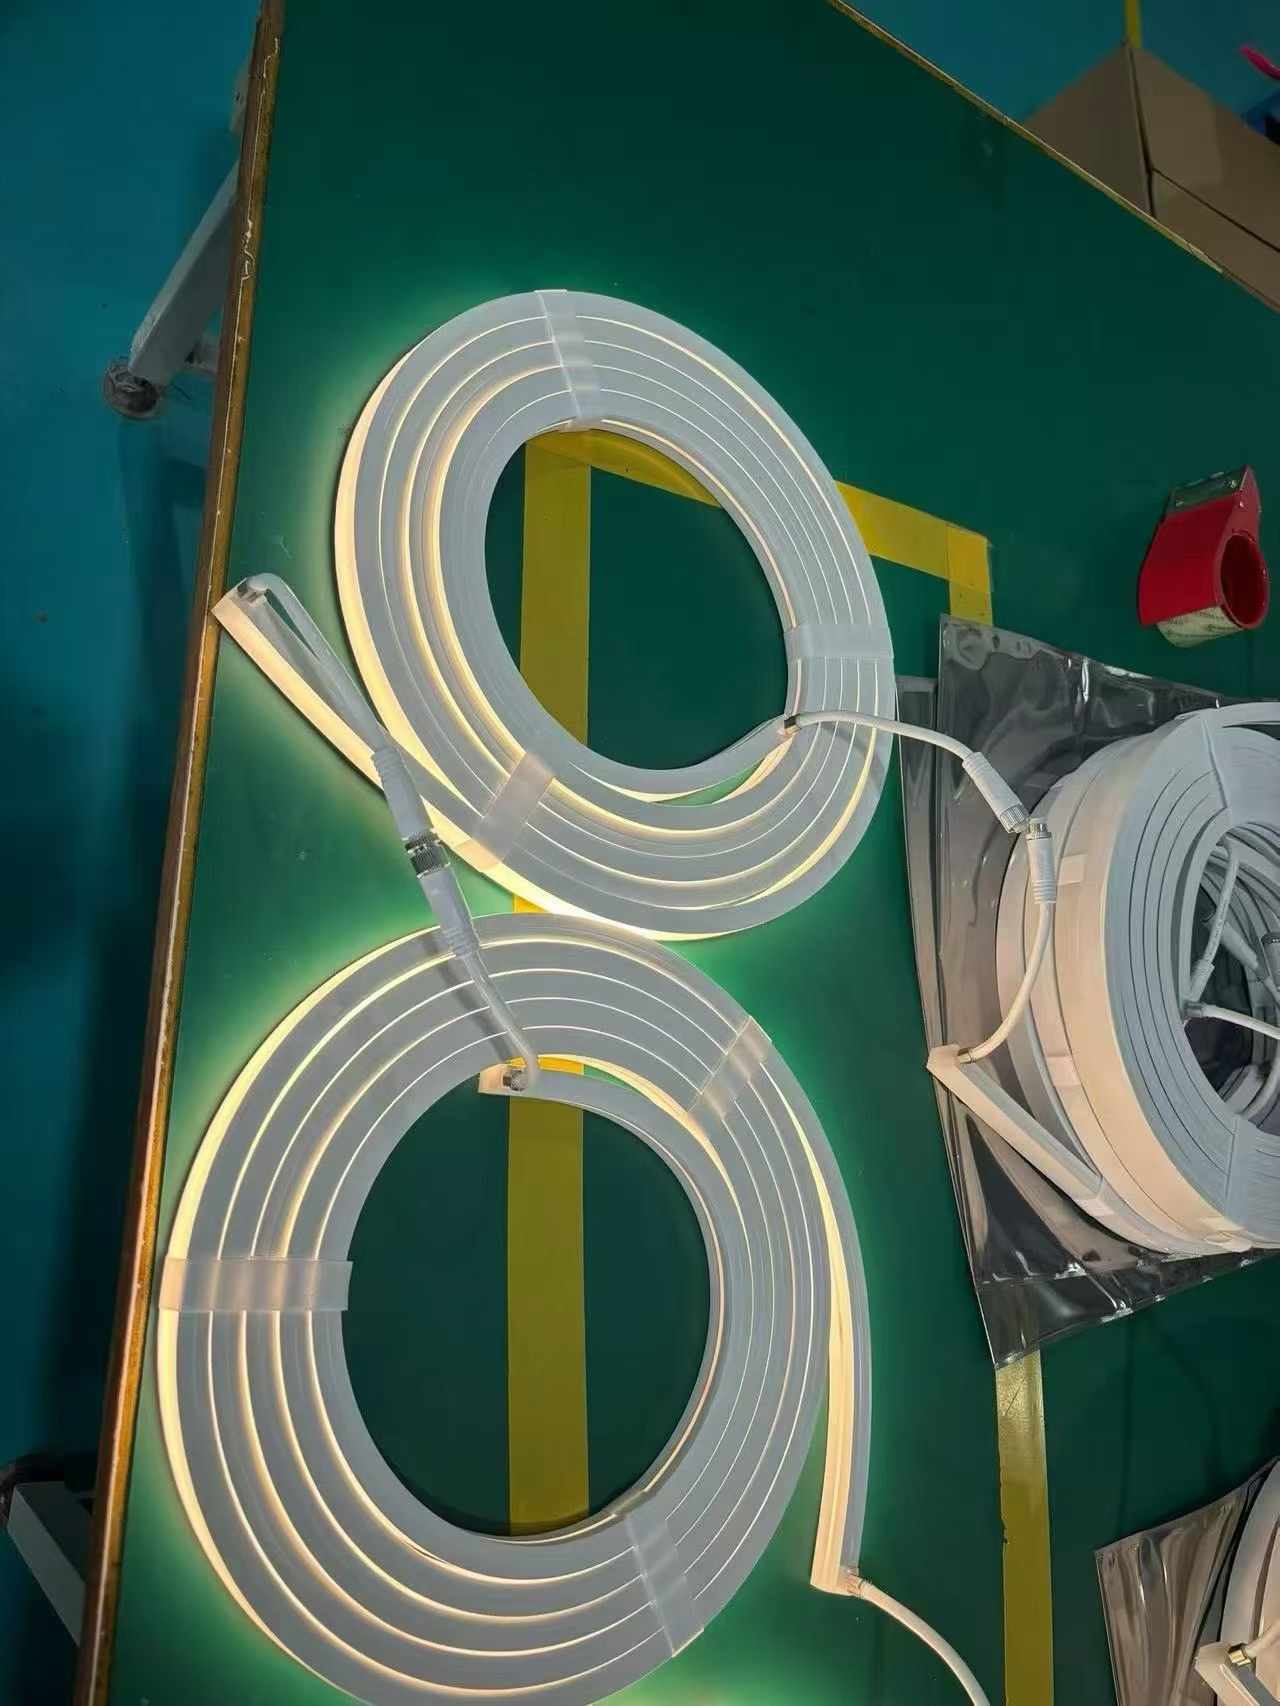
I have seen projects where strips were bent at 90-degree angles around corners. The installers used force to make them fit. Within six months, the copper traces cracked at the bend points. The circuit broke. The entire section went dark. The manufacturer was blamed, but the root cause was installation error. Silicone LED strips have a minimum bend radius. For most products, it is 50mm to 100mm. Bending tighter than this causes internal damage that is invisible until the strip fails.
I always provide installation guidelines with every shipment. These guidelines specify minimum bend radius, maximum mounting clip spacing, and recommended expansion gap intervals. For long runs, I recommend leaving 5mm expansion gaps every 5 meters. This allows the strip to expand and contract with temperature changes without building up stress. I also recommend using soft mounting clips instead of rigid clamps. Soft clips allow slight movement, which prevents stress concentration. These small details make the difference between a project that lasts five years and a project that fails in 18 months.
Conclusion
Choosing LED strip lights is not about comparing brightness and price. It is about predicting failure modes, verifying material compatibility, ensuring thermal management, providing power redundancy, testing long-term waterproofing, locking color consistency, and designing stress-free installation structures. The projects that succeed are the ones that think beyond the datasheet.