

I've been in the LED strip lighting industry for years now. I've seen countless projects start with perfect samples and end with disaster two years later. The problem is rarely the brightness. It's what nobody checks during procurement.
Before you buy LED strip lights for your commercial project, you need to verify six critical factors: material compatibility, thermal management capability, power system redundancy, waterproof longevity (not just IP rating), color consistency across batches, and installation structure flexibility. These factors determine whether your system survives five years or fails within eighteen months.
I learned this the hard way. My first major hotel facade project looked flawless during acceptance. Eight months later, the client called me at 2 AM. Yellowing. Adhesive failure. Dimming zones everywhere. The cost wasn't just replacing lights—it was scaffold rental, night shift labor, and lost reputation.
Why Does Material Compatibility Matter More Than Brightness?
You can have the brightest LEDs in the world. But if your materials fight each other, your project dies slowly.
Material compatibility means verifying that every component in your LED strip system—adhesive, sealing compound, PVC jacket, silicone housing—can coexist without chemical migration, plasticizer leaching, or accelerated degradation over thousands of operating hours.
I once worked on a high-end shopping mall project. We used premium LED strips installed inside aluminum channels. Everything passed testing. Then eight months in, we noticed yellowing patches. Not everywhere—just random sections. The LEDs were fine. The silicone was fine. But the mounting adhesive contained plasticizers that migrated into the optical layer. The chemical reaction happened slowly, invisibly, until it became visible disaster.
Understanding Material System Failures
The most dangerous failures aren't dramatic. They're gradual. Here's what actually kills LED strips in commercial installations:
| Failure Mode | Root Cause | Typical Timeline | Cost Impact |
|---|---|---|---|
| Yellowing | Plasticizer migration from adhesive | 6-12 months | Complete replacement |
| Surface tackiness | PVC-silicone incompatibility | 8-14 months | Cleaning impossible, replacement needed |
| Optical degradation | UV-accelerated material breakdown | 12-24 months | Lumen output drops 30-50% |
| Delamination | Thermal expansion mismatch | 18-36 months | Mechanical failure, safety hazard |
The real cost isn't buying new strips. It's the gondola rental for facade access. It's the night shift premium because you can't close the store during business hours. It's the lost tenant income while you fix the problem.
Before you place your order, demand material compatibility documentation. Not just for the LED strip itself—for every material that touches it during installation. Ask for accelerated aging test results. Ask what happens when your mounting adhesive sits at 60°C for 2000 hours next to food-grade silicone. If your supplier can't answer, find one who can.
How Does Thermal Management Actually Work in Real Installations?
LED strips don't die from moisture as often as people think. They die from heat. Specifically, they die from heat that has nowhere to go.
Thermal management capability refers to your LED strip system's ability to dissipate heat through PCB copper thickness, aluminum channel design, and installation environment—ensuring junction temperature stays within safe limits throughout the product's rated lifespan.
I've seen this kill more projects than anything else. A hotel ceiling cove lighting project used premium LED strips. Wooden structure. Perfect installation. No ventilation. Six months later, we measured PCB temperatures at 87°C. The LEDs weren't broken. They were being slowly cooked to death. Color temperature shifted. Lumen output dropped. Random failures started appearing.
What Really Happens When LEDs Get Too Hot
People calculate power consumption. Almost nobody calculates temperature rise. These are completely different problems. A 14.4W/m LED strip sounds safe. But pack it into an enclosed wooden channel with no air circulation, and you've built an oven.
Professional installations consider these thermal factors:
| Factor | Poor Design | Professional Design |
|---|---|---|
| PCB copper weight | 1 oz (35μm) | 2 oz (70μm) or more |
| Aluminum channel | Decorative only, no thermal path | Designed as heat sink with calculated thermal resistance |
| Installation spacing | Strips touch channel bottom | 3-5mm air gap for convection |
| Ventilation | Completely sealed | Strategic openings for air circulation |
| Ambient temperature consideration | Ignores environment | Designs for worst-case 45-50°C ambient |
Here's what most people miss. LED life ratings assume 25°C ambient temperature. But your LED strip isn't living in a laboratory. It's living inside a sealed aluminum channel on a south-facing facade in summer. Ambient temperature might be 40°C. Add 20°C temperature rise from the LEDs themselves. Now you're at 60°C. LED junction temperature might be 90°C. At this temperature, LED lifespan doesn't just decrease—it collapses. A 50,000-hour rated product might last 15,000 hours.
We learned to specify minimum PCB copper thickness. We learned to calculate thermal resistance of the entire system—strip, mounting tape, aluminum channel, installation environment. We learned that saving $2 per meter on thinner PCB costs $20,000 in replacement labor two years later.
Why Isn't 100% Power Loading Actually Safe?
Most LED strip failures I've investigated had nothing wrong with the strip itself. The problem was the power supply system. This is the most underestimated risk in commercial installations.
Power system redundancy means designing your LED driver to operate at 70-80% of rated capacity under normal conditions, providing margin for voltage fluctuations, temperature derating, and component aging—ensuring stable operation throughout the warranty period.
I remember a retail chain storefront project. We used 24V LED strips. Samples worked perfectly. We calculated total power consumption. We selected drivers with exactly enough capacity. The first three months were fine. Then summer arrived. Flickering started. Some sections would turn off randomly. Drivers went into protection mode constantly.
The Hidden Cost of Maximum Loading
We discovered the system was designed at 95% driver capacity. When ambient temperature increased, driver output capability decreased. The driver datasheet showed this clearly—we just never read that page. At 50°C ambient, our "adequate" driver was actually overloaded. Components aged faster. Electrolytic capacitors dried out. The entire system became unstable.
Here's the calculation most people get wrong:
| Design Approach | Initial Cost | 5-Year Total Cost |
|---|---|---|
| 95-100% loading | $1,000 power supplies | $1,000 + $3,500 (replacements) + $4,000 (labor) = $8,500 |
| 70-80% loading | $1,200 power supplies | $1,200 (no failures) = $1,200 |
The extra $200 upfront saved $7,300 in the long run. But procurement only sees the first number.
We now specify 75% maximum loading for all long-term installations. If the calculation shows you need a 200W driver, we use 250W. Not because we might add more lights. Because drivers don't live in laboratory conditions. They live in dusty electrical boxes where temperature varies by 30°C between winter and night. They experience voltage spikes from other equipment. They age. Components drift. Margin isn't waste—it's insurance against reality.
Does IP68 Rating Actually Guarantee Waterproof Performance?
This might be the biggest misconception in outdoor lighting. People see IP68 and assume the problem is solved. It's not.
IP68 rating confirms that a product passed immersion testing on the day it was tested—it does not guarantee that sealing performance will remain intact after years of UV exposure, thermal cycling, salt spray exposure, and mechanical stress from installation conditions.
I worked on a coastal boardwalk landscape project. We used IP68-rated LED strips. Laboratory tests passed. Installation was perfect. One year later, intermittent flickering appeared. We pulled sections for analysis. Water intrusion—but not where you'd expect. Not through the strip body. Through the cable exit point.
Where Waterproofing Actually Fails
The sealing at the entry point degraded from three simultaneous factors: salt spray corrosion, thermal expansion and contraction cycles, and cable flexing fatigue. Each factor alone wasn't enough to cause failure. Together, they destroyed the seal. This is how most "waterproof" failures happen. Not instantly. Gradually.
Testing for real-world waterproof performance requires these additional verifications:
| Standard Test | Limitation | Real-World Test Needed |
|---|---|---|
| IP68 immersion | Tests new product only | UV aging + immersion (verify seal after 1000 hours UV) |
| Room temperature | Ignores field conditions | Thermal cycling + immersion (-20°C to +60°C, 100 cycles) |
| Static immersion | No mechanical stress | Cable flex fatigue + salt spray + immersion |
| Short duration | Hours, not years | Accelerated aging equivalent to 3-5 years operation |
We learned to ask different questions. Not "What's your IP rating?" but "What happens to your sealing performance after UV exposure equivalent to three years?" Not "Can it survive immersion?" but "Can it survive immersion after 100 thermal cycles from -20°C to +60°C while the cable flexes?"
Most suppliers can't answer these questions. The ones who can are worth paying more for. Because in outdoor installations, failure doesn't happen when the product is new. It happens when the warranty just expired and you have 500 meters of failed lighting to replace. The true waterproof test isn't in the laboratory—it's year three of operation, after summer and winter and storms and UV and salt spray have all taken their turn attacking your sealing system.
Why Does Color Consistency Become the Biggest Problem Later?
I've seen projects where not a single LED failed, but the client still demanded complete replacement. The reason? Color difference. This is especially painful in architectural facade lighting, hotel exteriors, and retail chain stores.
Color consistency means ensuring all LED strips in a project come from the same LED bin code, the same production batch, and ideally the same manufacturing run—because even within the same nominal color temperature specification, visual differences between batches can create obvious color bands on large installations.
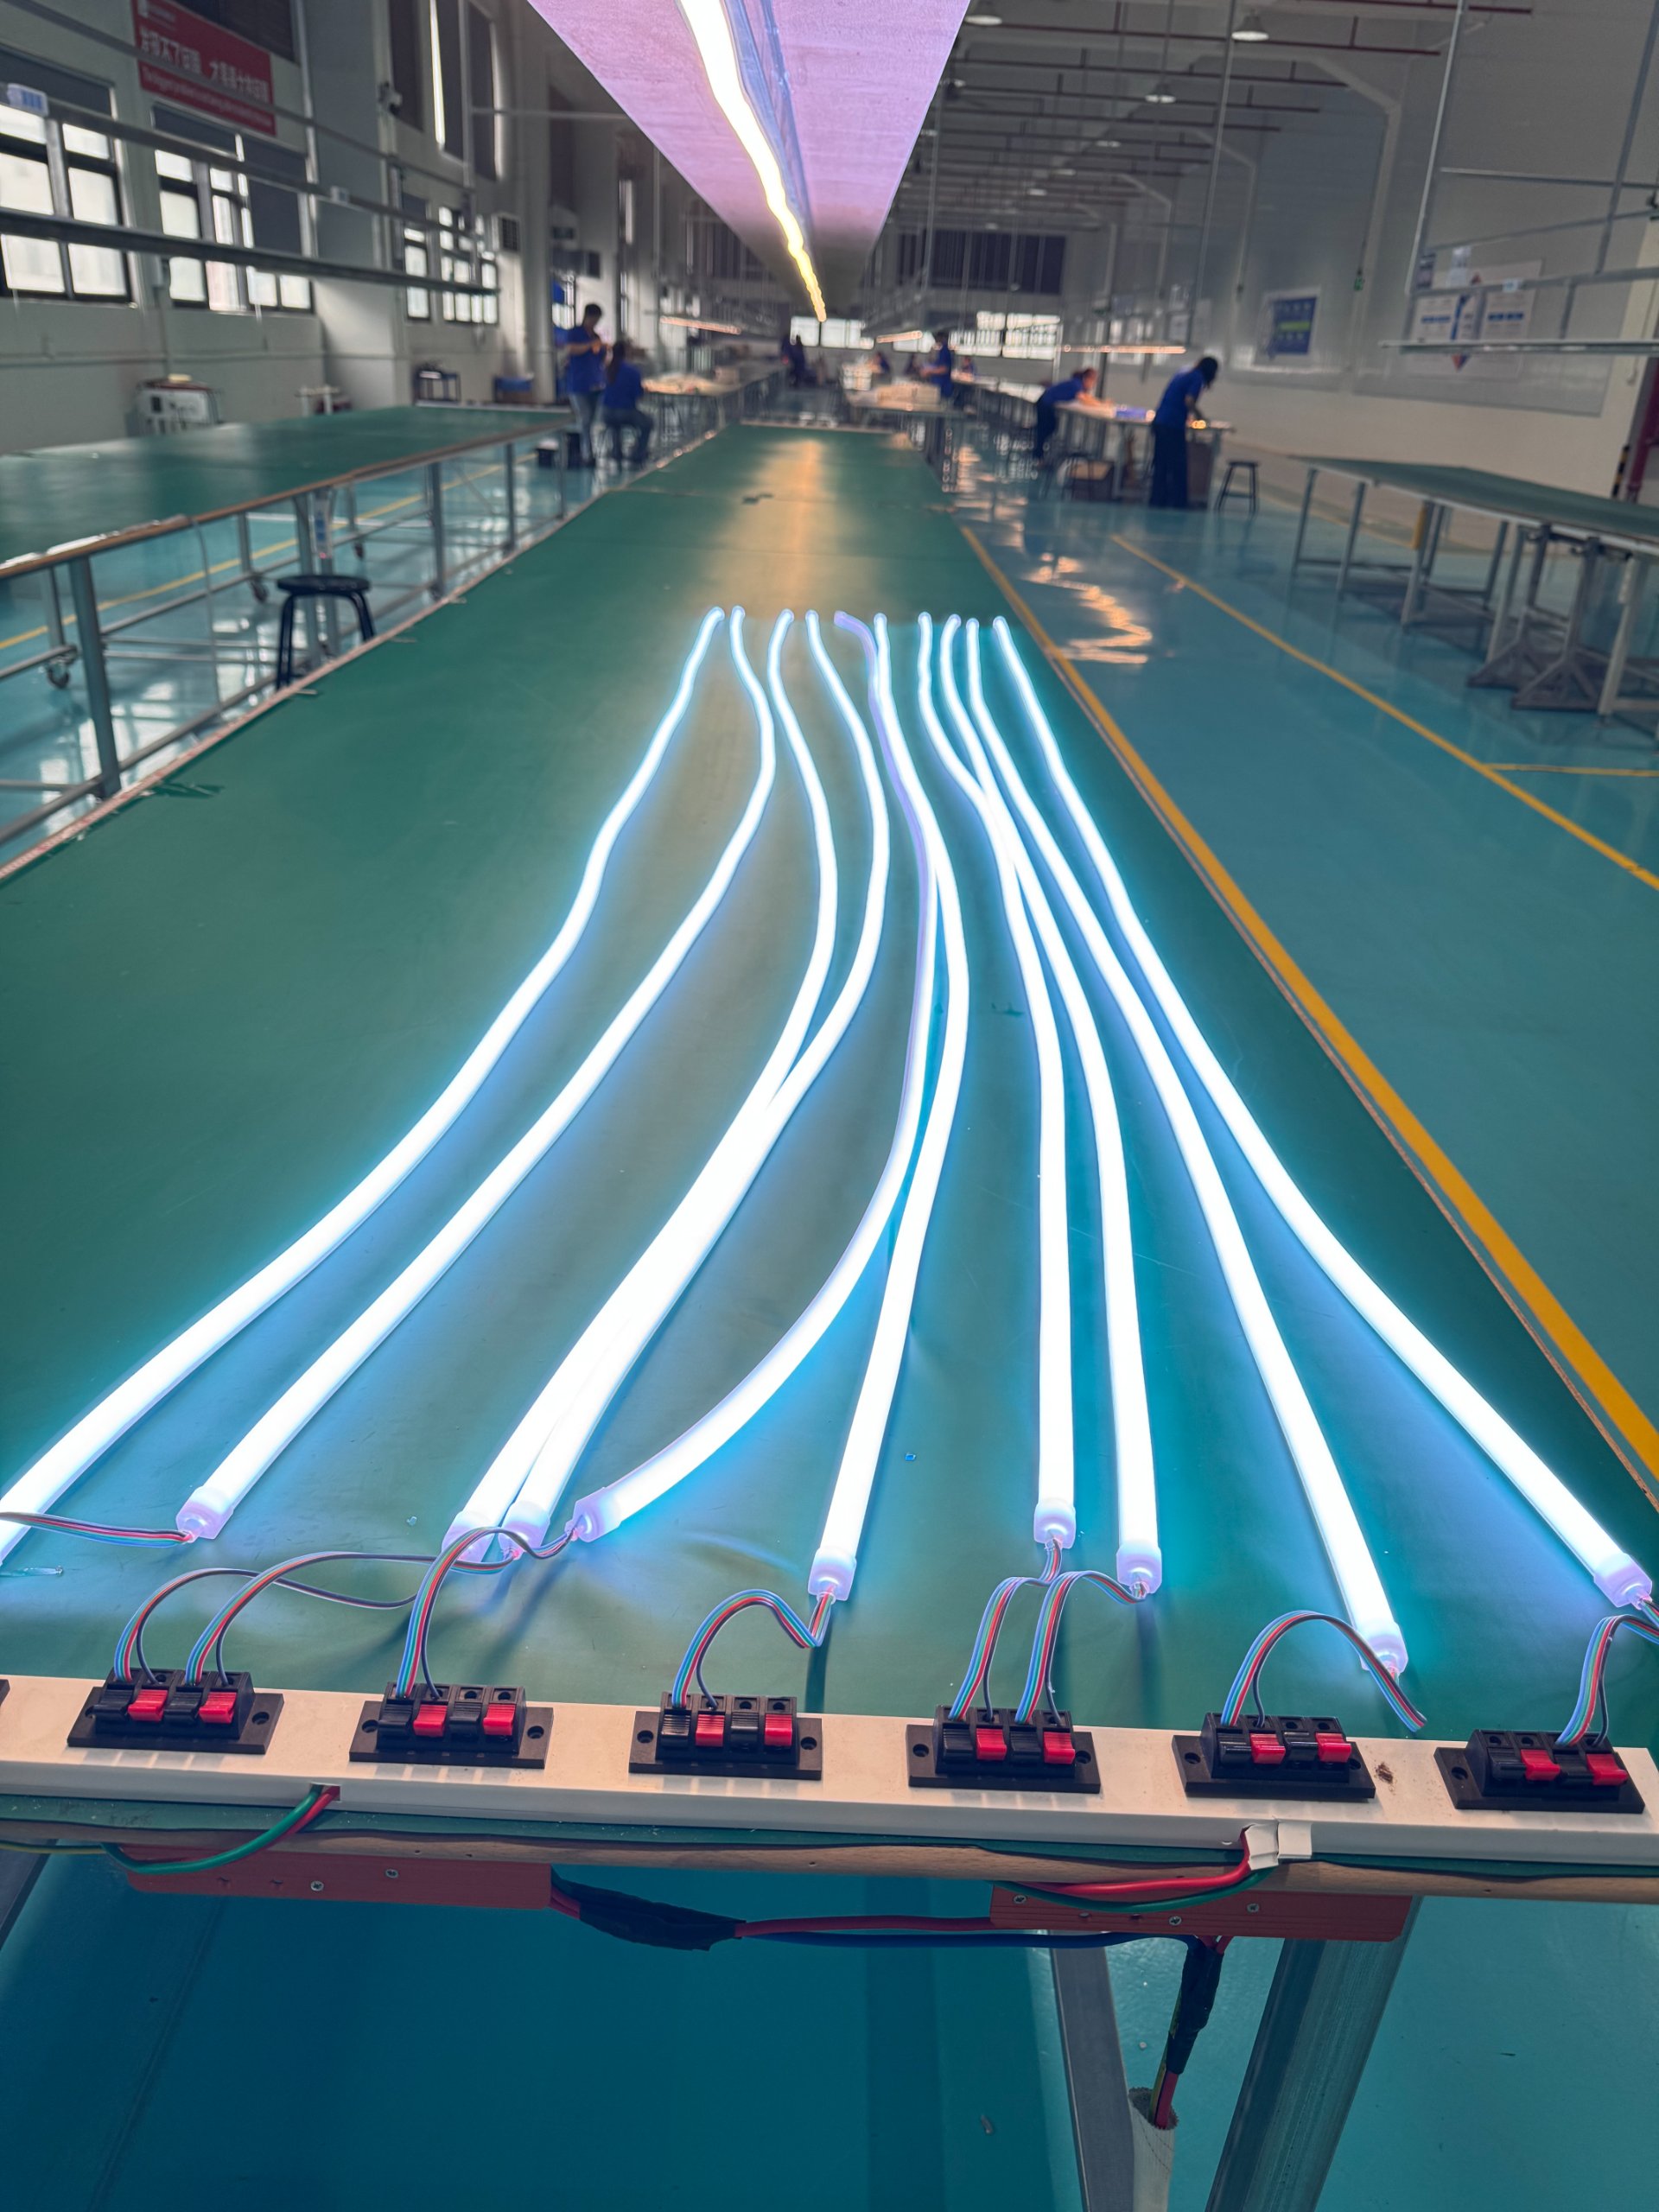
A real estate facade project ordered in three shipments. All specified 3000K. Seems simple enough. But when the building lit up at night, you could see three distinct color bands—first batch looked warm, second batch looked neutral, third batch looked yellowish. The LEDs weren't defective. They were just from different BIN codes within the 3000K specification.
Understanding LED Binning Reality
This is how LED manufacturing works. Even from the same production line, LEDs have variation. Manufacturers sort them into "bins"—ranges of color and brightness. A 3000K specification might include bins from 2950K to 3050K. All technically "3000K", but visibly different when installed side-by-side on a 50-meter building facade.
Large projects need these protections:
| Protection Measure | What It Prevents | Why Suppliers Resist |
|---|---|---|
| BIN code locking | Color variation between batches | Reduces their inventory flexibility |
| Batch reservation | Running out mid-project and mixing batches | Ties up their warehouse space |
| Project-specific production schedule | Using whatever stock is available | Disrupts their normal production flow |
| Traceability documentation | Can't prove consistency after installation | Additional administrative work |
We learned this lesson expensively. Now we write these requirements into purchase orders. We specify not just "3000K" but "3000K, BIN code to be locked and documented, sufficient quantity reserved from single production batch for entire project plus 15% spare". We request sample strips from the actual reserved batch before installation begins.
The best suppliers understand this. They know that color consistency problems surface six months into a project when you need 50 additional meters. If those 50 meters come from a different batch, the entire installation looks amateurish. No amount of technical performance matters if the building looks like it's wrapped in mismatched tape. Color problems don't kill LEDs—they kill reputations.
Can Your Installation Method Actually Allow Materials to Move?
LED strips don't usually die from component failure. They die from being installed incorrectly. Specifically, from being locked into rigid positions that don't allow for thermal expansion.
Installation structure flexibility means designing mounting methods that accommodate material expansion and contraction through temperature cycles—because silicone expands at different rates than aluminum, and when materials with different thermal expansion coefficients are rigidly fixed together, stress accumulates until something fails.

This problem appears most often in building facades, curved structures, corners, and ultra-long continuous runs. The classic mistake is to fix LED strips rigidly to aluminum channels at multiple points, with no allowance for movement. After one summer-winter cycle, you start seeing PCB stress cracks, solder joint failures, silicone tears, and optical layer deformation.
What Happens When Materials Can't Breathe
Engineers consistently underestimate thermal expansion. Silicone has a thermal expansion coefficient roughly 10 times higher than aluminum. A 5-meter silicone LED strip might expand 15mm when temperature increases from 10°C to 50°C. If both ends are rigidly fixed to an aluminum channel that only expands 1.5mm, where does that 13.5mm difference go? Into stress. And stress releases—you just can't predict where.
Professional installations incorporate these design elements:
| Installation Element | Amateur Approach | Professional Approach |
|---|---|---|
| Fixing points | Every 30cm, rigid | Every 100-150cm, with sliding clips |
| Corner treatment | Hard 90° bend | Minimum radius specification (typically 15x strip width) |
| Expansion joints | None | Every 5-10 meters on long runs |
| Mounting adhesive | Continuous bead | Intermittent points, allowing lateral movement |
| End termination | Rigid clamp | Floating connection allowing 5-10mm movement |
I've analyzed failure samples where you could see the stress pattern. Solder joints cracked at regular intervals—exactly where rigid mounting clips were installed. The LED strip tried to expand. The mounting system said no. Physics won. The solder joints lost.
We now design mounting systems that allow materials to "live". We specify minimum bend radii. We use sliding clips instead of rigid adhesive. We install expansion loops on long facade runs. We test samples through 50 thermal cycles from -20°C to +60°C while mounted, before we approve any installation method.
Materials aren't steel. They need breathing room. When you lock them down completely, you're not creating a robust installation—you're building stress into the system that will release as failure later.
Conclusion
The real question isn't "How bright is this LED strip?" but "Will this system still perform after five years of UV, temperature cycling, moisture, and continuous operation?" Because the largest cost always comes after installation—in the form of replacement labor, business disruption, and reputation damage when your procurement decisions come back to haunt you.