

Most people focus on power, brightness, color temperature, IP rating, and unit price when buying LED strips. But here's what they miss: you're not just buying lights. You're buying a material system that either survives five years in real conditions or fails halfway through the warranty period.
When you evaluate LED strips, don't ask "Does it work today?" Ask this instead: "Will it still work in year three when the contractor is gone, the warranty is expired, and you're alone with the maintenance costs?" That question changes everything.
I've seen too many projects fail not because the lights didn't turn on. They failed because the decision-makers bought based on spec sheets instead of long-term material science. Let me show you what really matters.
Why Do Most LED Strip Projects Fail After Year One?
I worked with a large commercial complex once. The facade lighting project used over 2,000 meters of outdoor silicone neon flex. Samples passed every test. IP67 waterproof certification? Check. Salt spray test report? Check. UV resistance data? Check.
The real failure happened 18 months later when the building owner noticed visible color banding across the entire facade. The south-facing strips turned yellow. Some corner sections dimmed by 30%. Water started seeping into random spots. The material system collapsed—not because of LED failure, but because the silicone compound wasn't designed for long-term UV exposure.
Here's what went wrong. The supplier used standard outdoor-grade silicone instead of high-UV-resistant formulations. Lab tests used short-term static water immersion. Real environments combine UV radiation, thermal cycling, rain, pollutants, and continuous mechanical stress. The product passed IP testing but failed environmental validation. That's the difference between a test report and a material system.
This pattern repeats across the industry. A test certificate proves performance on day one. It says nothing about performance on day 1,095. So when you evaluate LED strips, the first question isn't "What's the IP rating?" It's "What happens when this material runs at 60°C for 500 consecutive days under direct sunlight?" Most suppliers have no answer.
Does Thermal Management Actually Matter for LED Longevity?
LED failure is thermal failure. That's not my opinion. That's physics. Every 10°C increase in junction temperature accelerates degradation exponentially. But most buyers only check wattage per meter. They ignore the installation environment completely.
A 14W/m LED strip installed in an open aluminum channel runs 20°C cooler than the same strip buried inside a sealed acrylic housing. Same product. Different lifespan. The second installation might fail within two years while the first runs for five.
When I evaluate LED strips for long-term projects, I look at these thermal indicators first:
| Thermal Factor | Why It Matters | What To Check |
|---|---|---|
| PCB Copper Thickness | Thicker copper = better heat spreading | Ask for 2oz copper minimum for high-density strips |
| LED Spacing | Closer spacing = higher localized heat | Calculate watts per linear inch, not just per meter |
| Substrate Material | Aluminum PCB vs. FR4 vs. Flexible | Aluminum substrates dissipate 3-5x better than flex circuits |
| Installation Channel Design | Enclosed vs. open vs. finned | Require airflow or direct contact with heat-conductive surfaces |
I've tested identical LED strips in different mounting conditions. Open-air installation measured 45°C on the PCB surface. The same strip inside a U-channel without thermal paste reached 68°C. The enclosed version started showing color shift within six months. The open version ran without degradation for over three years. Installation method matters more than the LED chip itself.
Here's what most project managers miss. They compare LED datasheets. But LED chips are commodities now. The real differentiator is thermal architecture. A mediocre LED chip in a well-designed thermal system outlasts a premium chip in a poorly ventilated installation. Always. So when you receive quotes, don't just compare lumens per watt. Ask how the strip manages heat in your specific installation scenario. If the supplier can't answer that question with thermal simulation data or real-world case studies, walk away.
Why Does Color Consistency Matter More Than Initial Brightness?
Sample consistency means nothing. I've seen projects where batch one and batch two—ordered three months apart—had visible color differences when installed side by side. Same supplier. Same model number. Different LED bins.
The real problem appears when you light up an entire building facade at night. The human eye doesn't notice 5% brightness variation. But it immediately detects a 100K color temperature shift. Suddenly your premium architectural lighting looks like a patchwork quilt.
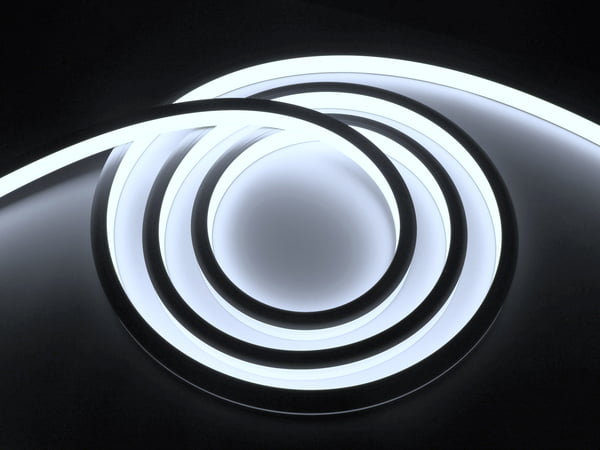
Color consistency requires three layers of control that most suppliers skip:
First, LED bin management. Every LED manufacturing batch has slight color variations. Premium suppliers sort LEDs into bins within 2-step MacAdam ellipses. Budget suppliers use 5-step or 7-step bins—or don't sort at all. When you order 500 meters today and 300 meters next quarter, you're gambling on bin availability. If your supplier doesn't lock bins for your project, expect color drift.
Second, phosphor coating stability. White LEDs use phosphor conversion. That phosphor degrades under heat and UV exposure. High-quality phosphors maintain color stability for 50,000+ hours. Low-grade phosphors shift toward yellow within 10,000 hours. You can't see this difference in a data sheet. You need accelerated aging test results showing CIE coordinates at 0 hours, 3,000 hours, and 10,000 hours. Most suppliers don't have this data.
Third, batch control documentation. For architectural projects, I require suppliers to provide:
- Specific LED bin codes used in production
- Phosphor batch numbers
- Color temperature deviation within ±50K
- Commitment to reserve matching bins for future orders
Without this documentation, you're buying hope, not consistency. I've managed projects where we specified 3000K ±100K tolerance. Supplier A delivered 2950K to 3050K across all batches. Supplier B sent strips ranging from 2850K to 3180K. Both claimed they met specifications. Only one understood what architectural consistency actually means. When you specify color temperature, don't just write "3000K." Write "3000K ±50K with documented LED bin traceability and guaranteed batch matching for 24 months." Watch how quickly unqualified suppliers disappear.
Is IP67 Rating Enough for Outdoor Installations?
No. IP ratings test performance on day one under lab conditions. They say nothing about performance on day 1,000 under real environmental stress.
I've investigated multiple outdoor projects where IP67-rated silicone LED strips failed within 18 months. Not because they lacked waterproofing. But because the silicone material degraded, creating micro-cracks that allowed water ingress over time.
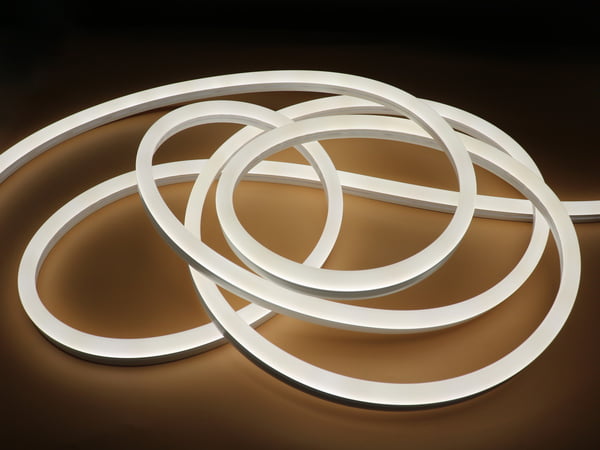
Here's what really happens in outdoor environments. Temperature cycles between -10°C at night and 60°C during daytime. That's 70°C thermal expansion every 24 hours. Multiply by 365 days per year. The silicone housing expands and contracts hundreds of times annually.
If the silicone durometer is too high (Shore A 75+), the material can't absorb stress. Micro-cracks form at connection points. If the durometer is too low (Shore A 50-), the housing deforms under mechanical load. Seals fail. Water enters. Both scenarios pass IP67 testing. Both fail in long-term installations. The difference is material formulation and stress engineering—variables that never appear on product spec sheets.
When I evaluate outdoor LED strips, I check these parameters:
| Property | Requirement | Why It Matters |
|---|---|---|
| Silicone Grade | Food-grade, high-molecular-weight | Low-grade silicone yellows and hardens under UV |
| Anti-UV Additives | >5% concentration | Prevents material degradation and color shift |
| Compression Set | <20% after 22h at 70°C | Maintains seal integrity through thermal cycles |
| Tensile Strength | >8 MPa | Resists mechanical stress and impact damage |
| Elongation at Break | >300% | Absorbs expansion/contraction without cracking |
I tested two "IP67" silicone neon flex samples from different suppliers. Both passed standard waterproof tests. After 500 hours in UV aging chambers followed by thermal shock cycling (-20°C to 60°C, 100 cycles), only one maintained its sealing performance. The other developed visible surface cracks and failed waterproof testing. Same IP rating. Different material science. If your supplier can't provide compression set data and UV aging test results, you're not buying outdoor-grade products. You're buying products that might survive outdoors for a while.
Why Does Adhesive Compatibility Get Ignored Until It's Too Late?
I've seen entire installations fail not because the LED strip was defective, but because the adhesive reacted with the silicone housing. Initial bond strength tested fine. Three months later, entire sections peeled off glass facades during summer heat.
The problem is silicone migration. Low-molecular-weight silicone components migrate into adhesive layers over time, especially under heat. The adhesive loses grip. Strips fall. Projects fail. And nobody tested for this because "the tape stuck fine during installation."

This failure mode is invisible until it happens. Room temperature installations show no issues. High-temperature environments—like metal facades in direct sunlight or enclosed light boxes—accelerate the reaction. I've documented cases where adhesive bond strength dropped 60% after 90 days at 50°C.
The worst part? Standard peel strength testing doesn't catch this. You need long-term compatibility testing:
- 7-day bond strength test at 60°C
- 30-day UV exposure with periodic peel testing
- Thermal cycling between -20°C and 60°C
- Chemical compatibility verification between specific adhesive formulations and silicone compounds
Most LED strip manufacturers don't run these tests. They source generic 3M VHB tape and assume it works. Sometimes it does. Sometimes it fails catastrophically. We learned this lesson on a high-rise hotel project where 800 meters of facade lighting detached over a single summer weekend. The strips were fine. The adhesive wasn't compatible with high-UV-resistant silicone. Nobody checked until the maintenance crew started picking up fallen sections from the plaza below.
Now we require adhesive compatibility reports before specifying any installation method that relies on chemical bonding. If the supplier says "we use 3M tape," we ask which 3M product code, whether they've tested it with their specific silicone formulation, and whether they have long-term bond strength data. Most can't answer. A few can. Those are the ones we work with.
Does Bending Radius Really Matter?
Yes. Ignoring minimum bend radius is the fastest way to create long-term failures that don't show up during installation inspections.
LED strips aren't just flexible. They're flexible within structural limits. Bend them too sharply, and you're introducing permanent mechanical stress into copper traces and solder joints. The installation looks fine. But you've just started a fatigue clock that ends in failure 6-18 months later.
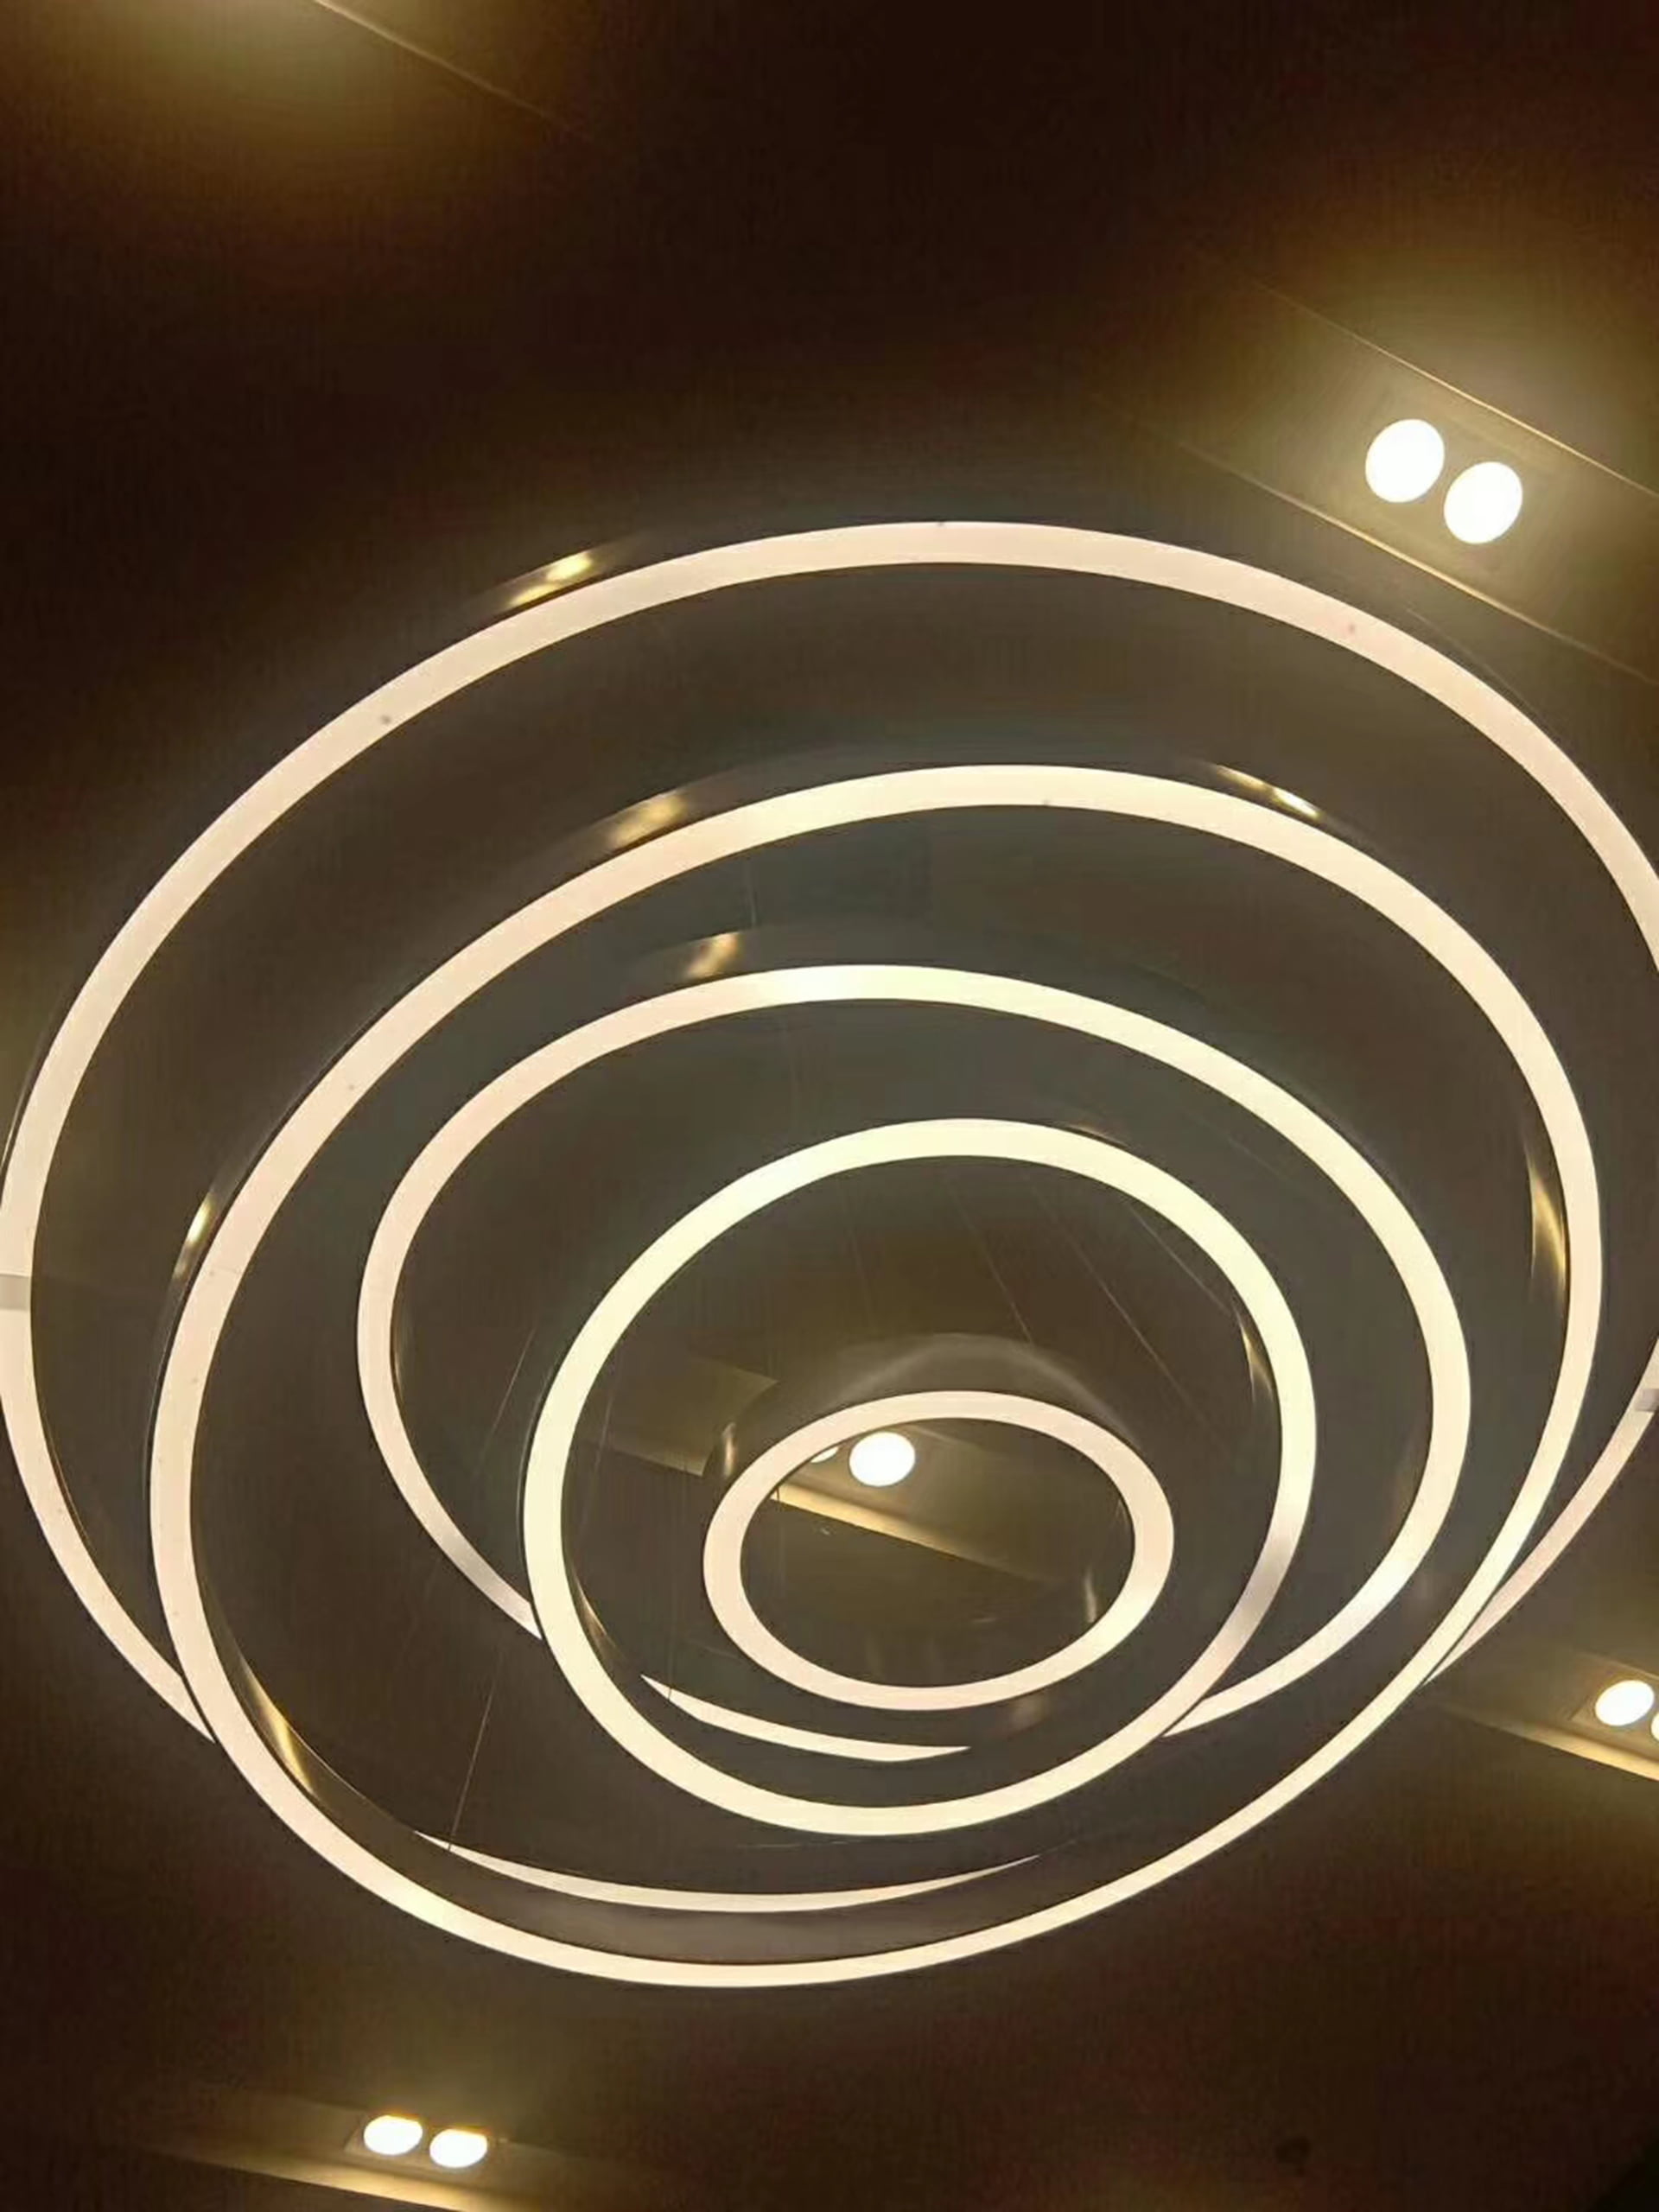
Here's what happens at the microscopic level. Copper traces experience tensile stress on the outer radius and compression stress on the inner radius when you bend the strip. Solder joints—the weakest mechanical links—concentrate this stress. A single sharp bend might not break anything immediately. But combine it with thermal expansion cycles (remember, LEDs generate heat), and you've created a fatigue failure waiting to happen.
I investigated a retail store installation where random LED sections went dark after eight months. No pattern. No obvious cause. Turns out, installers bent the strips around 90-degree corners with a 5mm radius. The manufacturer specified 25mm minimum. The joints held initially. Thermal cycling caused micro-cracks. Over time, electrical connections failed. The store had to replace entire runs.
Different installation methods require different bending considerations:
| Installation Type | Minimum Bend Radius | Critical Factors |
|---|---|---|
| Top-Emitting Strips | 2-3x strip width | PCB stress concentrates on center axis |
| Side-Emitting Strips | 3-5x strip width | Asymmetric stress distribution requires larger radius |
| Silicone Neon Flex | 10x strip width | Silicone housing adds mechanical resistance |
| 360° Round Flex | 15x diameter | Full perimeter extrusion requires gentle curves |
I always recommend physical installation mockups before large-scale projects. Take 2 meters of actual product. Bend it exactly as specified in your drawings. Leave it powered on for 72 hours. Then inspect solder joints under magnification. Look for micro-cracks, color changes, or copper trace deformation. If you see any of these indicators, redesign the installation path. Don't wait until you've installed 500 meters to discover your design exceeds the product's mechanical limits.
Smart installation design also considers stress relief. Instead of forcing sharp corners, use curved mounting channels. Add intermediate support points to reduce mechanical load. Allow slight slack in long runs to accommodate thermal expansion. These details cost nothing during planning. They save thousands in avoided maintenance.
What Should You Actually Check Before Buying?
When I evaluate LED strip suppliers for long-term projects, I use this decision framework:
Start with material science documentation. Ask for silicone grade specifications, UV inhibitor concentrations, and compression set data. If they can't provide this, they're not manufacturing—they're assembling components with unknown long-term performance.
Second, request thermal management verification. Not just copper thickness specs. Actual thermal imaging data showing PCB temperatures under full load in realistic mounting conditions. Premium suppliers run thermal simulations. Budget suppliers guess.
Third, demand color consistency protocols. Specific LED bin codes. Batch matching commitments. CIE coordinate tolerance specifications. Documentation showing they can deliver consistent color across multiple production runs. This separates manufacturers with real supply chain control from traders who source wherever prices are lowest.
Fourth, verify environmental validation. Not IP test certificates—those prove nothing about long-term durability. Actual accelerated aging test results. UV exposure data. Thermal cycling reports. Salt spray testing followed by functionality verification. These tests reveal how products perform after months or years, not just hours.
Fifth, check installation compatibility. Adhesive compatibility testing. Bend radius specifications with mechanical stress analysis. Mounting guidelines that account for your specific installation conditions. Suppliers who understand installation requirements will ask about your project details. Suppliers who don't will just send you product catalogs.
Finally, evaluate their technical support capability. Can they answer questions about junction temperature in your specific installation? Do they provide installation training? Can they explain why their product costs 20% more than the competitor? Technical competence reveals itself quickly in these conversations.
Conclusion
When you buy LED strips, you're not choosing lights. You're choosing between a validated material system and a collection of components that might work today but fail tomorrow when maintenance costs start appearing.