

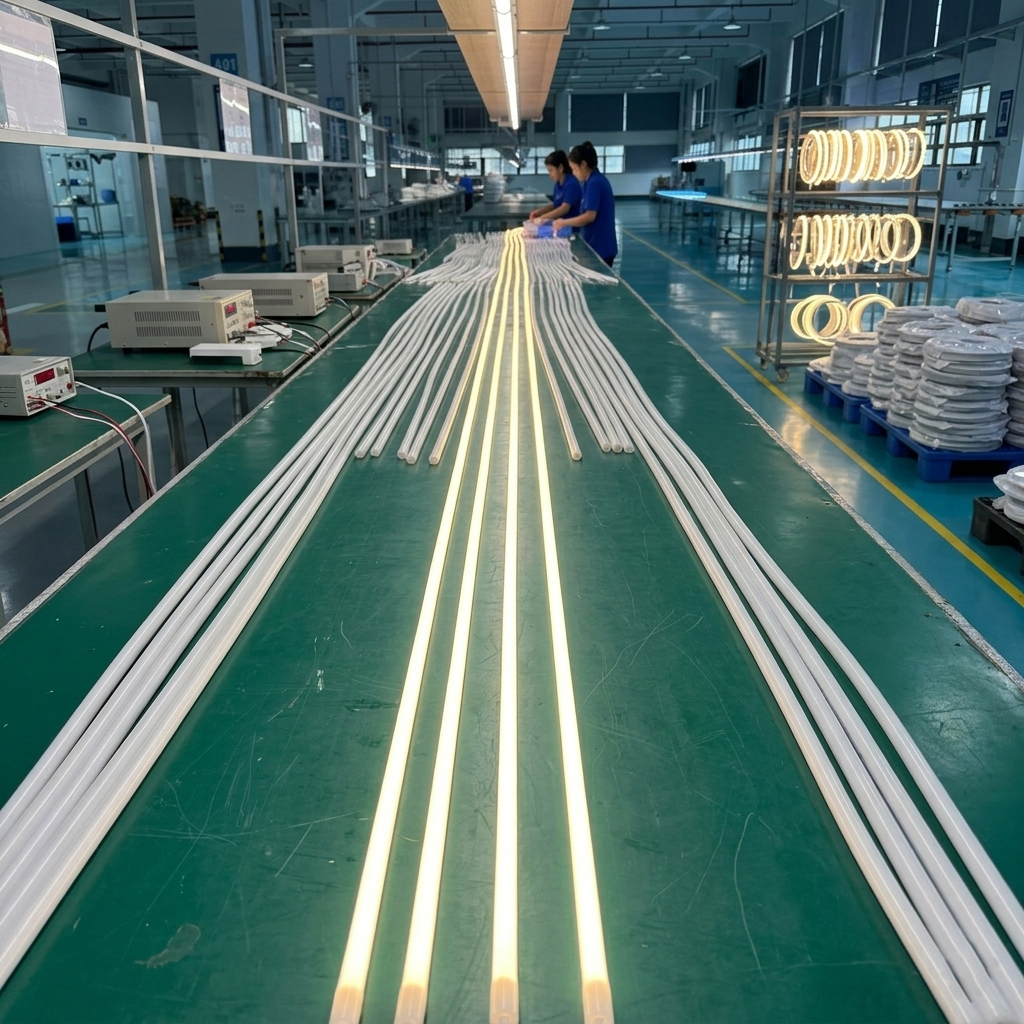
We've all seen it happen. The sample looks flawless. Everyone approves. Production begins. Then installation day arrives, and suddenly nothing works as expected. The real risk in Custom LED Neon Sign projects isn't the product itself—it's treating a complex system delivery as a simple product purchase.
Here's what most project teams miss: Custom LED Neon Sign projects are system integration deliveries, not product purchases. Your final result depends on six interconnected systems—brand visual identity, technical drawings, lighting performance, structural design, electrical infrastructure, and installation methodology. When any single element lacks proper definition, the entire project becomes vulnerable to failure.
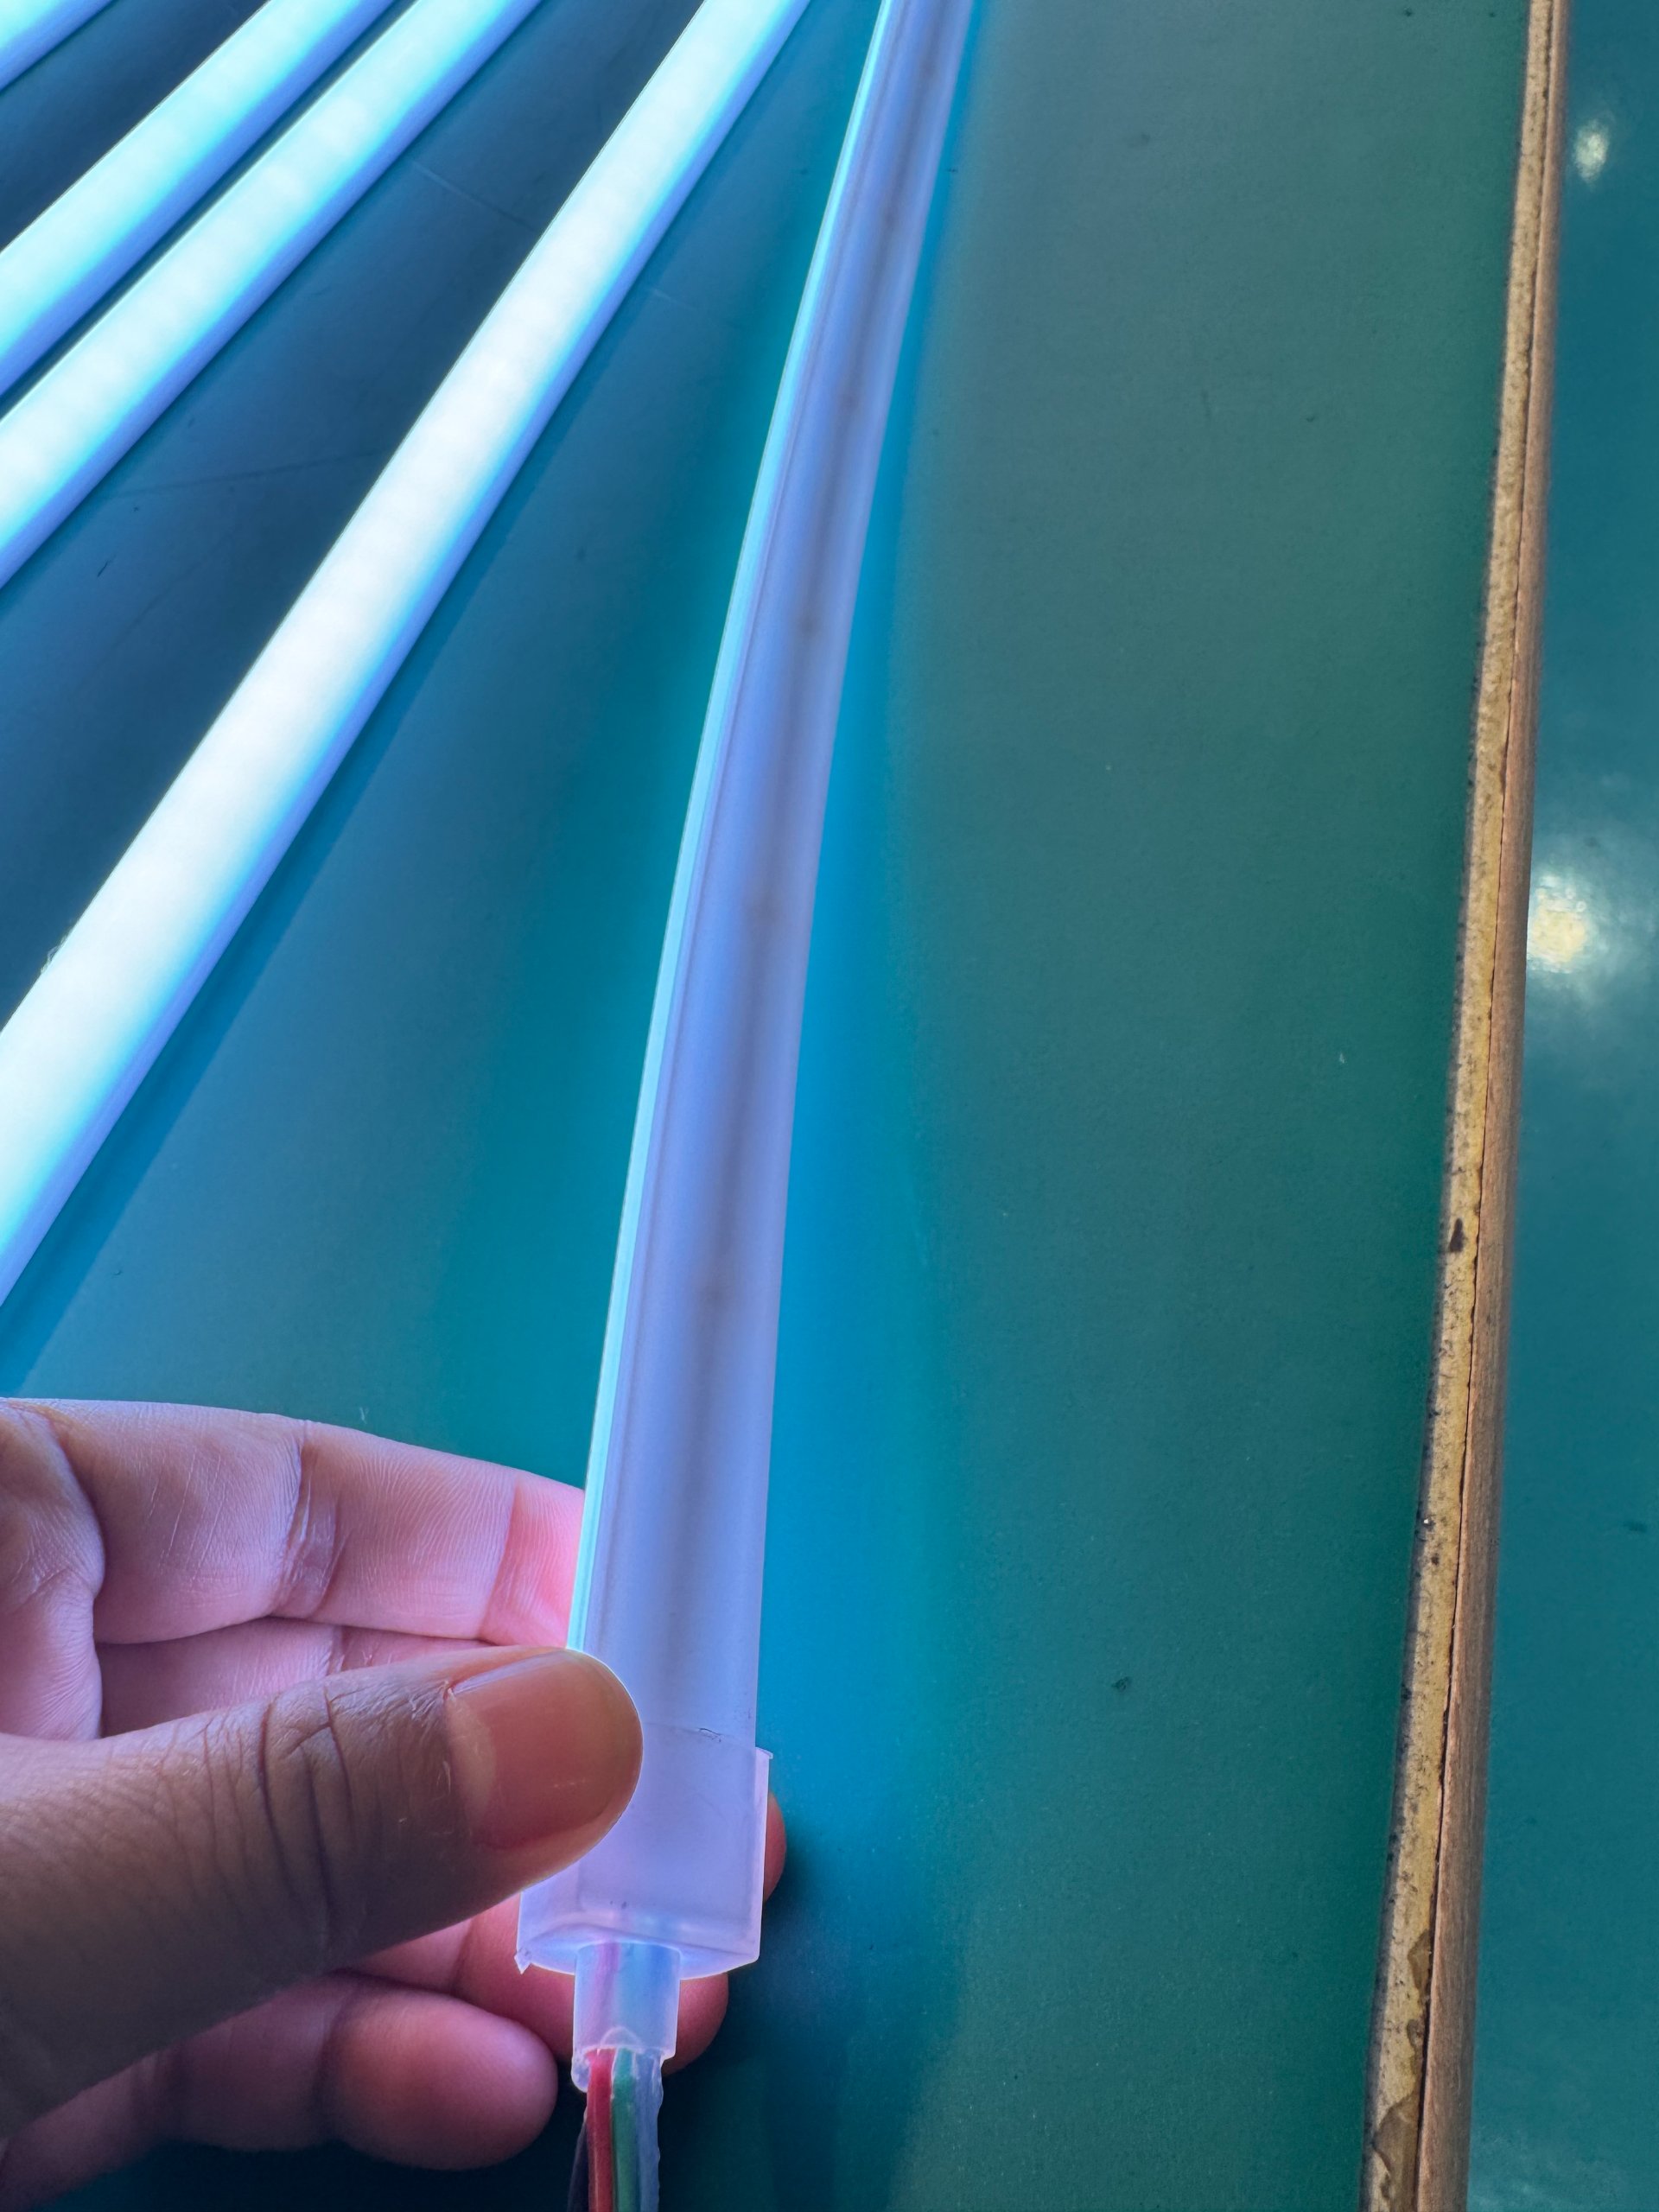
I've witnessed this pattern repeat across dozens of projects. Teams believe they're buying a product when they're actually commissioning an integrated lighting system. Understanding this distinction transforms how you approach every decision from initial planning through final installation.
What Makes Project Kickoff the Most Dangerous Phase?
The biggest mistake happens right at the start.
Teams see their procurement list: illuminated letters, logo signage, LED neon elements, acrylic backing, power supplies, mounting hardware. Everything looks like standard product purchasing.
I remember working with a retail brand on their flagship store opening. Their procurement team treated the Custom LED Neon Sign installation like ordering office furniture. They had a budget. They had specifications. They had approved samples.
What they didn't have was a system definition.
The confusion stems from a fundamental misunderstanding. When you approve a sample, you're validating product performance under controlled conditions—typically indoors, with ideal power supply, single unit scale, uniform background, and simplified mounting structure.
Your actual project environment might involve building facades, high-altitude installation, curved wall surfaces, metal curtain walls, stone backgrounds, or glass reflection scenarios with long-distance power distribution.
Sample validation tests product effect. Project delivery validates system effect. These are completely different.
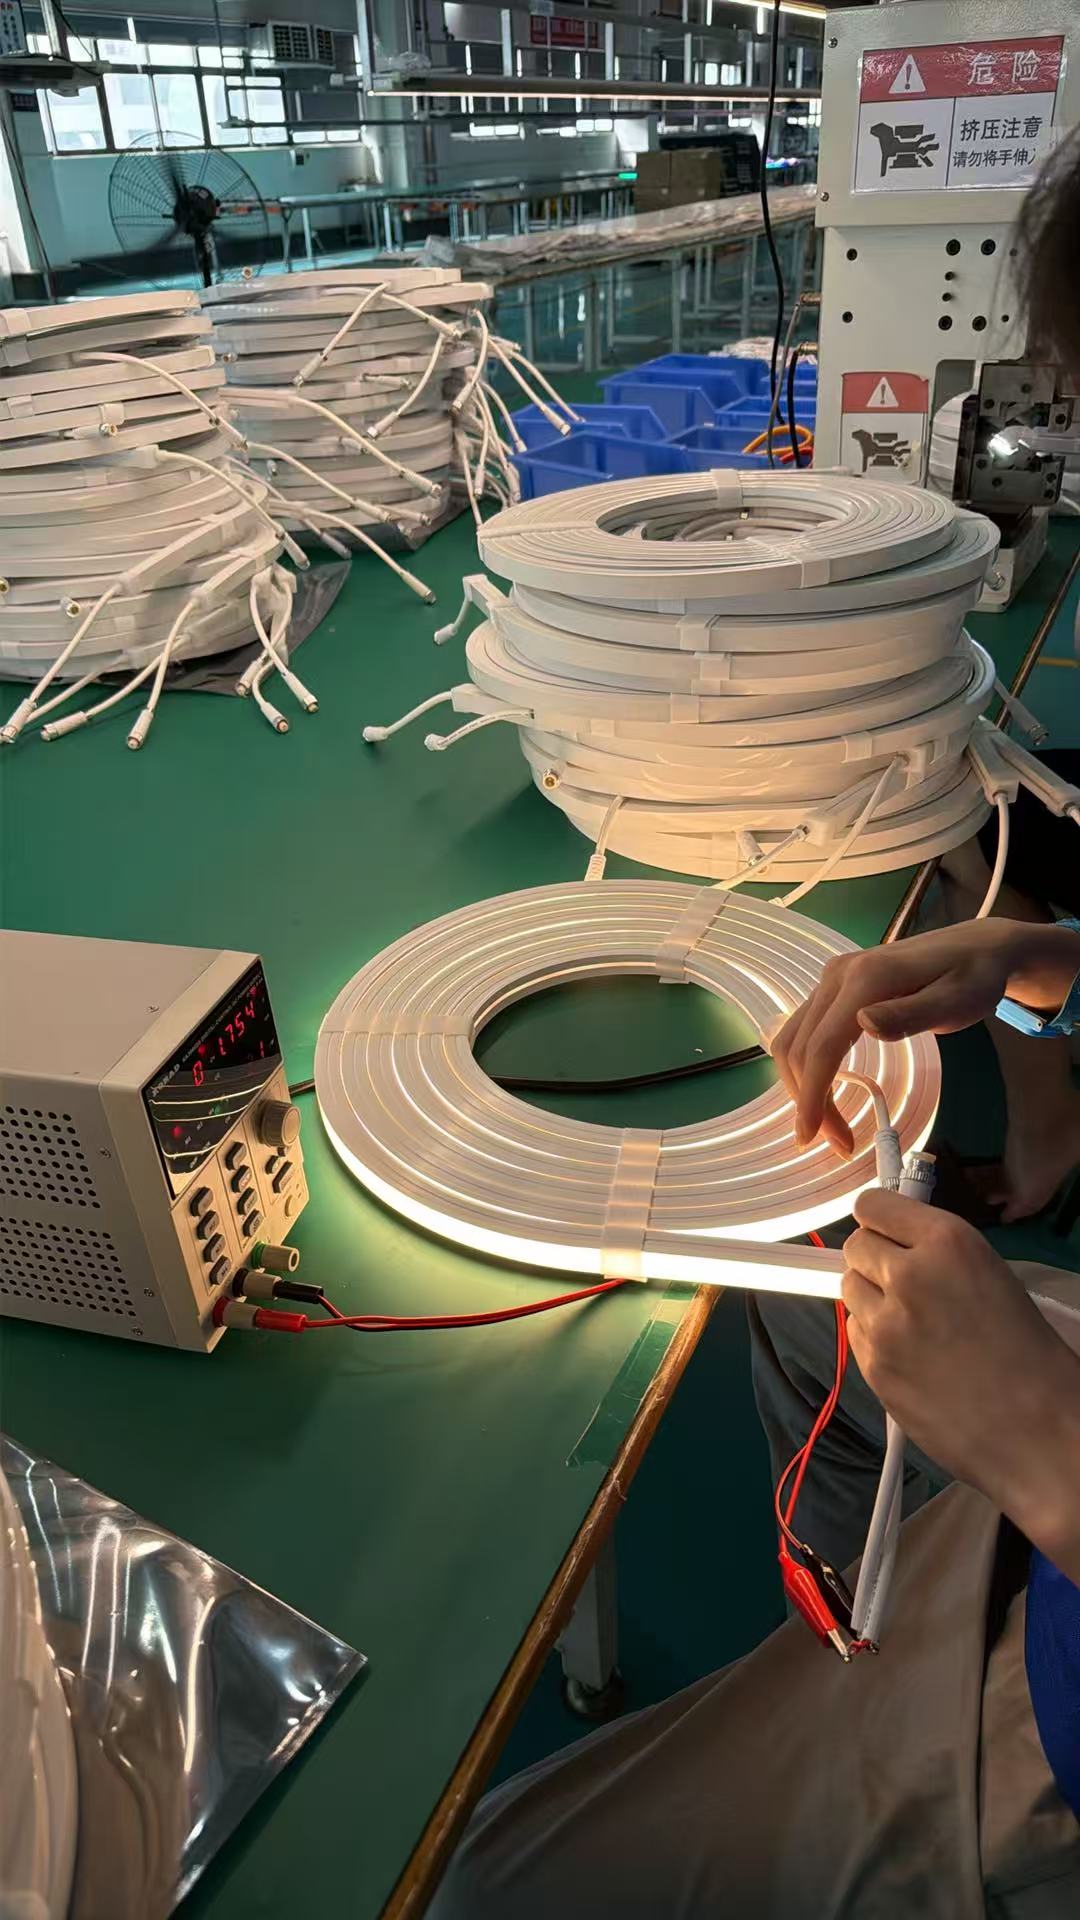
This creates false confidence that spreads through your entire team. Designers stop asking questions. Procurement assumes everything is confirmed. General contractors skip risk assessment. Installation teams schedule production. Brand managers set opening dates.
Everyone believes the approved sample guarantees project success.
Then installation begins.
Why Does This Misunderstanding Create Catastrophic Risk?
I've seen projects derail in predictable patterns.
First comes project delay. Your team discovers installation conditions don't match assumptions. You need redesign, reproduction, reshipping. Timeline extends by weeks or months.
Then budget explosion hits. Material costs typically represent only 20-40% of total project expenses. The real money goes to high-altitude work, lifting equipment, overnight construction, on-site modifications.
One rework cycle can cost more than your entire original procurement budget.
Next you face acceptance failure. Brightness meets specs. Dimensions match drawings. But overall visual effect doesn't align with brand expectations.
Nobody will sign off on completion.
Finally comes responsibility disputes. Brand teams claim the effect doesn't match design intent. Design firms insist they followed drawings. We as suppliers confirm we manufactured to approved specifications. Installation contractors verify they built per plan.
Everyone did their job correctly according to their own understanding. Yet the project failed.
| Risk Category | Hidden During Sampling | Exposed During Installation |
|---|---|---|
| Environmental Factors | Controlled indoor testing | Outdoor weather, temperature extremes |
| Power Infrastructure | Ideal single-unit supply | Long cable runs, voltage drop issues |
| Mounting Conditions | Simple test fixtures | Complex curved surfaces, structural limitations |
| Visual Context | Neutral backgrounds | Reflective surfaces, ambient light interference |
| Scale Effects | Single unit performance | System-level color consistency across hundreds of meters |
How Did a Global Brand's Standardization Project Collapse?
Let me share a case that illustrates everything that can go wrong.
A major international chain decided to upgrade their storefront signage across multiple countries. They wanted visual consistency—every location worldwide would feature identical Custom LED Neon Sign installations.
Their brand headquarters established what looked like comprehensive standards: logo dimensions, RGB color values, typography specifications, positioning requirements.
The project launched with confidence.
To control costs, they distributed procurement regionally. Asian suppliers handled Asian markets. European suppliers covered Europe. North American suppliers managed North America.
Each supplier submitted samples. Each sample passed brand approval. Production began simultaneously across three continents.

Installation completed. Then someone compared photos across regions.
Daytime appearance showed reasonable consistency. Nighttime revealed complete chaos.
Some locations appeared distinctly blue. Others showed warm tones. Certain stores displayed significantly higher visual brightness. Several sites had noticeably thicker illuminated outlines.
How did this happen when every sample passed approval?
The tender documents specified RGB values, color temperature ranges, and power parameters. What they didn't specify: testing equipment standards, measurement distances, testing environments, observation angles, illuminated outline widths, background reflection conditions.
Every supplier met the stated parameters. Each delivered different visual results.
The teams verified parameter consistency. They needed to verify visual consistency. These are not the same thing.
Nobody caught this during approval because all testing happened locally. No cross-region comparison occurred. No unified verification standard existed. No baseline sample was established.
The project launched. The brand discovered their global image looked inconsistent. They rewrote standards. Multiple regions required complete reinstallation.
Final costs exceeded original budget by 300%.
The product wasn't defective. The definition was incomplete.
What Specification Language Creates the Biggest Problems?
I've learned that project failure often stems from ambiguous specification language rather than product defects.
Consider "flexible" as a specification term. Many teams interpret this to mean any curve can be achieved. In reality, successful installation depends on minimum bend radius, sustained bending capability, three-dimensional corner transitions, and structural pivot design.
When your project logo involves complex curves but specifications don't define bend radius limits, on-site installation becomes impossible.
Or take IP68 rating. This typically tests the product body in isolation. Your installation system includes connectors, power interfaces, wire penetrations, and seal treatments. Each represents a potential vulnerability point.
Product achieves IP68. Project system may not.
Color consistency specifications often state general consistency without defining SDCM range, testing conditions, or batch management rules. Single production batches show no issues. Cross-batch installations reveal obvious color differences that destroy visual unity.
Certification requirements frequently specify "certified product required" without clarifying which certification, which version, which market applicability. You receive products with valid certifications that your project jurisdiction doesn't recognize.
You start the re-certification process. You wait for new approvals. Your project delays.
Sample approval covers limited quantities. Large projects may require hundreds or thousands of meters across hundreds of sign installations. System scale changes everything—power distribution methods, installation approaches, transportation logistics, packaging strategies.
Sample success doesn't guarantee project success.
How Do Experienced Teams Control Risk Before Production?
Mature project teams don't place risk control at the acceptance phase. They build it into project initiation.
We work with clients to establish visual acceptance standards that go beyond parameters. These standards define observation distance, ambient brightness levels, testing time periods, viewing angles, and photographic documentation methods.
Everyone understands the same target effect.
Large projects require establishing a Master Sample before production begins. All subsequent manufacturing batches compare against this physical master, not against drawings or verbal descriptions.
Sample evaluation should include on-site simulation. Don't just review desktop samples. Simulate actual installation height, real background materials, actual power supply methods, and true observation distances.
System issues surface before manufacturing commitments.
| Risk Control Method | Traditional Approach | System-Level Approach |
|---|---|---|
| Standard Definition | Parameter specifications | Visual outcome documentation |
| Sample Validation | Controlled lab testing | On-site environment simulation |
| Batch Management | Individual batch approval | Master sample comparison protocol |
| Responsibility Assignment | General project roles | Detailed RACI matrix with specific checkpoints |
| Quality Gates | Final inspection only | Multi-stage review with go/no-go decisions |
Installation conditions belong in specifications. Documents should describe not just product characteristics but installation space requirements, corner transition needs, fixing methods, power source locations, and maintenance access provisions.
Otherwise, design drawings may prove completely unbuildable.
Implement batch locking mechanisms for visual consistency. The same visual zone must use the same production batch. Mixed batches create color variation disputes that are impossible to resolve fairly.
Build a responsibility matrix that clearly identifies who defines the target effect, who validates samples, who approves production, who manages installation, who conducts acceptance.
When problems emerge, everyone knows their role.
Establish mandatory project checkpoint reviews at critical phases: before drawing freeze, before sample confirmation, before production start, before first installation, before final acceptance.
Each checkpoint must output a risk inventory. Unresolved risks prevent progression to the next phase.

I've seen this systematic approach transform project outcomes. Teams that invest time in comprehensive definition upfront consistently deliver on schedule and within budget.
Those who rush through planning inevitably face expensive corrections during installation.
Conclusion
Custom LED Neon Sign project risk lives in the gap between product procurement thinking and system delivery reality. True project success emerges from proper definition, locked acceptance standards, quantified visual targets, clear responsibility boundaries, and early risk exposure—all established before a single unit enters production.