

Most project managers focus on brightness, IP ratings, and price when buying LED light strips. But after 15 years of commercial lighting projects, I've learned that the biggest failures don't come from bad products—they come from buying the wrong products from the start.
When buying LED light strips for commercial projects, you need to define installation requirements, cutting units, bending radius, and connection methods before comparing specifications. The key is not testing if the strip lights up, but verifying if it can be installed according to your project's structural requirements.
Most procurement teams think detailed specifications mean a successful purchase. But I've seen million-dollar projects fail because nobody asked the right questions during the buying process. Let me show you what really matters.
Why Do Most LED Light Strip Purchases Go Wrong?
The biggest mistake in LED strip procurement isn't choosing low-quality products. It's using product parameters as a substitute for project requirement definitions. This single error causes more project failures than any other factor.
When I review failed lighting projects, I see the same pattern repeatedly. The procurement document lists voltage, IP rating, LED density, and color temperature. Everyone thinks the specifications are complete. But these numbers tell you almost nothing about whether the product will work in your actual installation.
Here's what typically happens. The design team defines the lighting effect they want. The procurement team compares suppliers based on price. Each supplier interprets the specifications according to their own product line. The construction team prepares installation space based on drawings. Then the products arrive on site. Suddenly everyone realizes the installation method doesn't match the structural design. The framework is already built. Adjustments are impossible. The project enters crisis mode.
I witnessed this exact scenario at a flagship retail chain project. We were upgrading 48 stores simultaneously with continuous perimeter lighting. The procurement document specified 24V, 3000K, IP67, and 120 LEDs per meter. Three suppliers submitted identical specifications. Procurement chose the lowest bid. Nobody questioned the decision because the parameters matched perfectly.
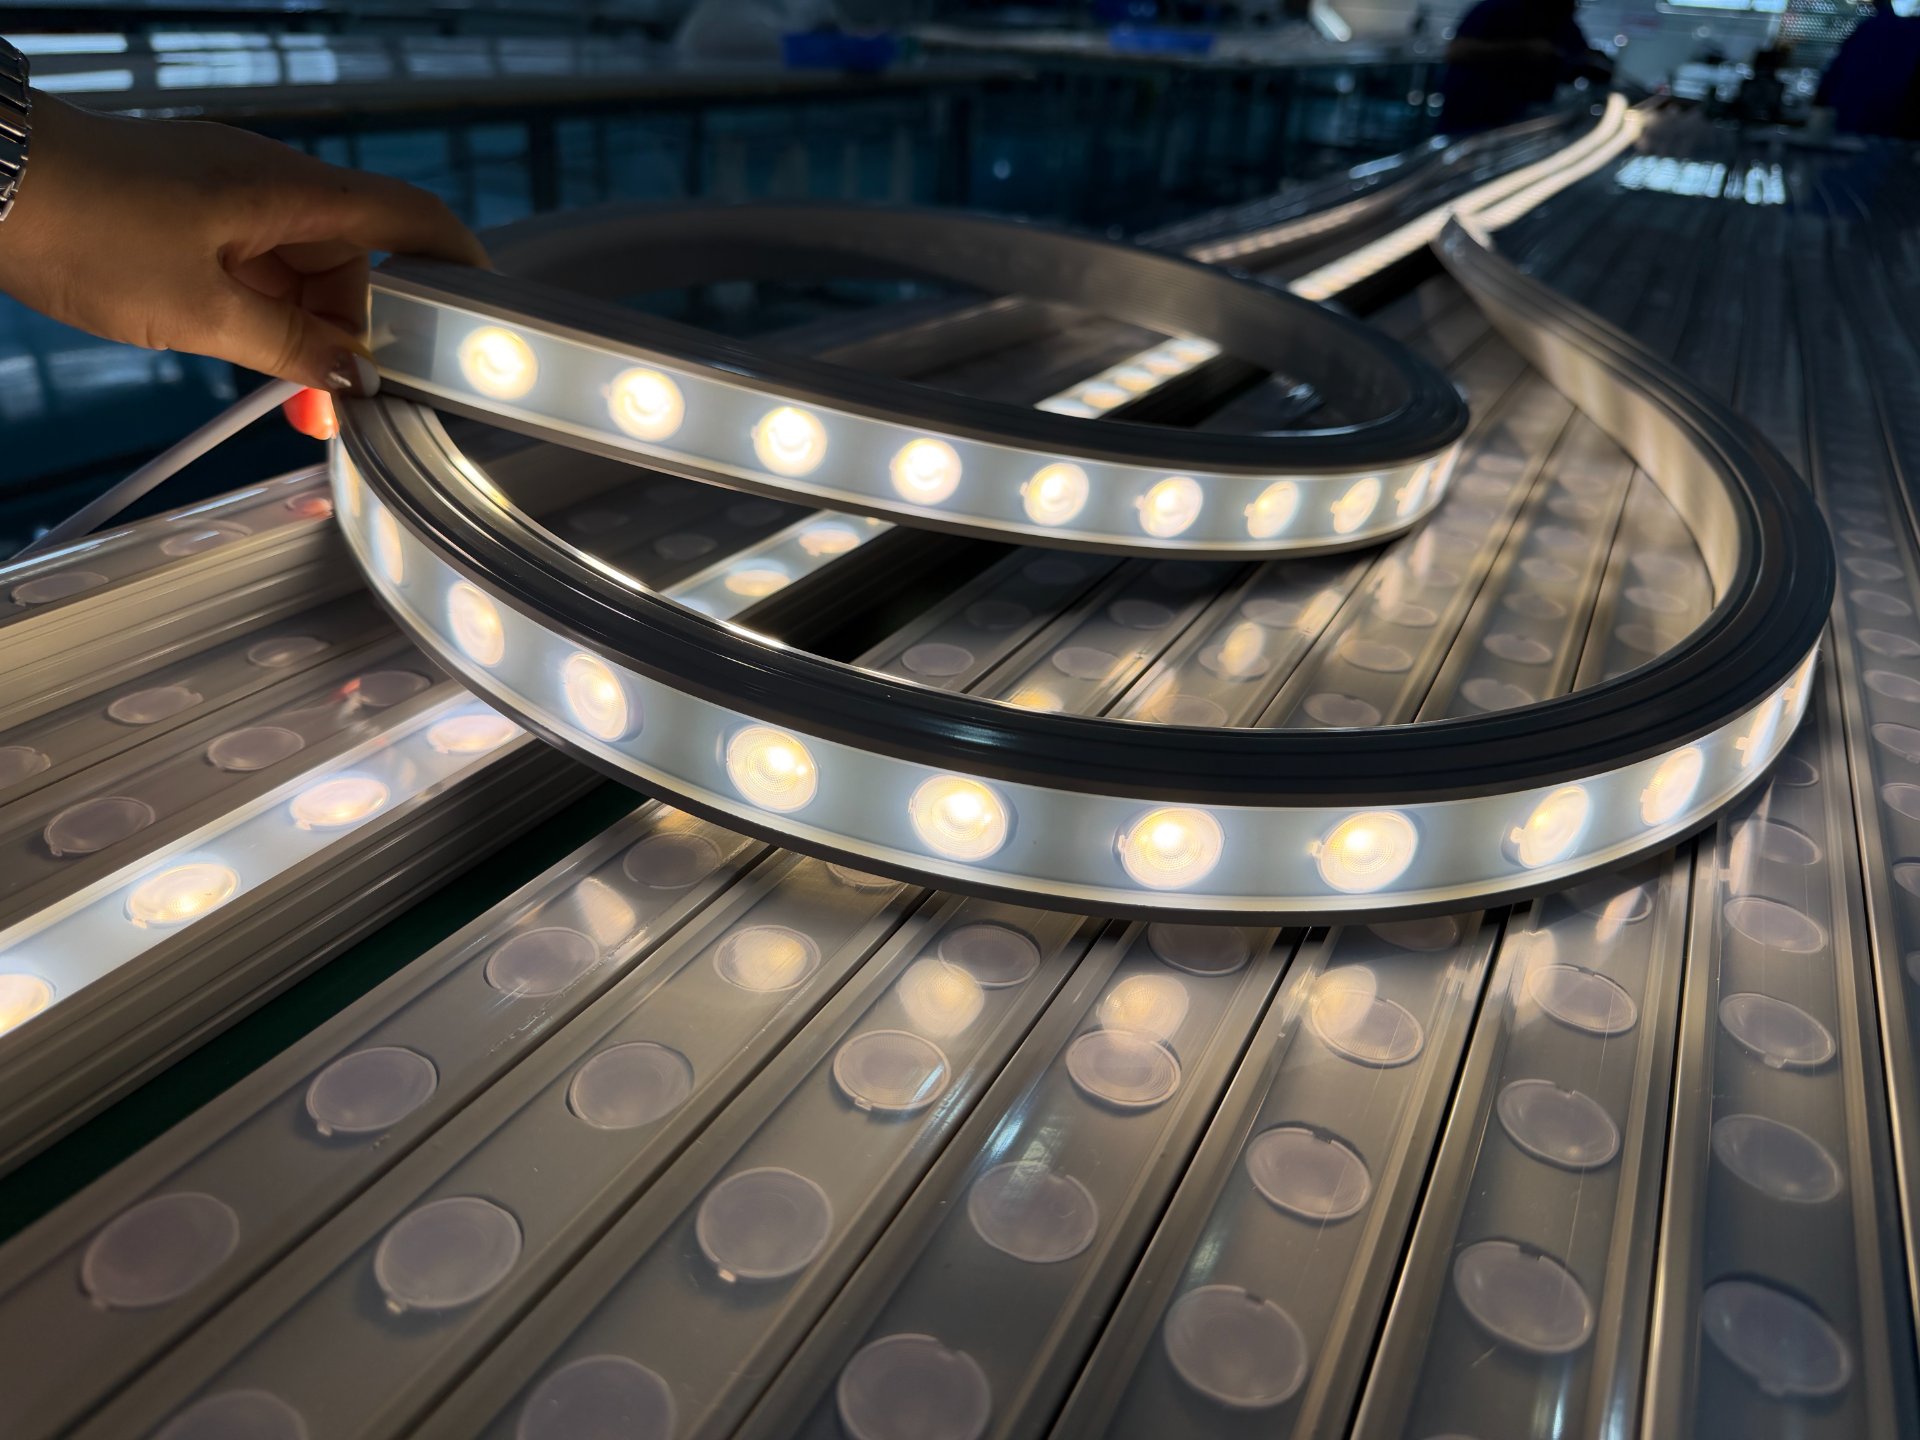
The problems started during the first installation phase. The cutting positions didn't align with the structural connection points. Workers had to add extra joints, additional soldering, and custom extension cables at every location. Different installation teams created different solutions at different stores. By the time headquarters conducted the final inspection, all 48 stores had inconsistent lighting effects. The brand's visual standards were completely compromised. The project ran six weeks late and cost 18% more than budgeted. The worst part was the endless meetings about who was responsible. Procurement said the specifications matched. Design said procurement misunderstood their intent. Construction said the drawings were incomplete. The supplier said the contract didn't define installation details.
This failure pattern repeats across the industry because LED light strips are not standardized products. Two strips with identical electrical specifications can have completely different installation requirements. They might have different bending directions, different mounting methods, different cable exit positions, different compatible profiles, different cutting intervals, and different control protocols. None of these critical factors appear in standard specification sheets. But they directly determine whether your project succeeds or fails.
What Installation Factors Should You Define Before Buying?
Before comparing product specifications, you must define five critical installation requirements: mounting structure dimensions, minimum bending radius, cutting unit length, cable exit direction, and connection methods. These factors determine whether the LED strip can physically integrate with your project.
I learned this lesson during a major commercial complex facade project. The original procurement document only specified voltage, color temperature, and IP rating. During the mock-up phase, we tested samples from three qualified suppliers. All products passed laboratory testing. But when we attempted real-world installation, the results were dramatically different. One product required a 25mm mounting channel. Another needed 30mm. The third could work in 20mm spaces. Their minimum bending radii ranged from 50mm to 150mm. The cutting units varied from 50mm to 100mm. Cable exits pointed in opposite directions.
If we had proceeded with any supplier based solely on electrical specifications, we would have faced massive structural modifications during installation. The technical director caught this issue by demanding 1:1 mock-up verification before finalizing the order. We didn't just test if the strips lit up. We tested complete installation sequences including straight runs, corner transitions, and connection points.
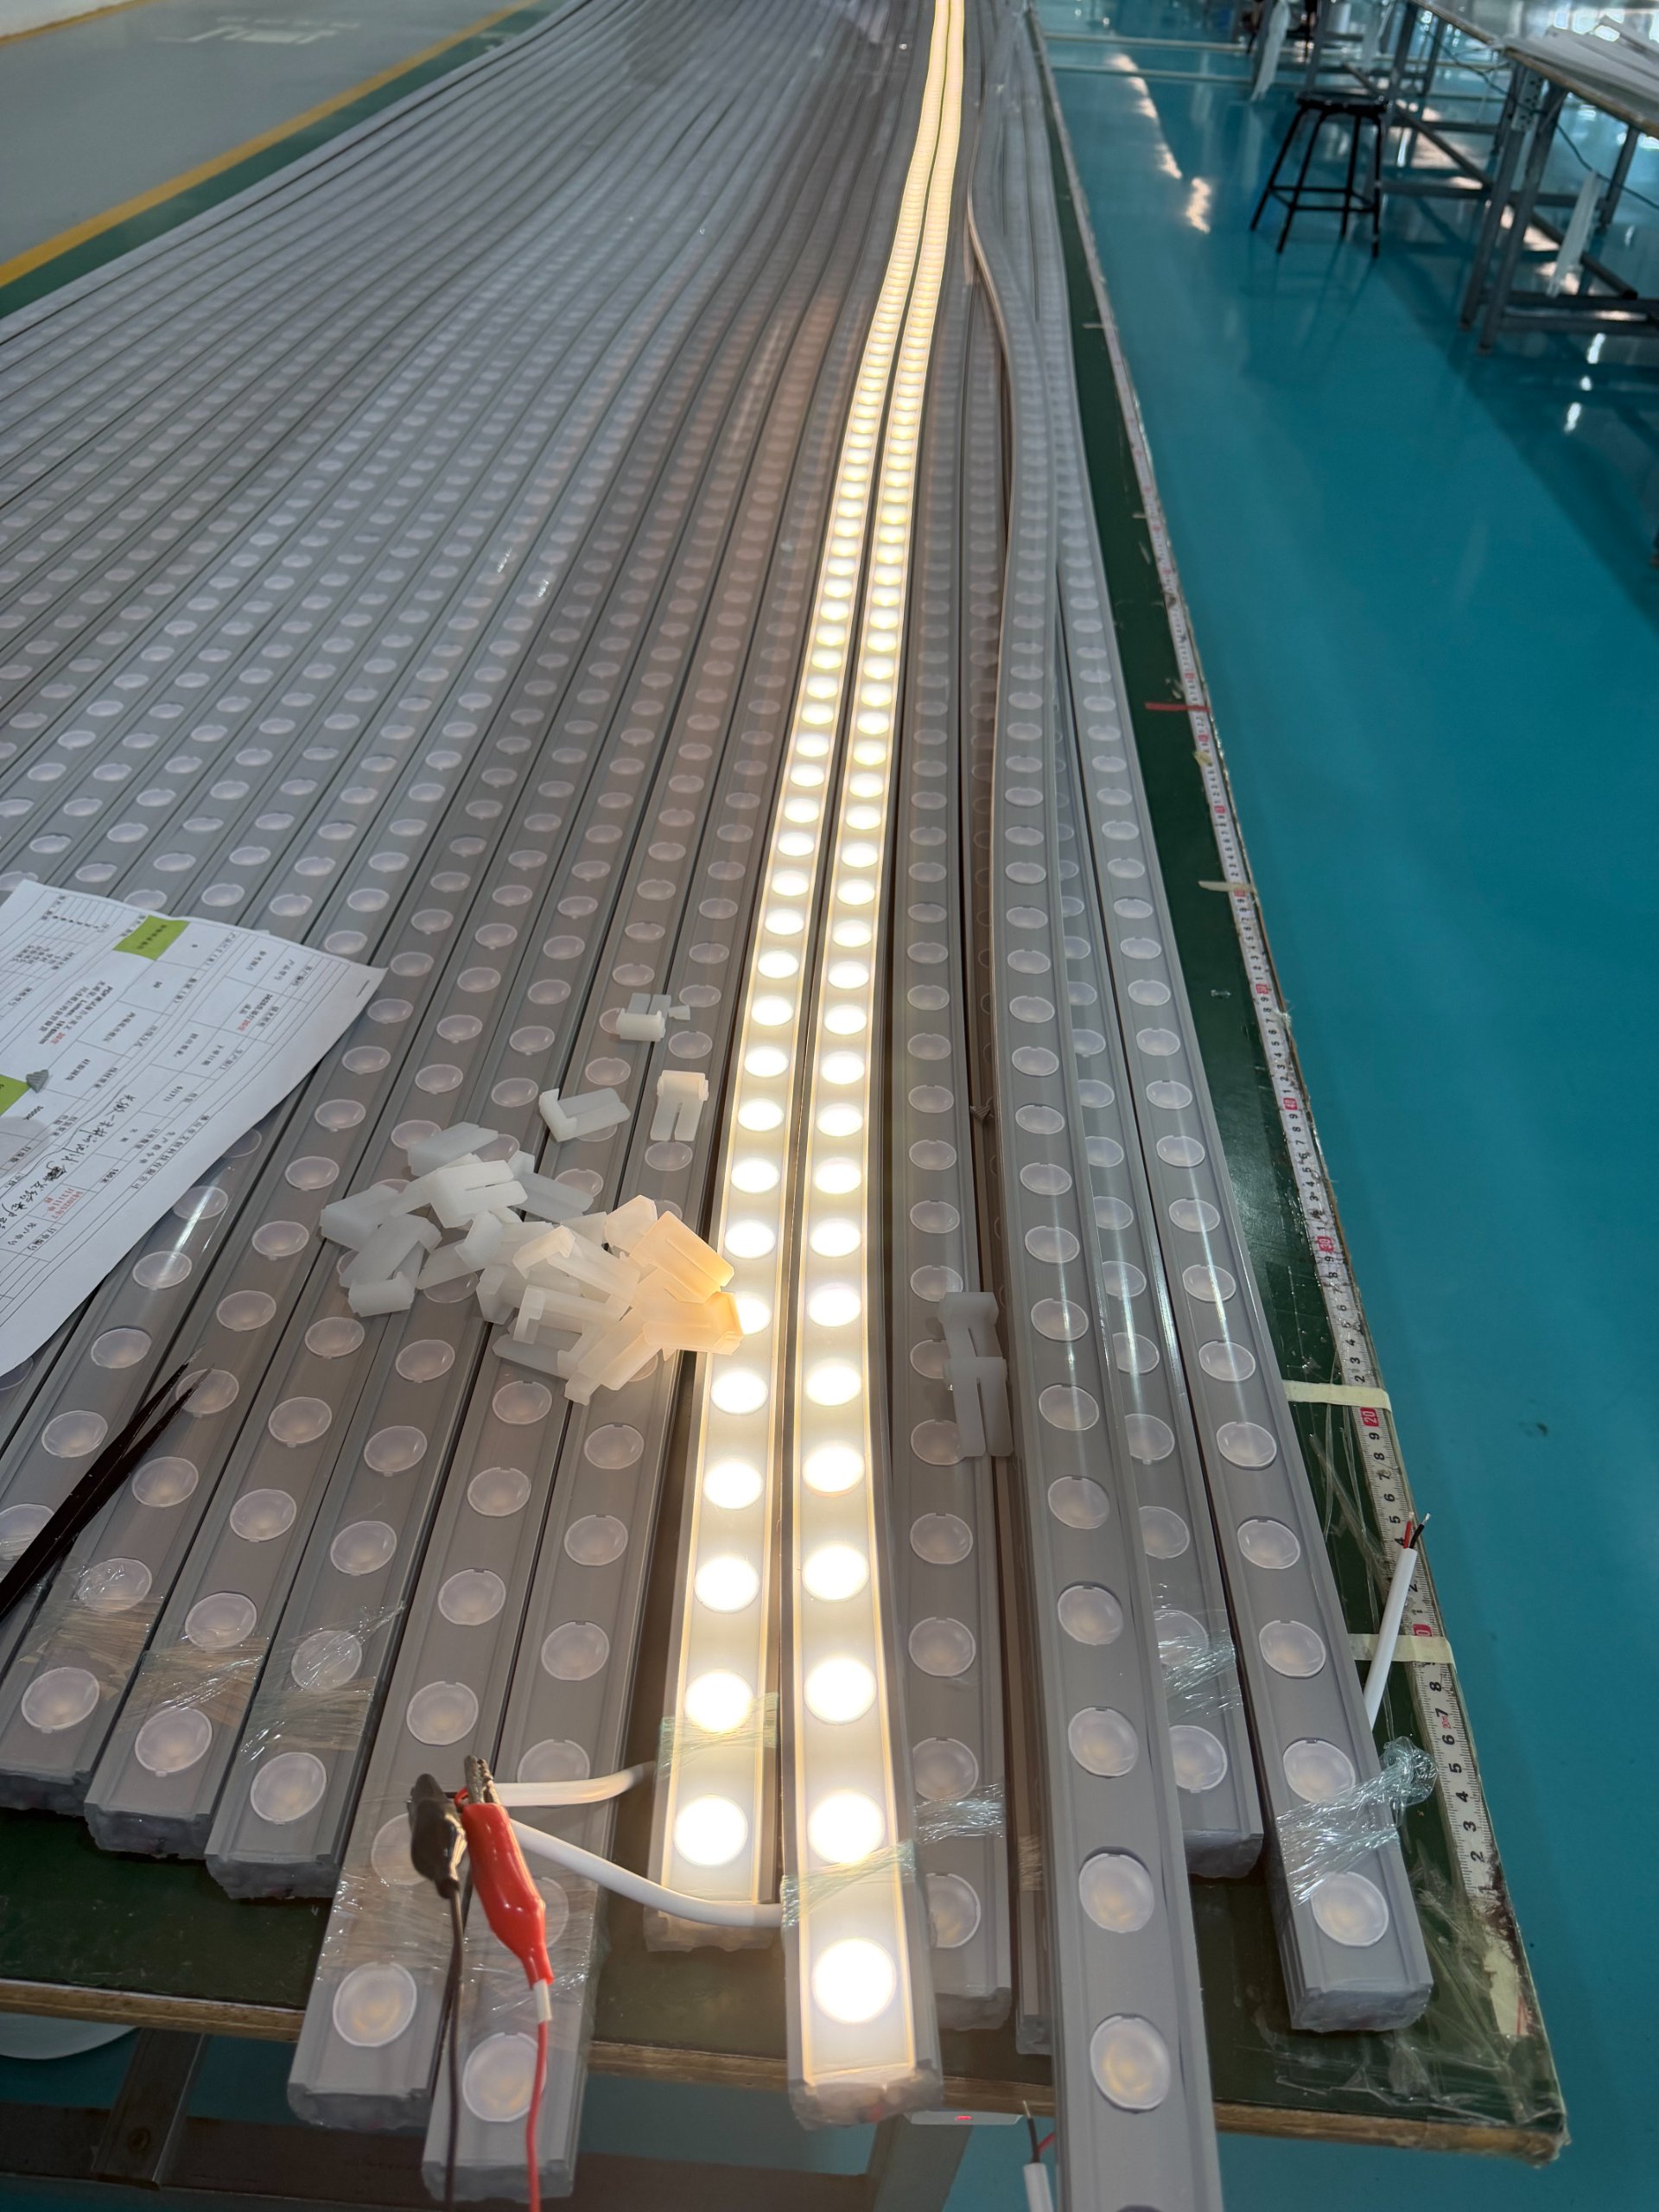
Based on this experience, we revised the procurement requirements. We added minimum bending radius specifications. We defined cutting unit lengths. We specified mounting channel dimensions. We documented cable exit directions. We created standard detail drawings for installation nodes, corner methods, and connection procedures. Most importantly, we required 1:1 mock-up verification for every critical installation condition before accepting the bulk order.
The results transformed the project. We avoided large-scale rework. We saved approximately four weeks in schedule. We eliminated responsibility disputes because every requirement was clearly documented before purchasing. The key insight was simple but powerful: verify whether the product can be installed according to project requirements, not just whether it can light up. These are two completely different things.
This approach should become standard practice. Before issuing any LED strip procurement document, your team should answer these questions in writing: Where exactly will the strips be installed? How will they be mechanically fixed? How will corners be executed? Where will cables exit? How will maintenance access work? If you cannot answer these questions with specific dimensions and methods, you are not ready to buy LED strips. You are only ready to collect prices that will be meaningless during installation.
How Do Cutting Units and Connection Points Affect Project Success?
The cutting unit length determines where your LED strip can be divided without damaging circuits. If this measurement doesn't align with your structural connection points, you will face continuous problems at every installation node throughout the entire project.
Most people think cutting units are a minor technical detail. But in commercial installations spanning hundreds of meters, cutting unit alignment becomes the difference between clean professional results and messy compromised installations. Let me explain how this works in practice.
Every LED light strip has a minimum cutting interval determined by its circuit design. This might be 50mm, 62.5mm, 83.3mm, or 100mm depending on the voltage and LED configuration. You can only cut the strip at these designated points without destroying the circuit. If your architectural connection points don't coincide with these cutting intervals, you must either add extra connections or leave gaps in the lighting.
I saw this problem destroy a hotel corridor project. The architect designed recessed channels with connection points every 2.4 meters to match the ceiling grid. The procurement team bought LED strips with 83.3mm cutting units. Simple math shows the problem: 2400mm ÷ 83.3mm = 28.8 cutting units. The strip couldn't be cut exactly at 2.4 meters. The installation team had three bad options: leave a small gap in each channel, add an extra connection point in the middle of each run, or modify the architectural structure. They chose different solutions in different corridors. The visual consistency was terrible.
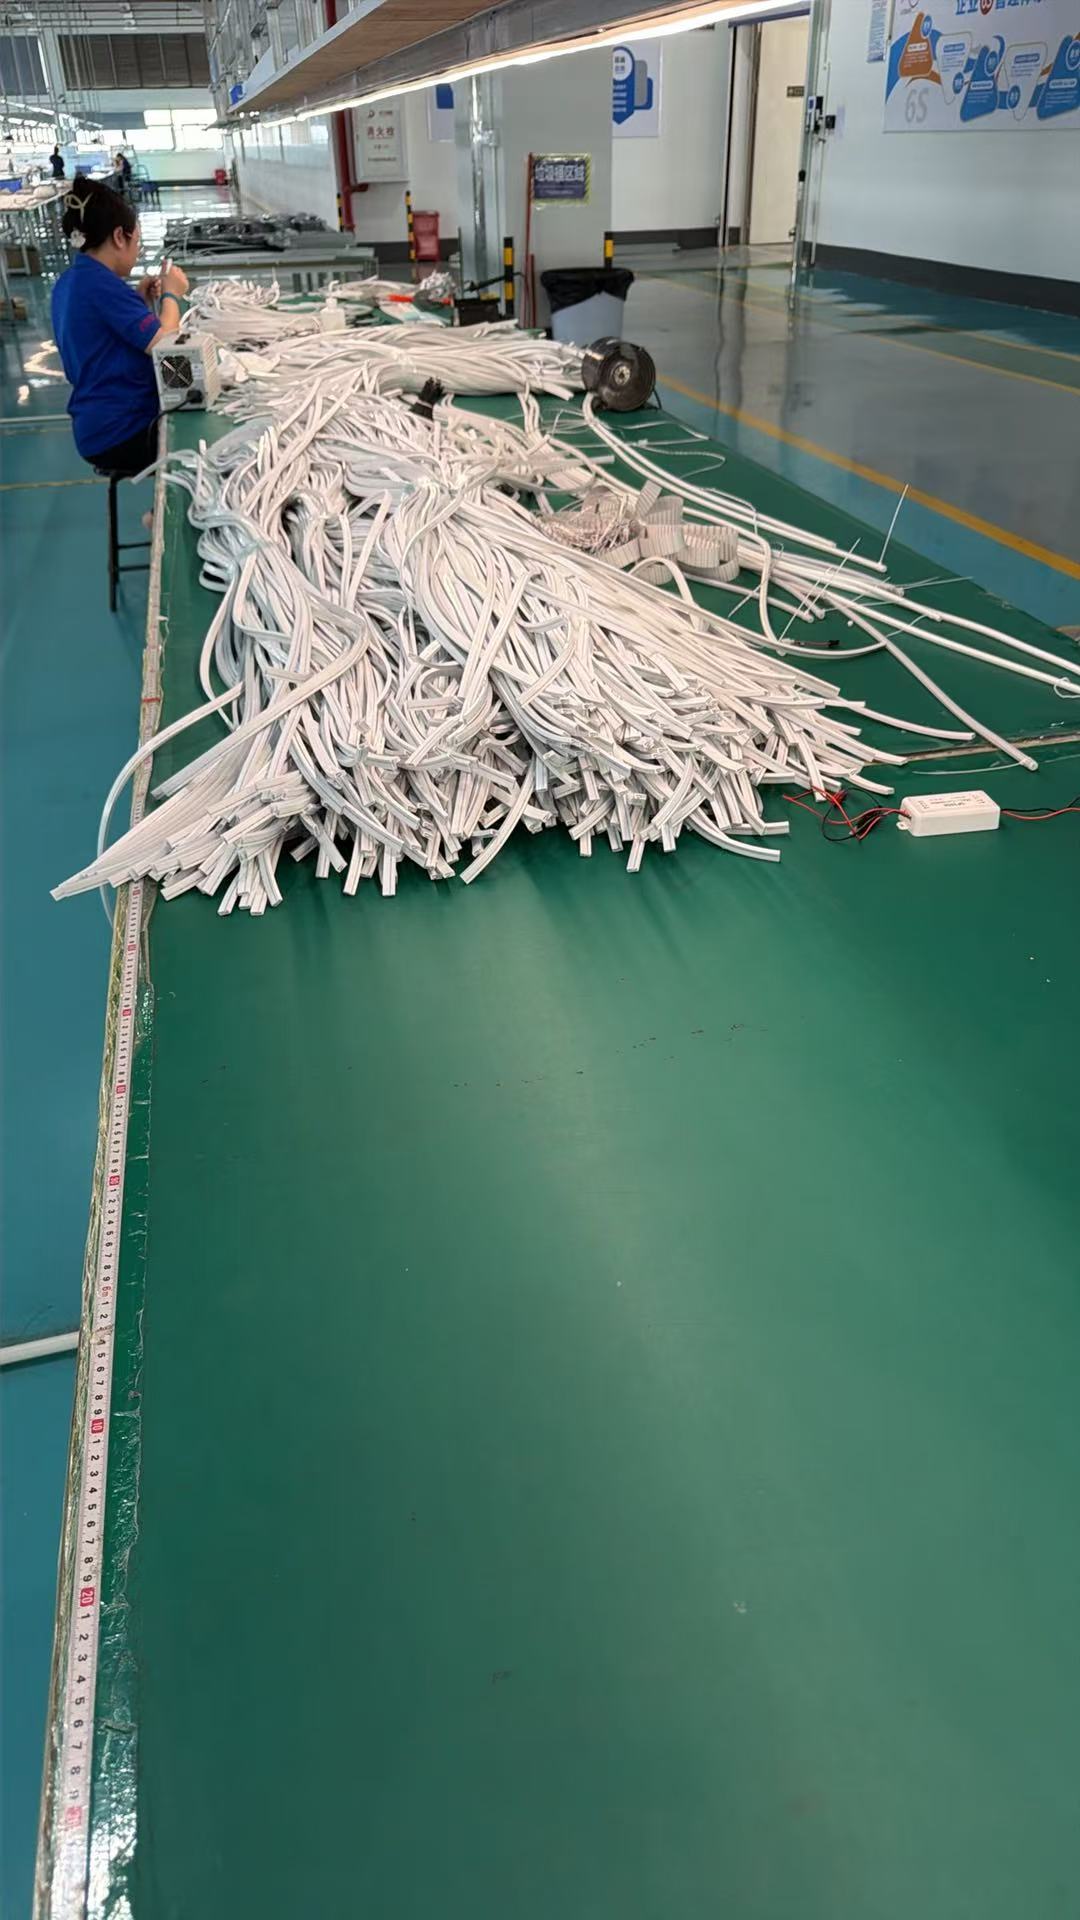
This issue becomes more complex at corners and transitions. If your corner point doesn't align with a cutting unit, you need custom corner connectors or additional cable runs. Multiply this problem by hundreds of corners in a large building, and you create massive installation complications. The solution is not complicated. Before buying, calculate your exact run lengths and verify they are compatible with the cutting unit intervals. If they don't align, either adjust your architectural dimensions or specify custom cutting units from the manufacturer. Some manufacturers can create custom cutting intervals, but you must specify this before production, not after delivery.
Connection methods deserve equal attention. LED strips use various connection systems: soldering, crimp connectors, push-fit terminals, or magnetic connectors. Each method has different reliability levels, different installation time requirements, and different space requirements. Soldering creates the most reliable connection but requires skilled labor and more installation time. Push-fit connectors are fast but may not withstand vibration or temperature cycling. Magnetic connectors enable easy maintenance but add thickness to the installation.
Your project's specific conditions should determine which connection method you specify. If the installation is permanent and inaccessible, soldering might be appropriate despite the labor cost. If you need regular reconfiguration, magnetic connectors make sense despite their bulk. If installation speed is critical and the environment is stable, crimp connectors could be optimal. The key is making this decision during procurement, not discovering your options on site when the structure is already complete.
What Specifications Actually Matter for Commercial Projects?
For commercial LED strip installations, the critical specifications are minimum bending radius, installation depth requirements, heat dissipation method, control compatibility, and maintenance access design. These factors determine long-term project success far more than basic electrical parameters.
Standard specification sheets focus on voltage, wattage, color temperature, and IP rating. These numbers matter, but they don't differentiate products in ways that affect commercial installations. Almost every reputable manufacturer can produce 24V, 3000K, IP67 strips. The real differentiation comes from mechanical and thermal design factors that don't appear in basic data sheets.
Minimum bending radius directly limits your design possibilities. Some silicone LED strips can bend to 25mm radius. Others crack or break below 100mm radius. If your design includes tight radius curves, channel letters, or complex architectural details, this specification becomes critical. I worked on a luxury retail project where the brand identity included curved logo elements with 30mm inside radius. We specified LED strips rated for 25mm bending. The installation was flawless. If we had bought strips with 50mm minimum radius, the entire design would have been impossible to execute.
Installation depth affects whether your LED strip fits in the allocated space. This isn't just about the strip thickness. You must account for the mounting method, the heat sink or channel profile, and any control wiring. A 6mm thick strip might need 15mm total installation depth when you include the mounting track and ventilation space. If your architectural detail only provides 12mm depth, the product cannot be installed regardless of its electrical performance.
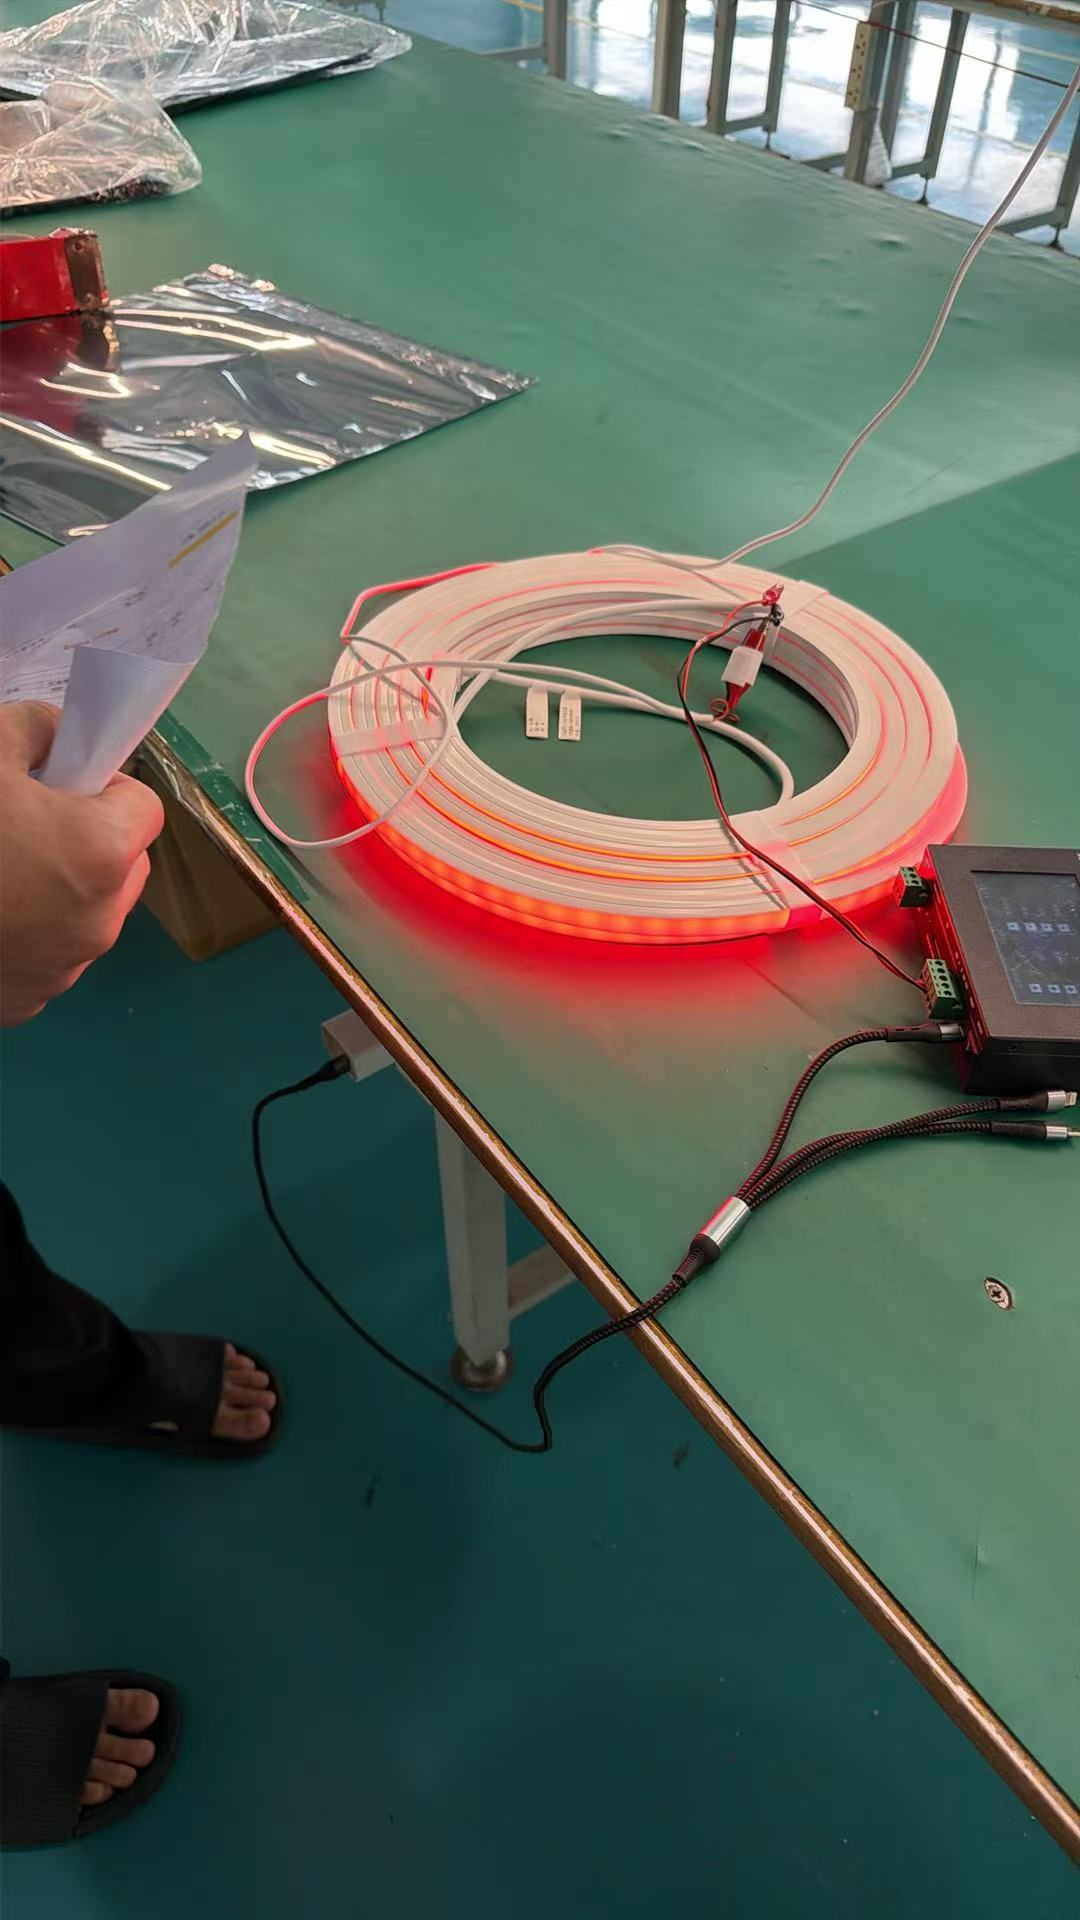
Heat dissipation method determines product lifespan and reliability. High-quality LED strips use aluminum backing or integrate with aluminum profiles to conduct heat away from the LED chips. Low-quality strips rely only on convection cooling through the silicone housing. In enclosed installations or hot environments, inadequate heat dissipation causes premature LED failure and color shifting. Your specification should define heat dissipation requirements based on your installation environment, not just accept whatever the manufacturer provides by default.
Control compatibility matters increasingly as projects demand dynamic lighting effects. If you need DMX512 or DALI control, the LED strip must support the protocol at the circuit level. You cannot add this capability later. Similarly, if you need individual pixel control for video effects, you must specify addressable LED strips from the beginning. I've seen projects where the design team assumed control capability could be added during installation, only to discover they needed completely different products.
Maintenance access design affects total cost of ownership over the project's lifespan. How will you replace a failed section? Can you access connections without destroying finishes? Are spare parts readily available? These questions should influence your product selection. A slightly more expensive LED strip with modular replacement sections might save significant money over ten years compared to a cheaper product requiring complete reinstallation when any segment fails. Smart procurement considers maintenance scenarios before problems occur, not after.
How Should You Structure LED Strip Procurement Documents?
Effective LED strip procurement documents must include installation detail drawings, node specifications, tolerance requirements, mock-up verification procedures, and quantified acceptance criteria. Product parameter lists alone are insufficient for commercial project procurement.
Traditional procurement documents list product specifications and assume suppliers will provide suitable products. This approach fails for LED strips because identical specifications can produce incompatible installation results. Your procurement document should function as a complete installation manual, not just a product description.
Start with installation detail drawings. Show exactly where the LED strip will be mounted. Include section views showing mounting channel dimensions, fixing methods, and cable routing. Draw corner conditions, transition points, and connection locations. Specify exact dimensions with tolerances. These drawings eliminate ambiguity about installation requirements. When suppliers see detailed installation drawings, they can immediately determine whether their product fits your application. This prevents the common problem where suppliers quote based on electrical specs without understanding mechanical constraints.
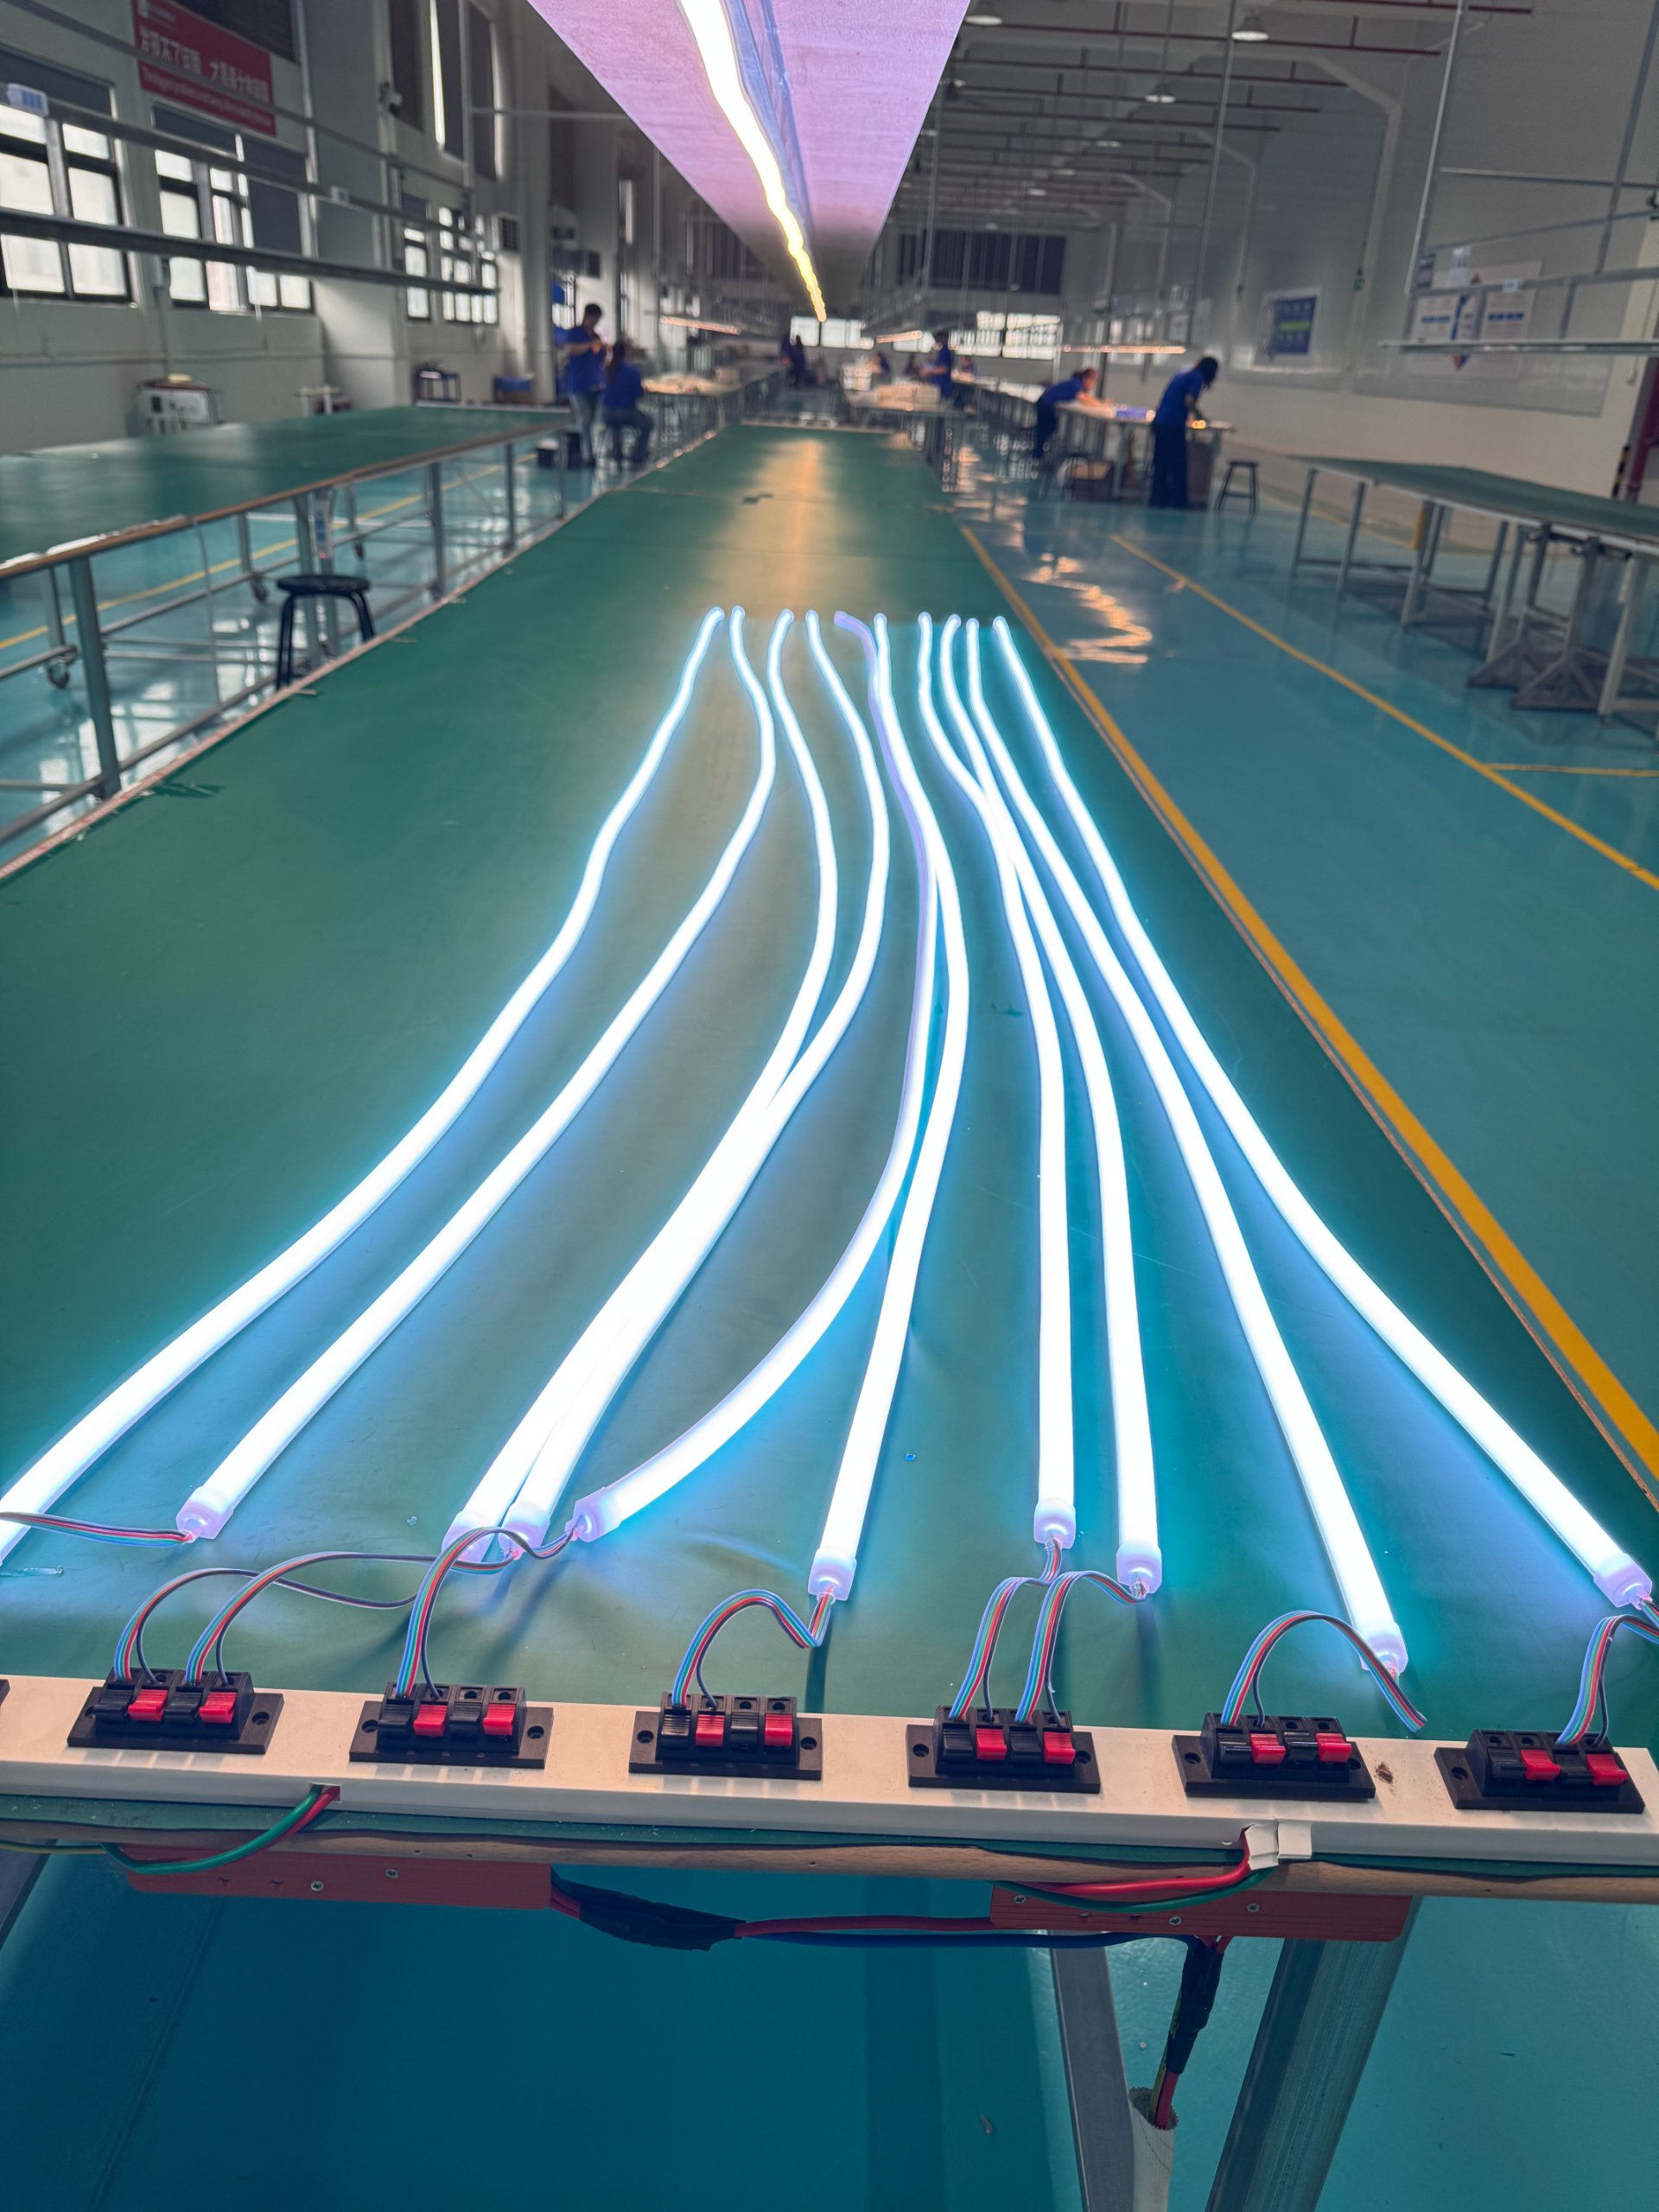
Node specifications define critical installation points. Every connection, corner, transition, and end point is a node. Your document should specify the acceptable solution at each node type. For example: "Corner nodes shall use factory-formed corner sections with seamless light emission. Field-cut corners are not acceptable." Or: "Power connection nodes shall be concealed within mounting channels with tool-free access for maintenance." These specifications prevent installation teams from improvising solutions that compromise project quality.
Tolerance requirements must be quantified. Don't write "joints should be neat." Write "joints shall have maximum 2mm visible gap with no exposed circuit boards." Don't write "installation should be straight." Write "strip centerline shall not deviate more than 3mm from design line over any 3-meter length." Quantified tolerances eliminate subjective interpretation. They provide clear pass/fail criteria for quality control. They also help suppliers understand your quality expectations during quoting.
Mock-up verification procedures should be mandatory. Specify that suppliers must provide samples for physical installation testing before bulk production. Define exactly what must be tested: minimum length straight runs, maximum angle corners, standard connection points, and any special conditions in your project. Require that mock-ups be built at 1:1 scale using actual project materials. Laboratory samples are not sufficient. You need to verify real-world installation feasibility before committing to production.
Acceptance criteria must be documented in detail. List every characteristic that will be inspected during commissioning. Specify measurement methods for each characteristic. Define acceptable ranges for each parameter. Include both objective measurements (luminous intensity uniformity, color consistency, joint alignment) and subjective assessments (visual appearance, color rendering, dimming smoothness). This documentation becomes the basis for final payment decisions and warranty claims.
Conclusion
When buying LED light strips for commercial projects, define installation requirements before comparing prices. The critical factors are not in standard specification sheets—they are in the physical integration between your project and the product. Verify installation feasibility before purchasing, not after delivery.