

Choosing LED strip lights for a large-scale lighting project sounds straightforward — until it isn't. Most procurement failures don't happen at the factory. They happen in the earliest selection decisions, when the wrong product gets locked in and every downstream decision follows it off a cliff. This article explains how to avoid that.
The most important thing to understand about LED strip lights choosing is this: the goal is not to find the product with the highest specifications. The goal is to find the product that matches your actual project conditions — including the installation environment, power supply design, control system, mounting structure, and final acceptance criteria. A mismatch between any one of these factors and the product you select can cascade into rework, delays, and disputed project deliveries.
Most buyers discover a selection error after installation has already begun. By that point, the product is purchased, the power supply is specified, the wiring is run, and changing anything is expensive. The following sections walk through exactly where these errors originate — and how to intercept them before they become project problems.
Is Choosing the Highest Specification Always the Right Strategy?
Here is the most common mistake I see in large LED strip project procurement: the team starts with a product spec sheet instead of a project brief. High numbers feel safe. They don't always deliver safe projects.
Choosing the highest available specification is not always the right strategy for LED strip lights. A higher LED density, higher wattage per metre, or higher IP rating does not automatically produce better project outcomes. Every specification choice has downstream consequences for power supply sizing, wiring loads, heat management, and installation cost. The correct approach is to define project requirements first, then select a product that satisfies those requirements — not the reverse.
Understanding why "higher is better" fails in practice requires looking at how specifications interact with real installation conditions. The table below illustrates the problem.
What Happens When You Select by Numbers Alone?
| Specification | Higher Value Assumed Benefit | Actual Project Risk |
|---|---|---|
| LED density (LEDs/m) | Smoother light output | May be unnecessary for long-distance architectural runs; increases cost |
| Power (W/m) | Brighter output | Higher total load, more power supplies, heavier cable gauge required |
| Voltage (24V vs 12V) | Lower current draw | Wrong choice for run length still causes voltage drop problems |
| IP rating (IP68 vs IP65) | Better protection | Overspecified for dry interior use; adds cost and reduces heat dissipation |
| CCT (colour temperature) | Perception of quality | Incorrect CCT for a space creates atmosphere problems that can't be fixed after installation |
The right specification depends entirely on the application. A high-density COB strip is excellent for close-viewing applications like cabinet lighting and linear profile luminaires. The same strip installed on a long architectural perimeter run can create power supply complexity without delivering any visible benefit over a simpler option.
The Correct Selection Sequence
I have seen too many projects where the buying sequence worked backwards. The correct order is:
- Define the application — What is the strip actually doing in this space?
- Define the installation environment — Indoor, outdoor, wet, direct exposure, submerged?
- Define the visual target — Uniform wash, accent, outline, backlight, close-viewing?
- Define the electrical conditions — Run length, supply voltage, allowable voltage drop, power source location
- Define the mounting structure — Aluminium profile, direct surface, flexible bend, concealed
- Define the control method — Dimming, DALI, DMX, static, RGB/RGBW
- Define the acceptance criteria — What does "correct" look like at sign-off?
- Then select the product
Every time I have seen this sequence reversed, the project carried unnecessary risk from day one.
How Does a Single Selection Error Become a Project Failure?
One wrong decision at the selection stage rarely stays contained. It propagates forward through every subsequent decision until it becomes something much larger and much more expensive.
A single LED strip lights selection error typically triggers a chain reaction: the wrong product determines the power supply specification, which determines the wiring design, which determines the installation method, which determines the commissioning outcome. By the time the error becomes visible on site, the project has already committed significant resources to a path built around the wrong product.
A Real Project Failure Pattern
I want to walk through the pattern I have seen cause the most damage in commercial facade and architectural lighting projects. The specific numbers are illustrative, but the structure of the failure is consistent.
The setup: A commercial complex needs 2,800 metres of LED strip for architectural outline and linear wall washing. The design target is continuous, uniform light output with zoned control.
The selection decision: Procurement identifies a 24V, 14.4W/m high-density strip. The price is competitive. The parameters look strong. The decision is made.
What was not calculated at selection time:
- Total installed load: 2,800m × 14.4W/m = 40.32 kW
- Number of power supply units required
- Power supply placement within the building structure
- Cable gauge to manage current at this load
- Voltage drop across each circuit run
- Maximum single-run length before measurable voltage drop causes visible brightness variation
What happened on site:
Short runs looked fine. Longer runs showed visible brightness drop from the supply end to the far end. The initial on-site diagnosis was "product defect." Strips were replaced. The problem remained — because the problem was never in the product. The product was operating exactly as specified. The problem was that the run length exceeded what the product's voltage and power rating could support without additional supply points.
The Responsibility Gap
Here is what makes this pattern so persistent. Every participant in the project can reasonably claim they did their job:
- Procurement: The product matched the specified parameters
- Design: The 24V product was confirmed
- Electrical sub-contractor: Installed as per drawings
- Installation team: Followed the supplied lengths
- Supplier: Product was within specification
But nobody answered the system-level question:
"Does this product, operating under the actual run lengths and power supply configuration of this project, deliver the design outcome?"
That question has no owner unless the project specifically assigns one. In most projects, it doesn't. That gap is where project failures live.
What Does a Successful LED Strip Lights Selection Process Look Like?
The projects that avoid these problems share a common approach. They treat product selection as a system design decision, not a procurement transaction.
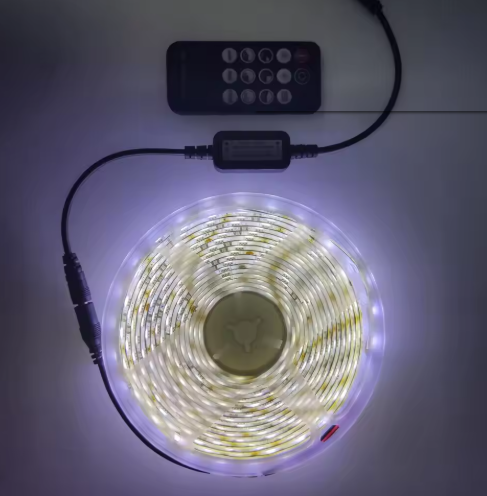
A successful LED strip lights selection process begins by defining project zones, installation environments, and electrical constraints before evaluating any product. It then uses physical mock-ups at actual installation scale — not single-metre samples — to verify that the selected product delivers the intended result under real conditions. The product specification is locked only after this verification is complete.
Building an Application Selection Matrix
On successful projects, the technical lead begins by categorising all installation zones before selecting any product. A simplified version looks like this:
| Zone Type | Environment | Visual Requirement | Preferred Strip Type | IP Requirement |
|---|---|---|---|---|
| Indoor indirect cove | Dry, interior | Diffused, no hotspot | COB or high-density SMD | IP20 |
| Aluminium profile linear | Dry, interior | Uniform wash | Mid-density SMD or COB | IP20–IP44 |
| Architectural outline, exterior | Outdoor, exposed | Continuous line | SMD with appropriate profile | IP65–IP67 |
| Facade wall wash | Outdoor, wet zone | Even surface wash | SMD with silicone encapsulation | IP67 |
| Water feature adjacent | High humidity, possible splash | Decorative outline | Silicone neon flex or IP68 strip | IP68 |
Different zones do not need to share the same product. Forcing a single strip specification across an entire project to simplify procurement frequently creates problems in the zones where that specification is not the right fit.
Verifying at Installation Scale
Single-metre samples confirm that a product exists and looks acceptable at short range. They do not confirm that the product will perform correctly under actual installation conditions.
The verification process I recommend includes:
- Mock-up at actual intended run length with the actual power supply, actual cable run, and actual mounting structure
- Measurement at both the supply end and the far end of the circuit to confirm voltage at the strip under load
- Visual assessment from the actual viewing distance — not bench distance
- Assessment with the actual control system to confirm dimming behaviour and colour consistency if applicable
This step adds time. It prevents the far more expensive discovery that happens after batch installation is complete.
Locking the Specification for Procurement
Once verification is complete, the specification entered into procurement documents must be detailed enough to prevent substitution without technical review. The minimum fields are:
- Product model or equivalent technical definition
- Voltage
- Power per metre
- LED type and density
- Colour temperature and CRI
- IP rating
- Maximum single-run length
- Connection method
- Approved batch verification requirement
"Equivalent product acceptable" without a defined equivalency standard is one of the most common procurement document vulnerabilities I see. It creates space for substitutions that match on paper but fail in system performance.
What Are the Most Common Procurement Document Failures for LED Strip Projects?
The procurement document is the last formal gate before purchasing commits. Errors at this stage are expensive to correct.
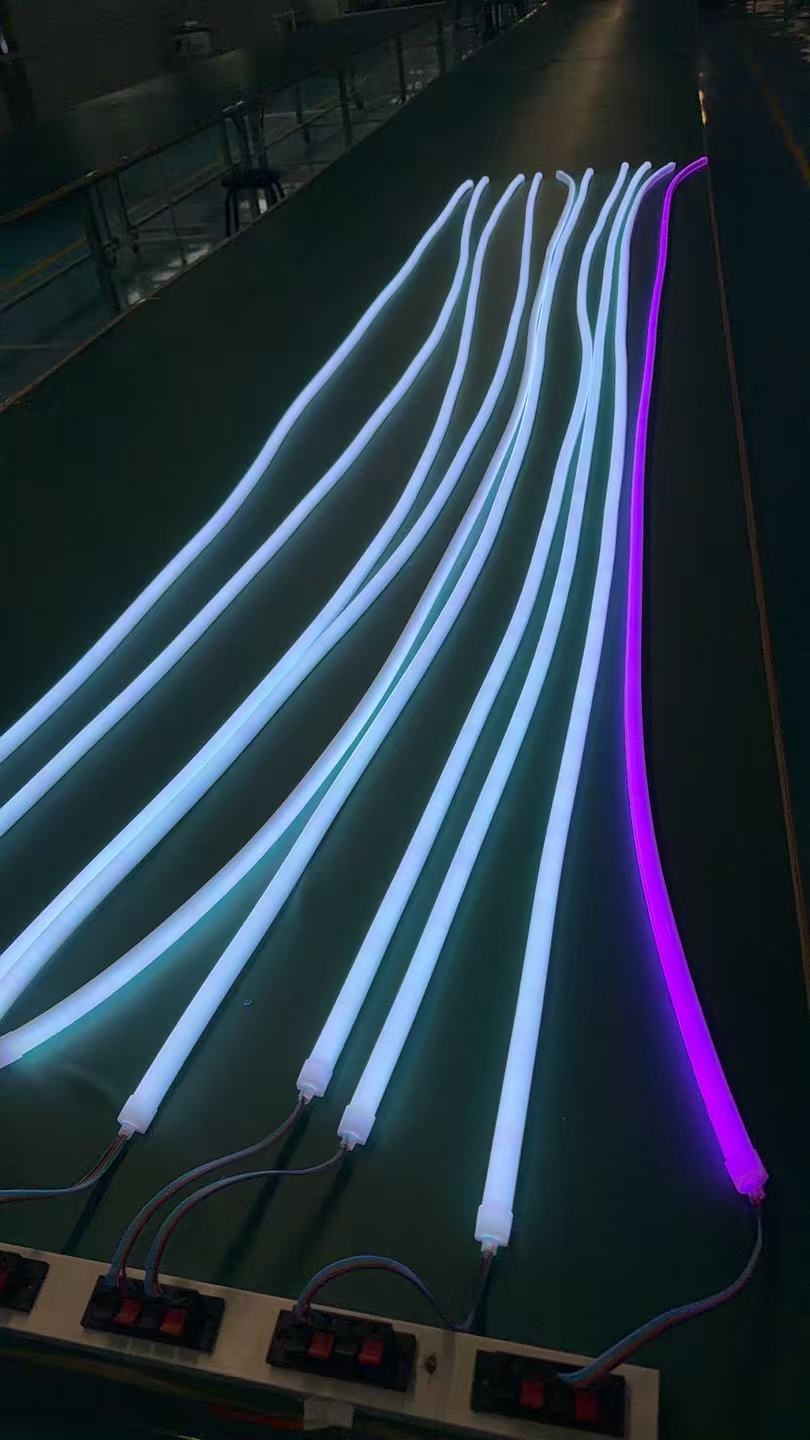
The most common procurement document failures for LED strip lights include: specifying voltage without defining run length and allowable voltage drop; specifying LED density without defining the required optical outcome; permitting equivalent substitution without specifying what equivalence means; and defining acceptance criteria as "functioning correctly" without measurable performance standards.
Eight Specification Gaps That Create Project Risk
1. Voltage specified without electrical system conditions Writing "24V" defines the product's rated voltage. It does not define the allowable voltage drop, maximum run length, or required supply point frequency. These must be specified alongside the voltage rating.
2. Wattage specified without application purpose Higher watts per metre mean higher total load, more power supply units, heavier cable specification, and more heat to manage. The wattage should follow from a defined luminous flux requirement, not from a "higher is better" assumption.
3. LED density specified without optical verification 240 LEDs/m does not automatically mean "uniform." The visible result depends on the LED optics, the diffusion method, and the viewing distance. Density figures in a specification document must be paired with a physical verification requirement.
4. IP rating specified without installation environment definition Specifying IP68 for a dry interior installation wastes budget and can reduce thermal performance. The IP requirement must derive from an explicit installation environment description.
5. Single-metre sample accepted as full product verification A one-metre sample confirms product appearance at short range. It does not confirm electrical performance at installation run length. The verification requirement must specify test conditions that match actual installation.
6. "Equivalent product acceptable" without defined equivalence This phrase creates a substitution permission that is effectively unlimited unless equivalence criteria are explicitly stated. Every parameter that affects project performance must be part of the equivalence definition.
7. Batch and model not locked post-approval Large projects delivered in multiple shipments are vulnerable to batch variation in colour temperature, lumen output, and even PCB layout. First-article approval must lock the specific model and batch parameters for all subsequent deliveries.
8. Acceptance criteria not measurable "LED strip lights shall operate correctly" is not an acceptance criterion. Acceptance criteria must define measurable outcomes: colour temperature tolerance, uniformity along a run, minimum luminous flux at the far end of a circuit, control system response behaviour.
What Is the Project-Level Risk Control Framework for LED Strip Selection?
Large projects need a structured process that assigns ownership to each decision point. Without explicit ownership, the responsibility gap described earlier is almost inevitable.
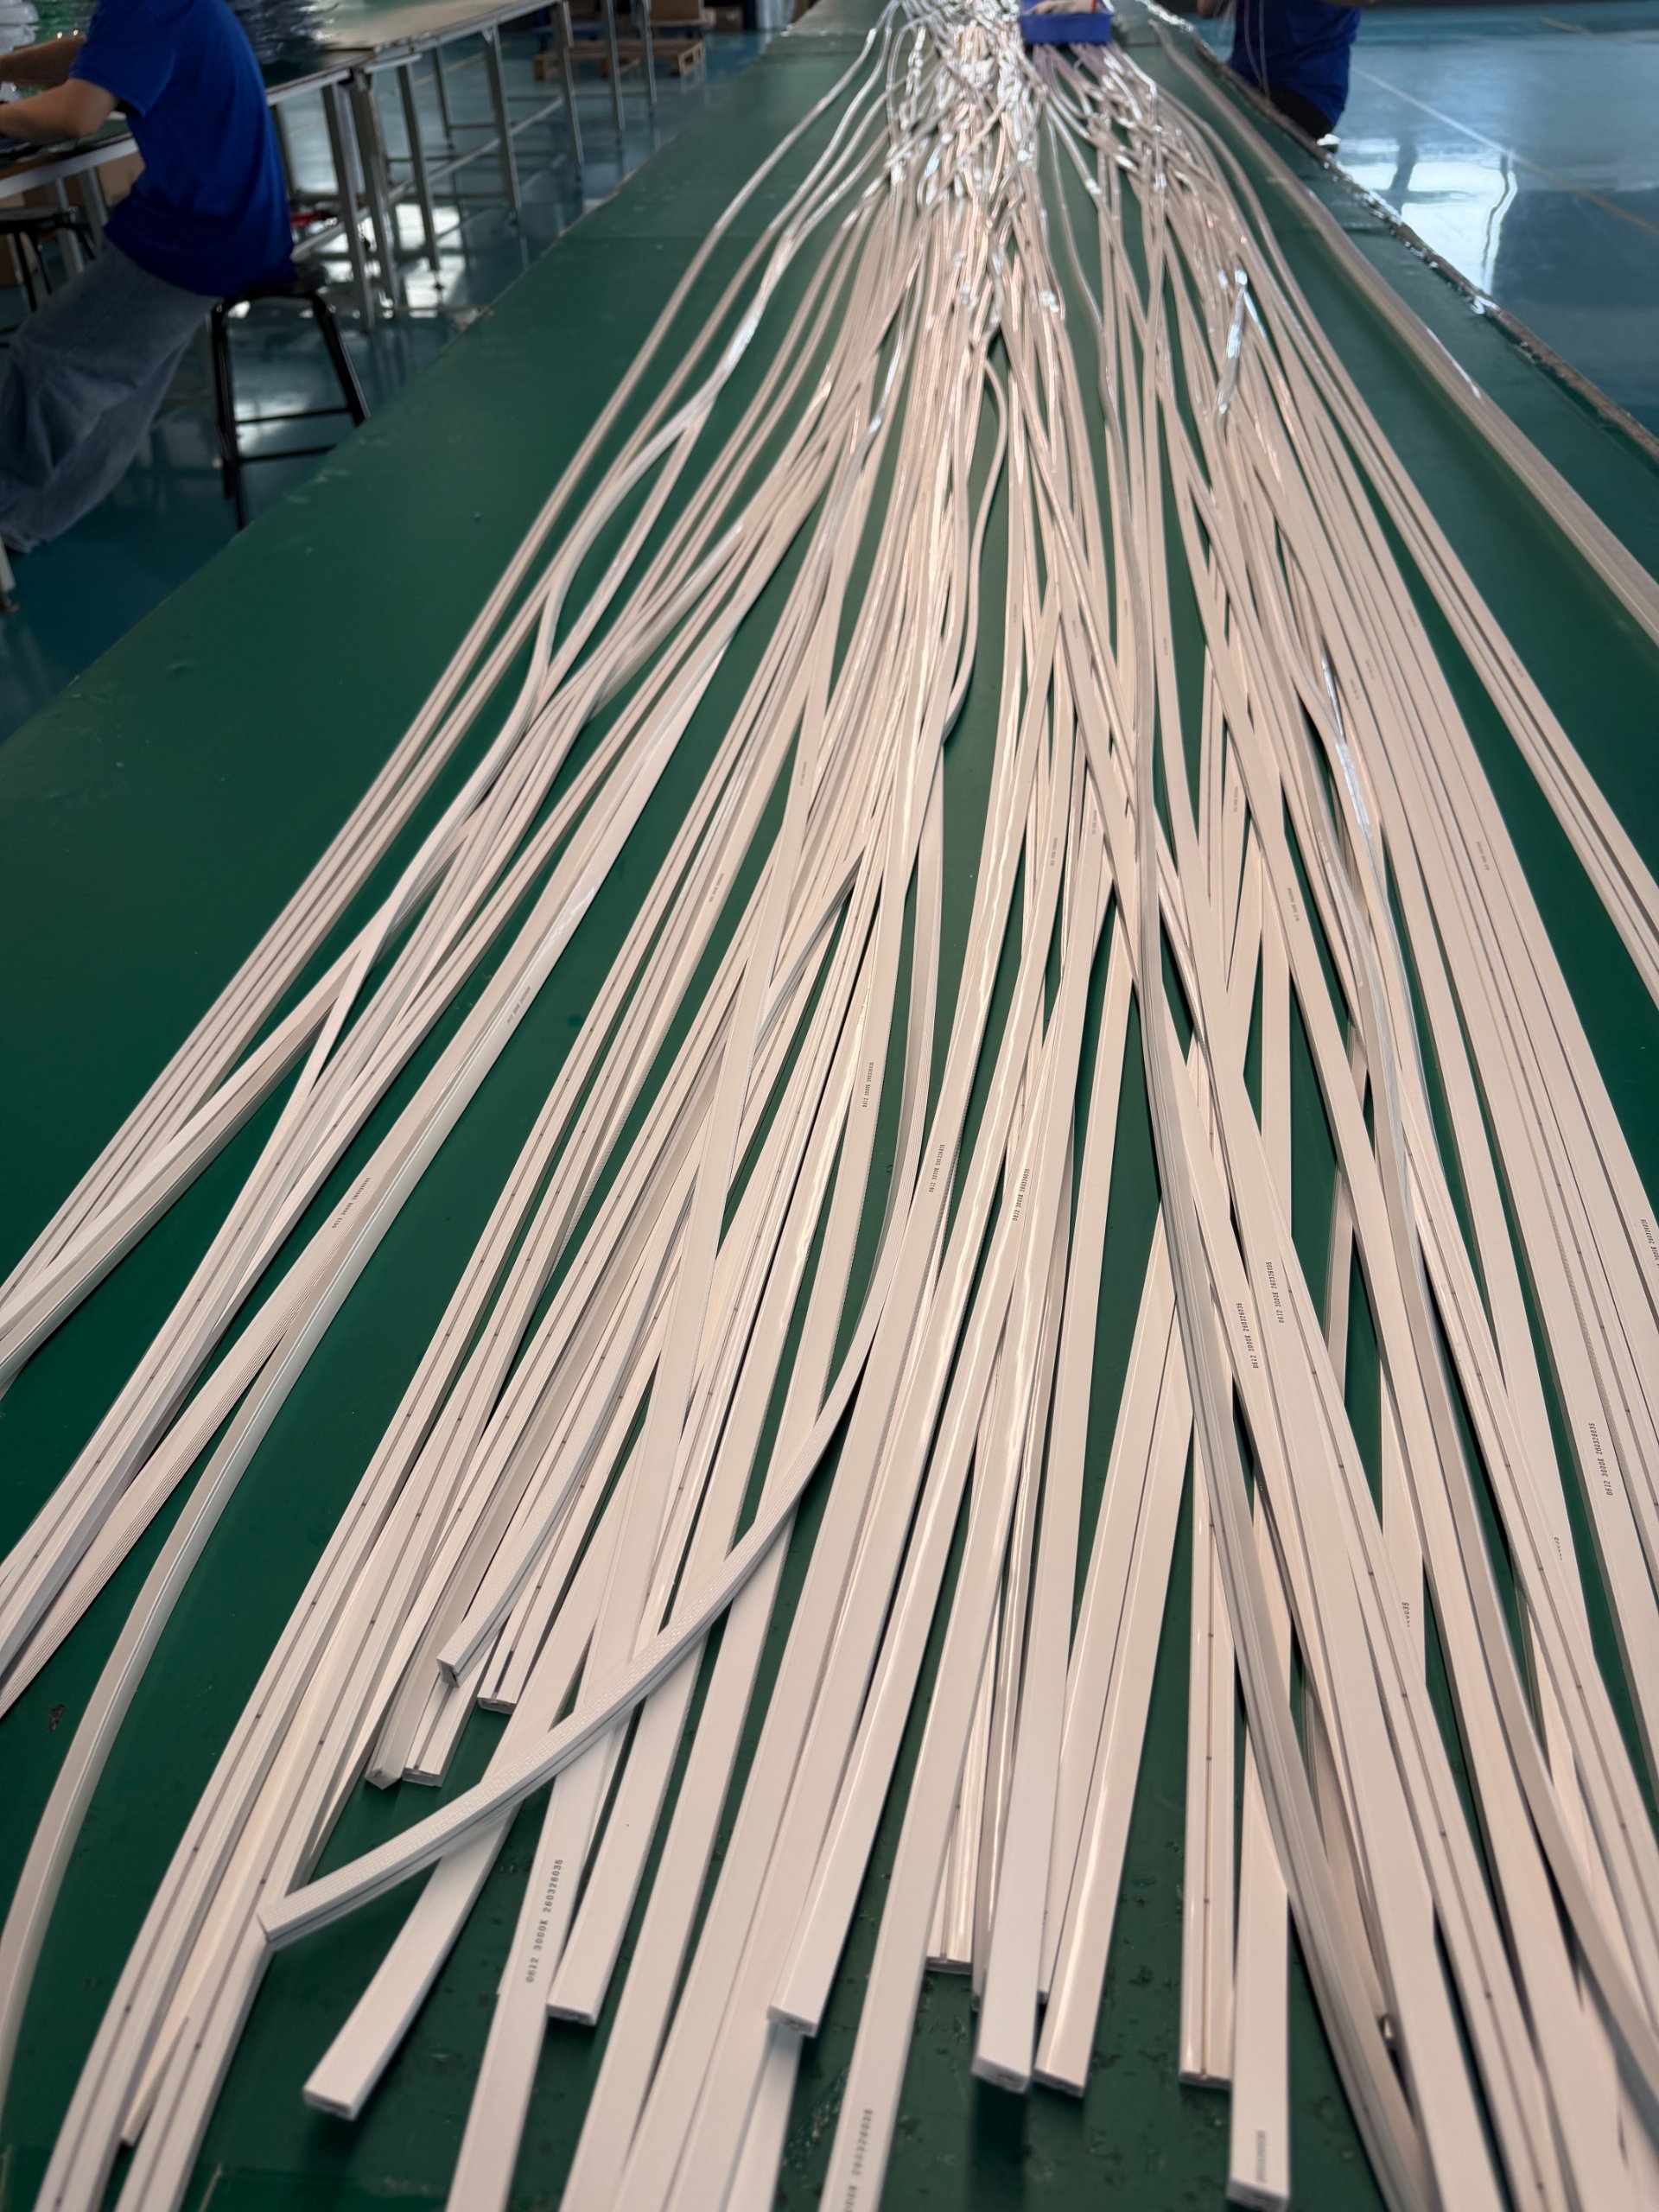
A project-level risk control framework for LED strip lights assigns a named responsible party to each selection and verification stage, from initial requirement definition through to final acceptance. The framework ensures that system-level questions — not just individual component questions — are answered before decisions are locked.
Project Risk Control Stages
| Stage | Responsible Party | Key Questions | Escalation Trigger |
|---|---|---|---|
| Requirement definition | Design lead | What is the strip doing? What does success look like? | Do not proceed to selection without defined answers |
| Environment definition | Design + engineering | Indoor/outdoor, humidity, exposure, cleaning requirements? | Redefine IP and construction requirements |
| Electrical design | Electrical engineer | Voltage, W/m, run length, voltage drop, supply locations? | Revise product selection or circuit design |
| Optical specification | Lighting designer | Luminance, uniformity, CCT, CRI, viewing distance? | Physical mock-up required before confirmation |
| Mounting structure | Installation technical lead | Profile type, fixing method, bend radius, thermal path? | Mock-up required |
| Sample approval | Procurement + technical | Does the physical sample match the specification? | Reject and re-submit |
| Mock-up verification | Main contractor + design | Does the actual assembly deliver the design outcome? | Revise product or system design |
| Contract lock | Procurement | Model, batch, substitution rules, delivery verification? | Technical re-approval required for any change |
| Incoming inspection | QC | Does each delivery batch match approved specifications? | Isolate and review non-conforming batch |
| Site verification | Project manager | Does installed result match mock-up? | Halt batch installation pending investigation |
| Final acceptance | Client + main contractor | Does completed installation meet defined criteria? | Document and assign remediation responsibility |
The Ten Selection Checkpoints
Based on the project experience I draw from in this work, these are the ten checkpoints that, if consistently applied, intercept the majority of large-project LED strip selection failures before they become costly:
- Need defined — Strip lighting task confirmed, not assumed
- Environment defined — All zone installation conditions documented
- Electrical conditions calculated — Run lengths, loads, voltage drop, supply points
- Optical conditions specified — Output, uniformity, CCT, CRI, viewing distance
- Mounting structure confirmed — Profile, fixing, bend, heat path, maintenance access
- Connection method defined — Connector type, end treatment, field-modification rules
- Supply chain locked — Model, specification, batch control, substitution criteria
- Batch production verified — Incoming inspection against approved sample
- Site installation verified — Pre-batch physical check at actual installation conditions
- Final acceptance documented — Results recorded against defined criteria, not informal agreement
Frequently Asked Questions
What is the most important factor when choosing LED strip lights for a large project?
The most important factor is matching the product to the actual project conditions — not selecting the highest specification available. Run length, power supply design, installation environment, and mounting structure must all be evaluated together. A product that performs well in isolation can fail in a system it was not matched to.
How do I know what IP rating I need for my LED strip installation?
IP rating should be determined by the installation environment, not by a default preference for higher numbers. Dry interior locations typically require IP20 to IP44. Outdoor exposed locations generally require IP65 or higher. Zones with direct water contact, cleaning jets, or immersion risk require IP67 or IP68. Specify the environment first, then derive the IP requirement.
Why does voltage drop matter in LED strip light projects?
Voltage drop causes the far end of a long LED strip circuit to receive less voltage than the rated supply voltage, resulting in reduced brightness. In large projects with long runs, this creates visible non-uniformity. Voltage drop is a function of run length, current draw, and cable gauge. These factors must be calculated during electrical design, not discovered during installation.
Can I substitute an LED strip with a similar specification from a different supplier?
Not without technical review. "Similar specification" is not the same as "equivalent performance in this system." Differences in PCB construction, LED bin, silicone encapsulation quality, and solder joint integrity can affect real-world performance even when headline numbers are similar. Any substitution should be evaluated against the full system design conditions, not just the data sheet parameters.
How many metres of LED strip should I test before approving a product for a large project?
Test at actual installation run length — not at one metre. A one-metre sample confirms that the product exists and looks acceptable at close range. It does not confirm electrical performance across a full circuit. Use a physical mock-up that replicates actual run length, power supply, cable, control system, and mounting structure before approving any product for batch procurement.
Conclusion
LED strip lights choosing for large-scale projects is a system design decision, not a component purchase. The most dangerous assumption in this process is that the highest-specification product produces the best project